n
n
n
n
n
n
n
n
n
n
n
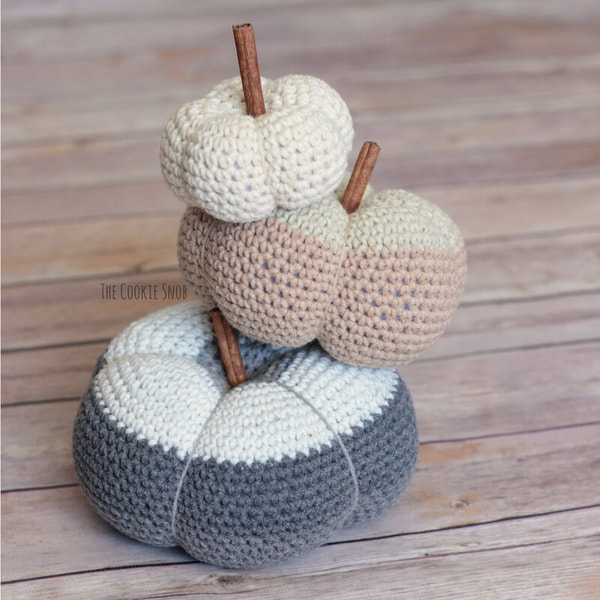
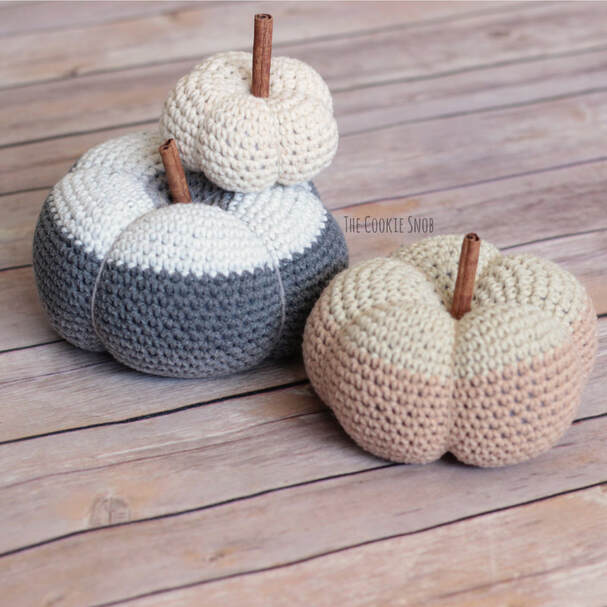
We’re going to start with the small pumpkin base and work our way up to the large one. Instructions are then given for shaping each pumpkin and attaching the stem. The photos shown for the shaping process are from the smallest version, but they should be a useful reference for each size since they all have the same construction. Thank you to everyone who helps support this blog and keeps it up and running!
n
Stitch Glossary:
nst(s) = stitch(es)
nsc = single crochet
ninc = sc increase (work 2 sc in the same st)
ndec = sc decrease (decrease over 2 sc)
n
Materials:
n
- n
- 25 yds of Yarn Bee Lil’ Dollop for the small pumpkin
- 60 yds of Yarn Bee Lil’ Dollop for the medium pumpkin
- 80 yds of Yarn Bee Lil’ Dollop for the large pumpkin
- Size H (5.0 mm) crochet hook
- Fiberfill stuffing
- Tapestry needle
- Cinnamon sticks for stems
- Optional: Stitch Marker
n
n
n
n
n
n
n
n
n
Gauge:
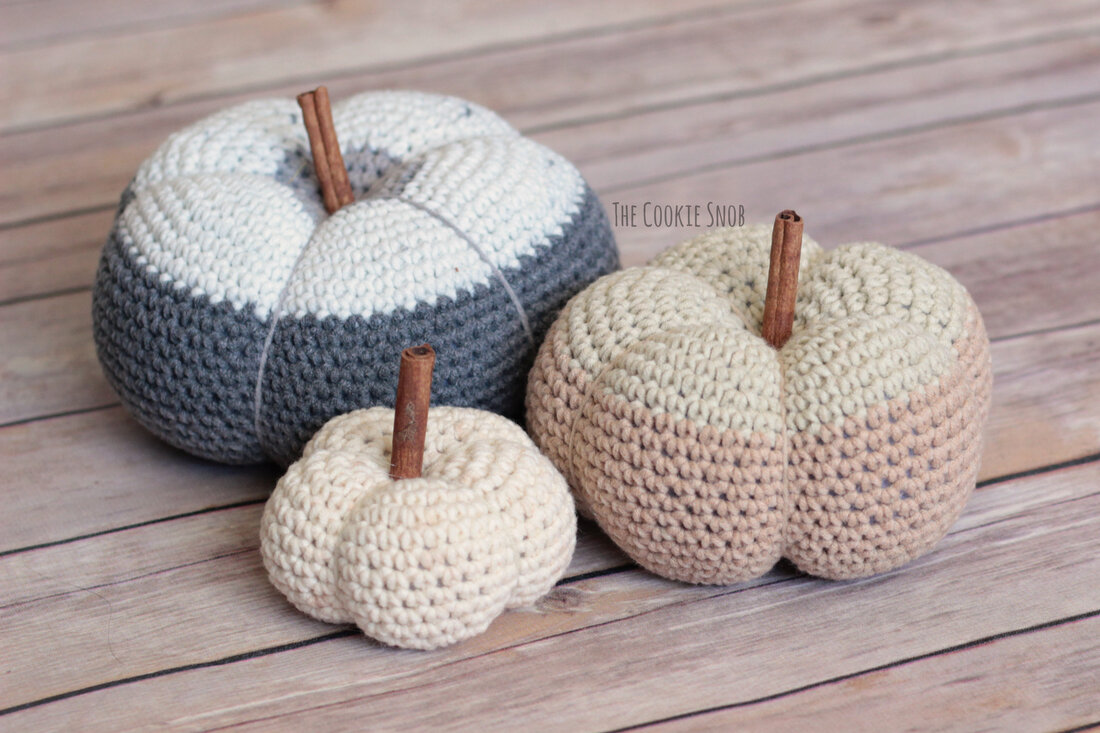
nFor pumpkins that measure about 3.5″, 5″, and 6.5″ in diameter:
n2″ = 10 sc sts
n2″ = 10 rows of sc
n
Note: This pattern is worked in a continuous round without joining or turning; I recommend using a stitch marker to help you keep your place
n
Small Pumpkin Base:
nRound 1: Make a magic circle, work 6 sc into the circle and pull taut to close (6)
nRound 2: inc around (12)
nRound 3: [inc, sc] 6 times (18)
nRound 4: [inc, sc in the next 2 sts] 6 times (24)
nRound 5: [inc, sc in the next 3 sts] 6 times (30)
nRound 6: [inc, sc in the next 4 sts] 6 times (36)
nRounds 7-13: sc around (36)
nRound 14: [dec, sc in the next 4 sts] 6 times (30)
nRound 15: [dec, sc in the next 3 sts] 6 times (24)
nBegin stuffing with fiberfill stuffing. Continue to stuff as you go.
nRound 16: [dec, sc in the next 2 sts] 6 times (18)
nRound 17: [dec, sc] 6 times (12)
nRound 18: dec around (6)
nFasten off, leaving an extra long yarn tail. Finish stuffing. Using the tapestry needle, weave the yarn tail through the front loops of the remaining sts and pull taut to close.
n
n
n
n
n
n
nRound 1: Make a magic circle, work 6 sc into the circle and pull taut to close (6)
nRound 2: inc around (12)
nRound 3: [inc, sc] 6 times (18)
nRound 4: [inc, sc in the next 2 sts] 6 times (24)
nRound 5: [inc, sc in the next 3 sts] 6 times (30)
nRound 6: [inc, sc in the next 4 sts] 6 times (36)
nRound 7: [inc, sc in the next 5 sts] 6 times (42)
nRound 8: [inc, sc in the next 6 sts] 6 times (48)
nRound 9: [inc, sc in the next 7 sts] 6 times (54)
nRound 10-22: sc around (54)
nRound 23: [dec, sc in the next 7 sts] 6 times (48)
nRound 24: [dec, sc in the next 6 sts] 6 times (42)
nRound 25: [dec, sc in the next 5 sts] 6 times (36)
nRound 26: [dec, sc in the next 4 sts] 6 times (30)
nRound 27: [dec, sc in the next 3 sts] 6 times (24)
nBegin stuffing with fiberfill stuffing. Continue to stuff as you go.
nRound 28: [dec, sc in the next 2 sts] 6 times (18)
nRound 29: [dec, sc] 6 times (12)
nRound 30: dec around (6)
nFasten off, leaving an extra long yarn tail. Finish stuffing. Using the tapestry needle, weave the yarn tail through the front loops of the remaining sts and pull taut to close.
n
n
n
n
n
nRound 1: Make a magic circle, work 6 sc into the circle and pull taut to close (6)
nRound 2: inc around (12)
nRound 3: [inc, sc] 6 times (18)
nRound 4: [inc, sc in the next 2 sts] 6 times (24)
nRound 5: [inc, sc in the next 3 sts] 6 times (30)
nRound 6: [inc, sc in the next 4 sts] 6 times (36)
nRound 7: [inc, sc in the next 5 sts] 6 times (42)
nRound 8: [inc, sc in the next 6 sts] 6 times (48)
nRound 9: [inc, sc in the next 7 sts] 6 times (54)
nRound 10: [inc, sc in the next 8 sts] 6 times (60)
nRound 11: [inc, sc in the next 9 sts] 6 times (66)
nRounds 12-26: sc around (66)
nRound 27: [dec, sc in the next 9 sts] 6 times (60)
nRound 28: [dec, sc in the next 8 sts] 6 times (54)
nRound 29: [dec, sc in the next 7 sts] 6 times (48)
nRound 30: [dec, sc in the next 6 sts] 6 times (42)
nRound 31: [dec, sc in the next 5 sts] 6 times (36)
nRound 32: [dec, sc in the next 4 sts] 6 times (30)
nRound 33: [dec, sc in the next 3 sts] 6 times (24)
nBegin stuffing with fiberfill stuffing. Continue to stuff as you go.
nRound 34: [dec, sc in the next 2 sts] 6 times (18)
nRound 35: [dec, sc] 6 times (12)
nRound 36: dec around (6)
nFasten off, leaving an extra long yarn tail. Finish stuffing. Using the tapestry needle, weave the yarn tail through the front loops of the remaining sts and pull taut to close.
n
n
n
n
n
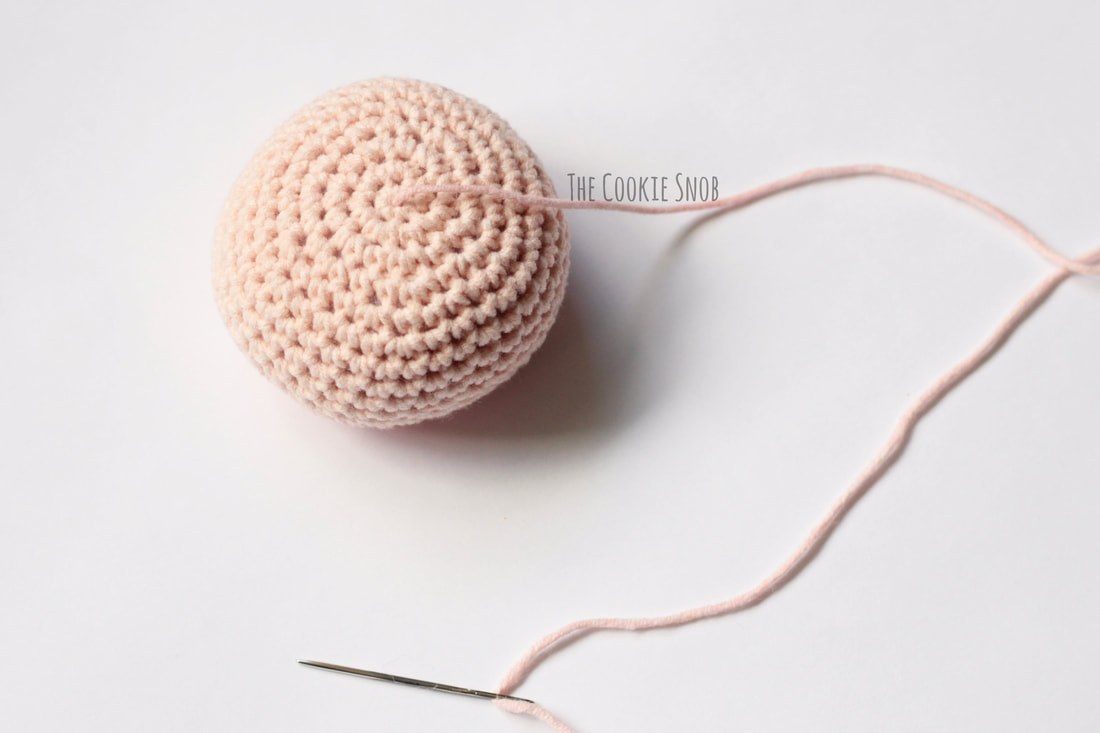
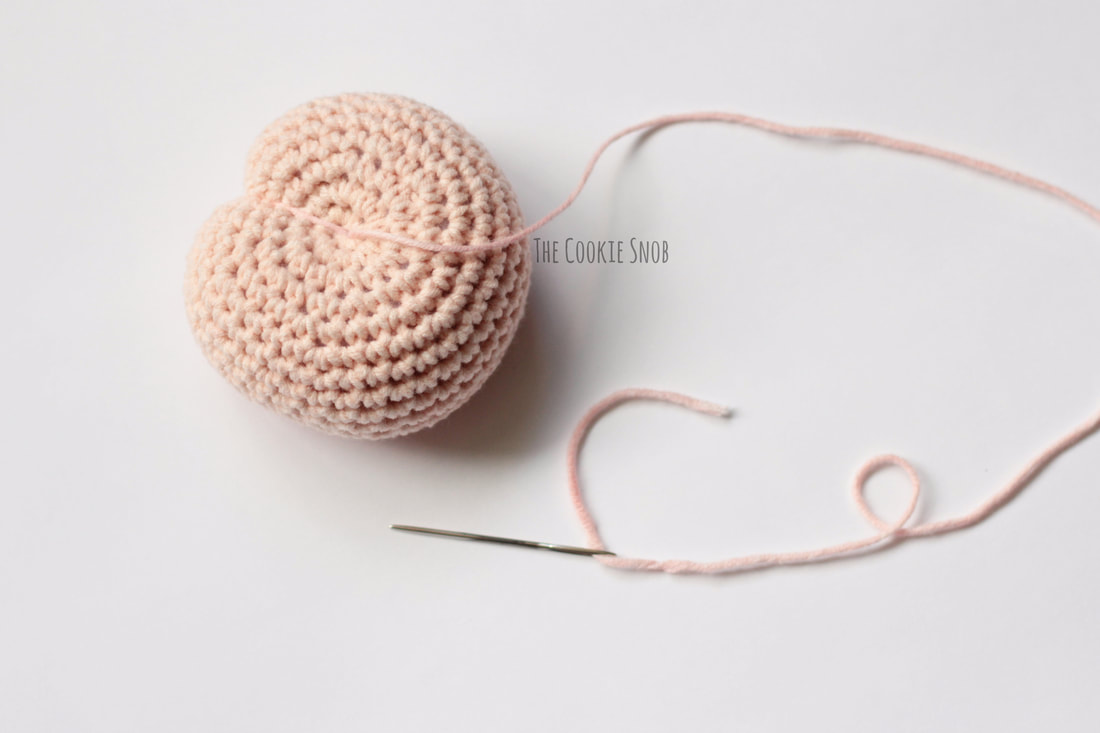
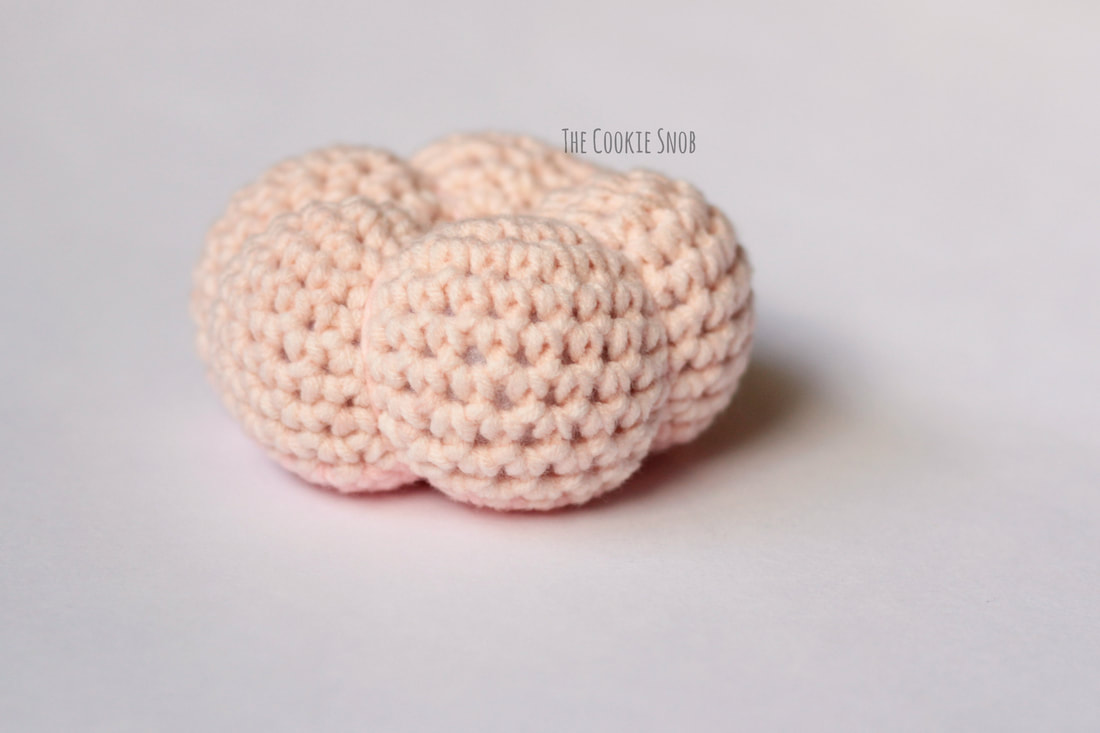
nNow we’re going to use the yarn tail to shape the pumpkin. Insert the needle through the center of the circle you just closed off and out through the center of the first round of the pumpkin. Pull the yarn all the way through.
n
n
n
n
n
n
n
n
n
n
n
n
n
n
n
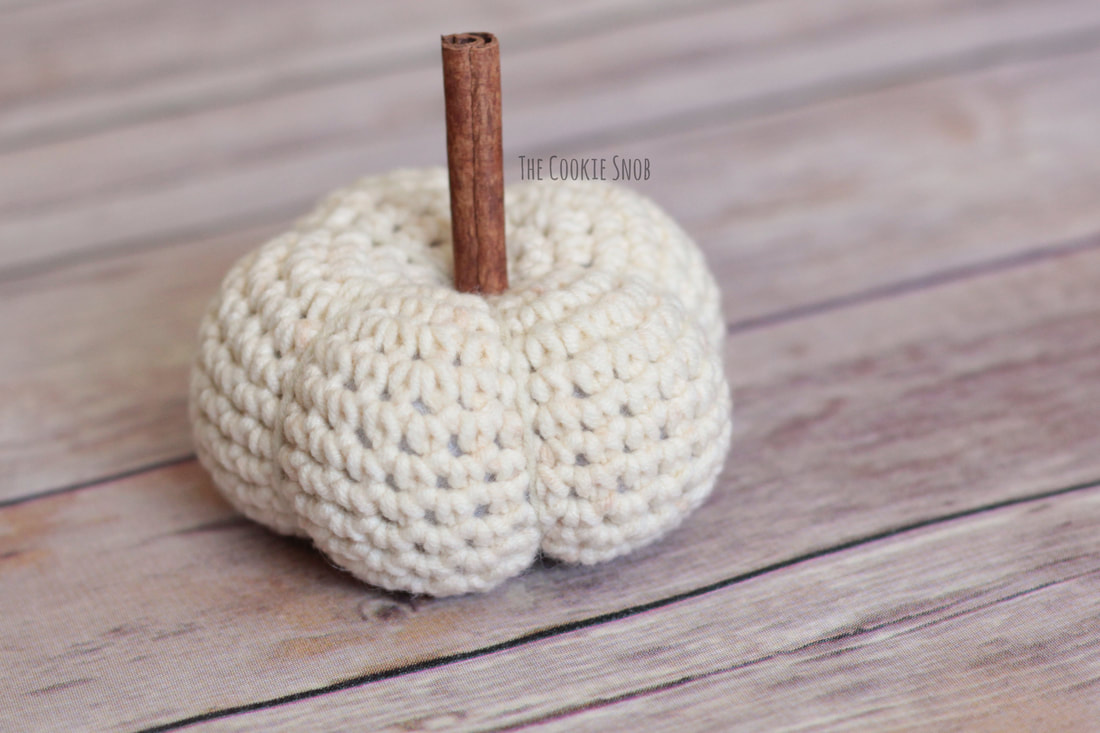
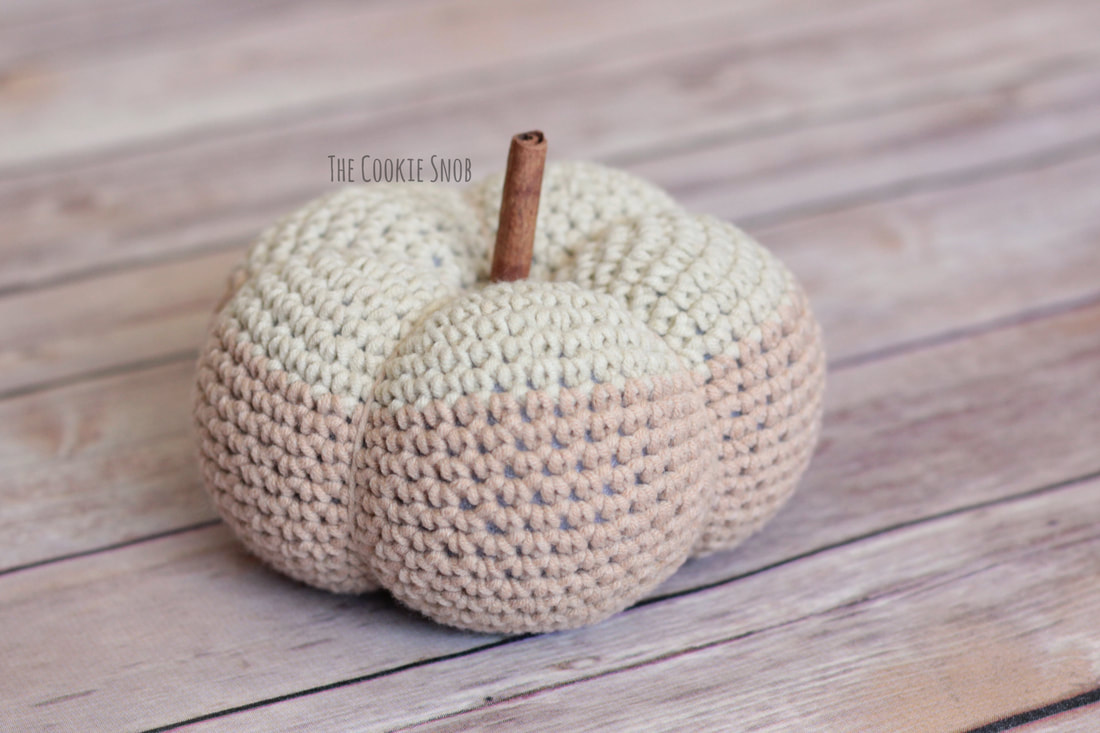
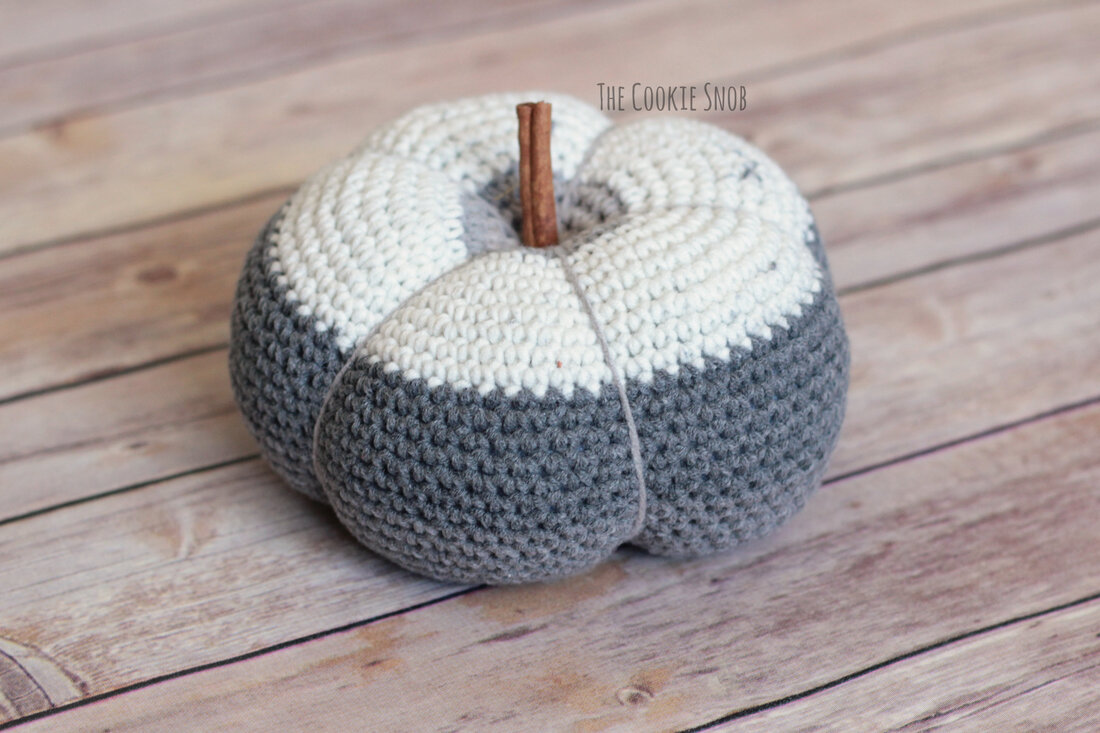
nCarefully cut your cinnamon stick to your desired length (please don’t cut yourself!). I recommend carefully scoring the cinnamon stick where you want to cut it with a serrated knife. Then, instead of trying to saw through the hard stick, you can simply snap it in two with your hands. It should break off evenly where you’ve scored it, leaving you with a perfect stem. Attach to the center of the top of your pumpkin with a dab of hot glue.
n
n
n
n
n
n