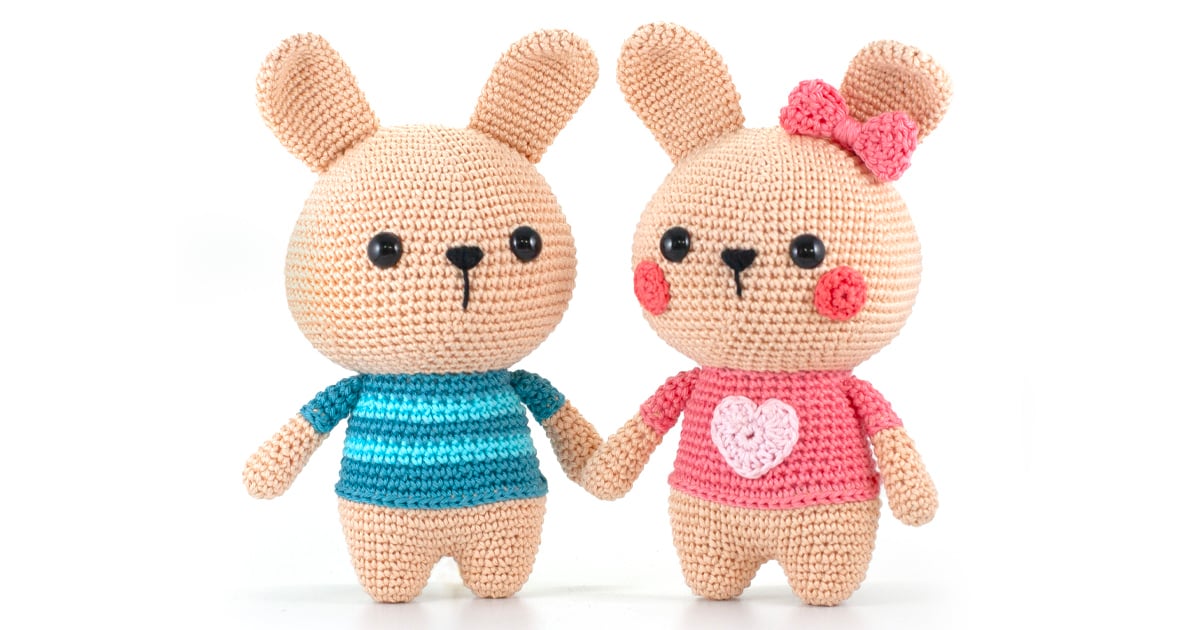
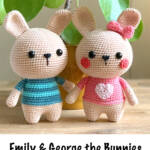
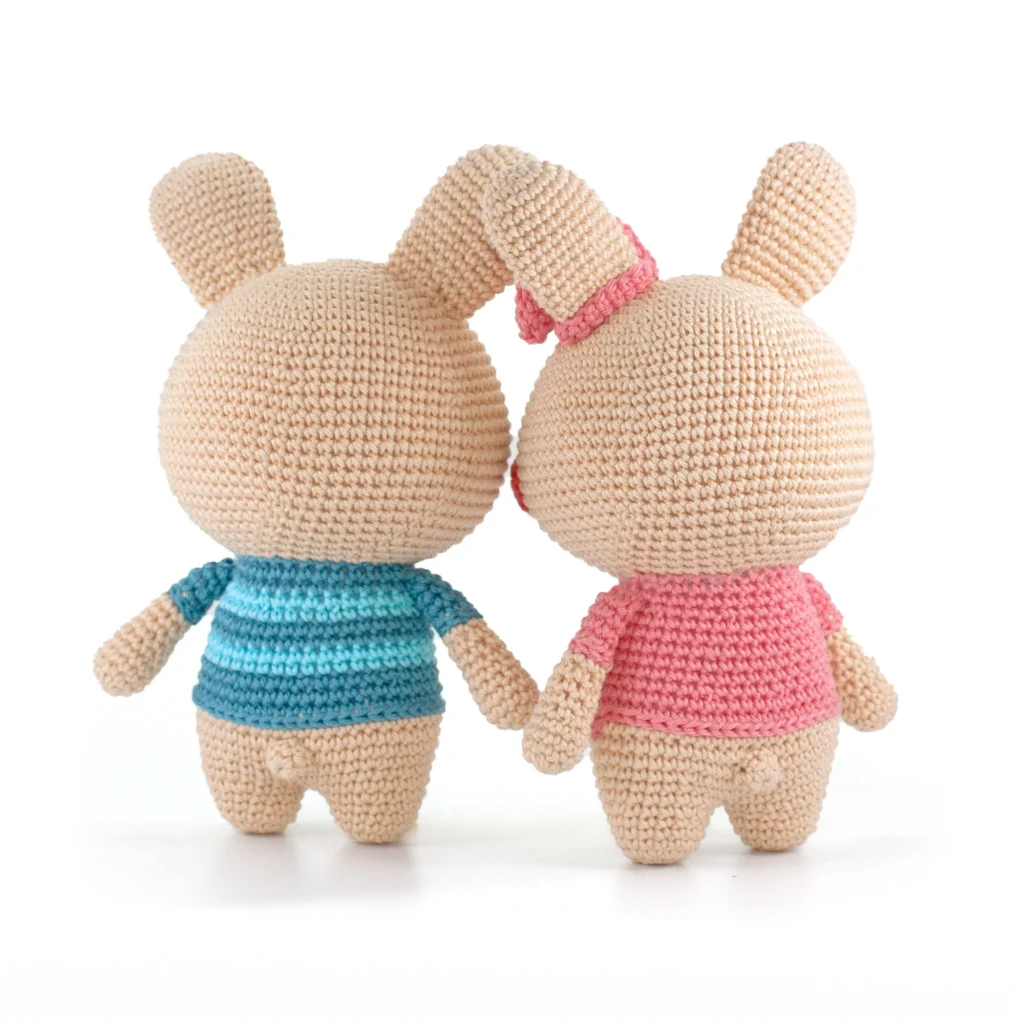
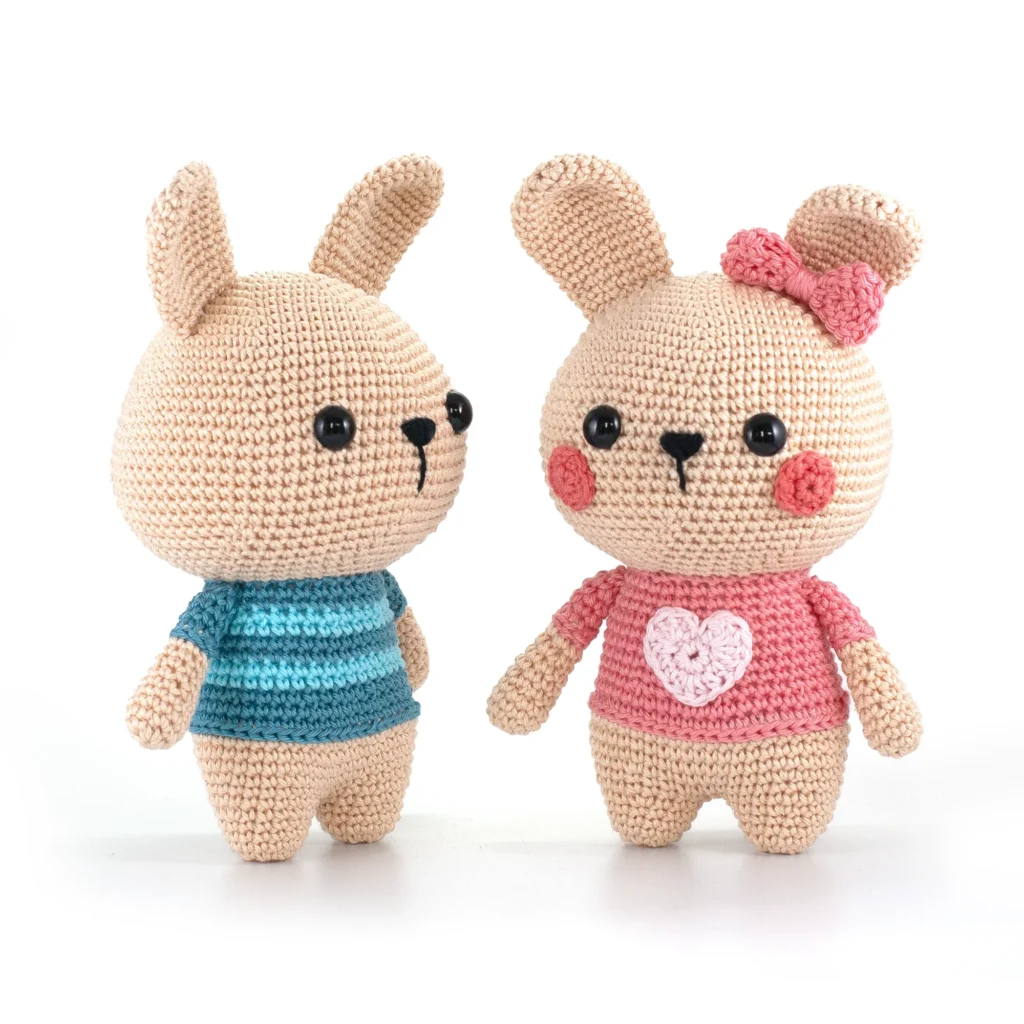
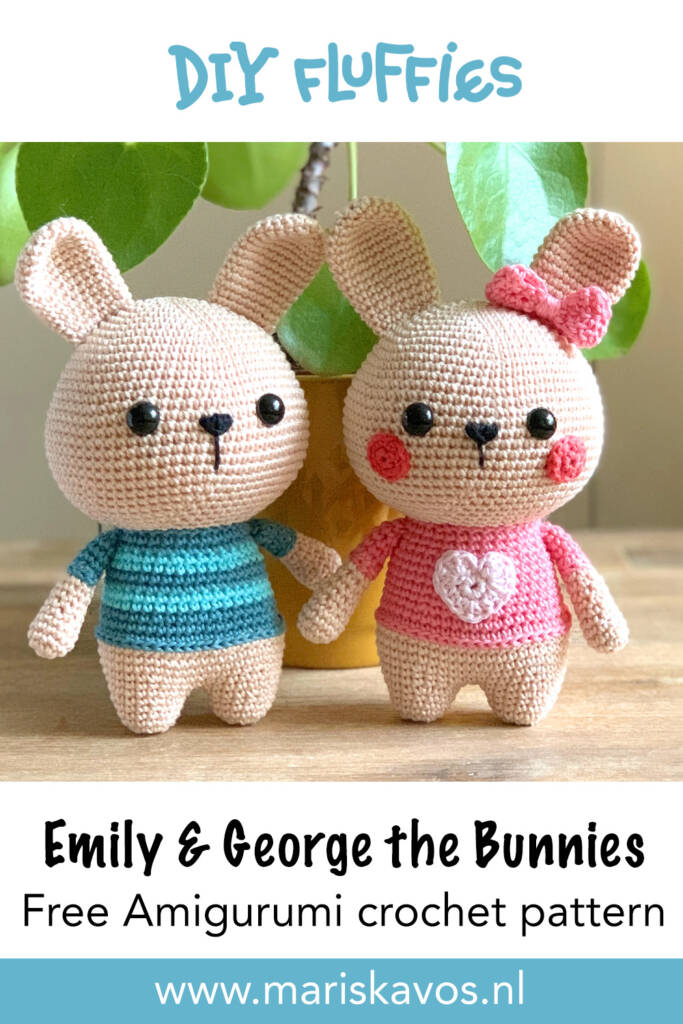


Emily & George the Bunnies Amigurumi
Crochet two very cute bunnies rabbits Amigurumi with this an easy beginner friendly free bunny crochet pattern. These bunnies are so much fun to create for easter.
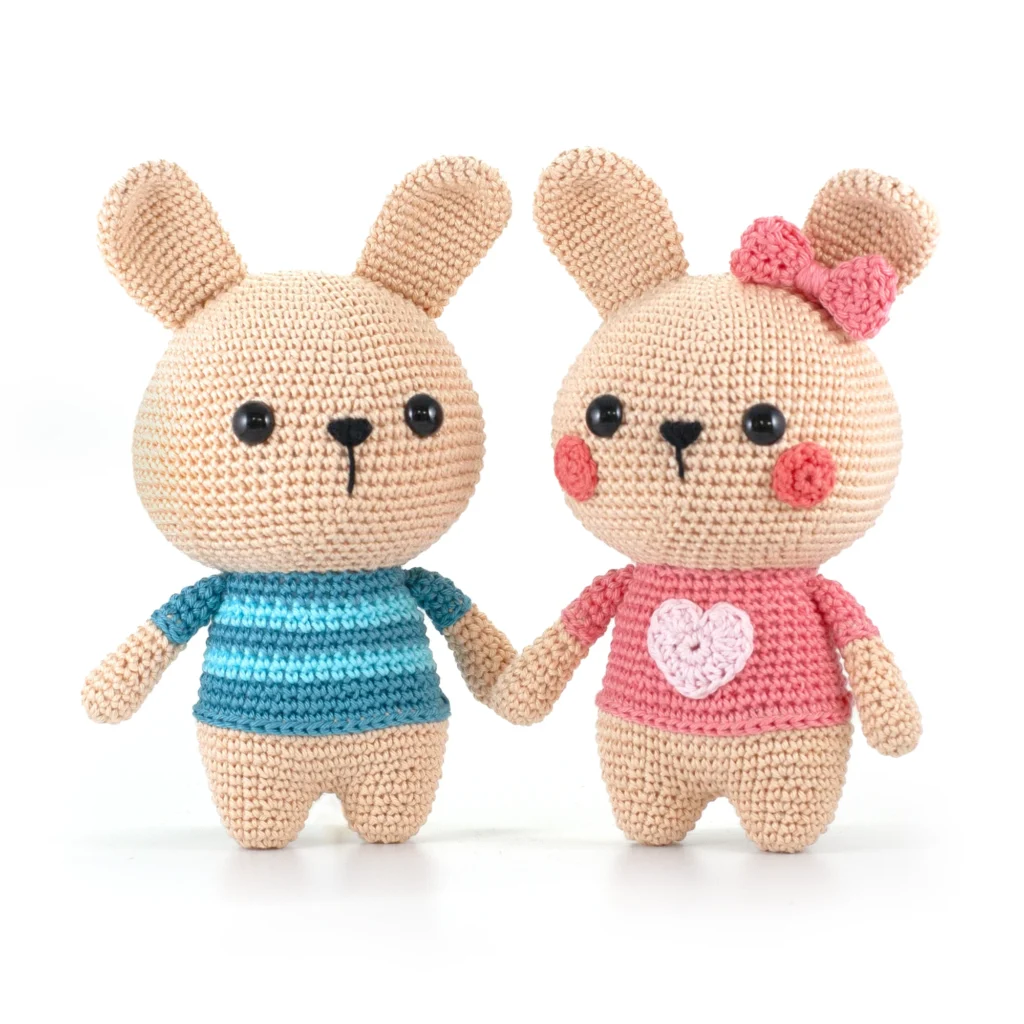
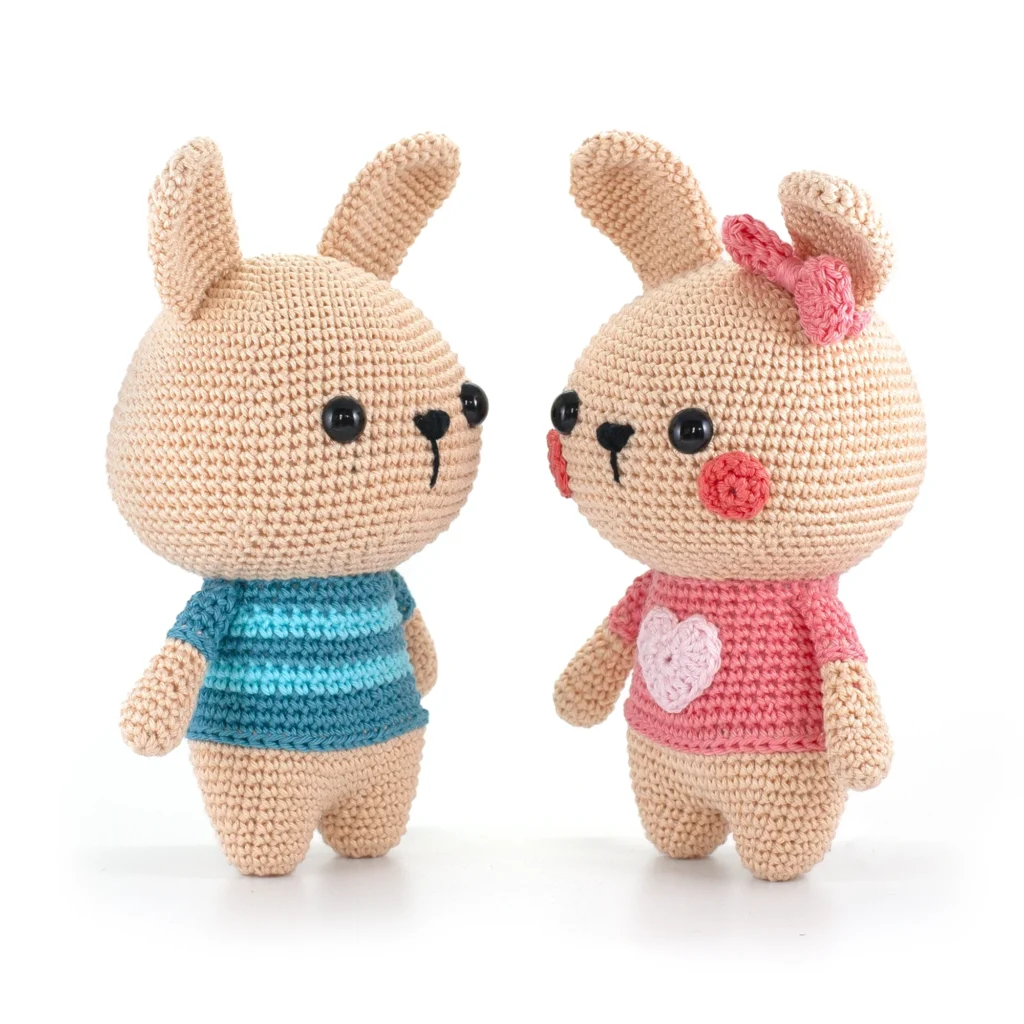
I made Emily and George from sport weight cotton yarn with a 2.5 mm crochet hook, but you can use any yarn you like to crochet these bunnies. All the Materials are listed below. Made with cotton yarn the bunnies will be 20 cm / 8 inch tall. if you use bigger yarn for this crochet pattern, your Amigurumi bunny rabbit will turn out much larger.
A little story about Emily and George the Bunnies:
Emily and George live in a cozy burrow deep in the forest. They look a lot alike, with their soft fluffy fur and big floppy ears. But when it comes to their personalities, the two bunnies couldn’t be more different. Emily loves everything pink and sparkly. She is the life of the party, with a big smile on her face and a spring in her step.
George, on the other hand, prefers to stay at home and play his videogames. He loves nothing more than a quiet afternoon spent at home with his controller in hand. Despite their differences, Emily and George are the best of friends, they have a special bond that nothing can break.
PDF Pattern:
If you prefer a pdf download or want to support me, you can buy the pdf pattern in my etsy shop, thank you so much for your support! (Keep scrolling for the free pattern)
Book: You can also find the pattern of George and Emily the Bunnies in the book Amigurumi Made Easy available on Amazon or other bookstores: www.mariskavos.nl/craft-books/
Materials that you need:
Cotton Sport Weight version 15 cm / 6 inch:
– Pink cotton for shirt and bow – catania color: 409 20 gram
– Beige cotton – catania color: 263 – 42 g for one bunny
– Dark pink cotton – catania color: 252 – 5 gram
– Black cotton – catania color: 110 – 5 gram
– Light Pink cotton – catania color: 246 – 5 gram
– Blue cotton – catania color: 380 – 10 gram
– Light Blue cotton – catania color: 397 – 10 gram
– Synthetic Poly Filling
– Crochet hook size 2.5 mm
– Safety eyes 12 mm
Search for a similar cotton yarn you can buy near you on YARNSUB
Supplies:
– Scissors
– Tapestry needles with blunt point, nr. 16 or 17
– Pins
TIP: Are you using are using Blanket yarn? Then I recommend a 8.0 mm crochet hook.
For Super Bulky Chenille yarn I recommend a 5 mm crochet hook, for bulky velvet yarn a 3.5 mm crochet hook.
Abbreviations used in this free bunny crochet pattern:
(All abbreviations are explained in my basic stitches tutorial)
Rnd: Round
st: stitch
sc: single crochet
sl st: slip stitch
dec: decrease
inc: increase
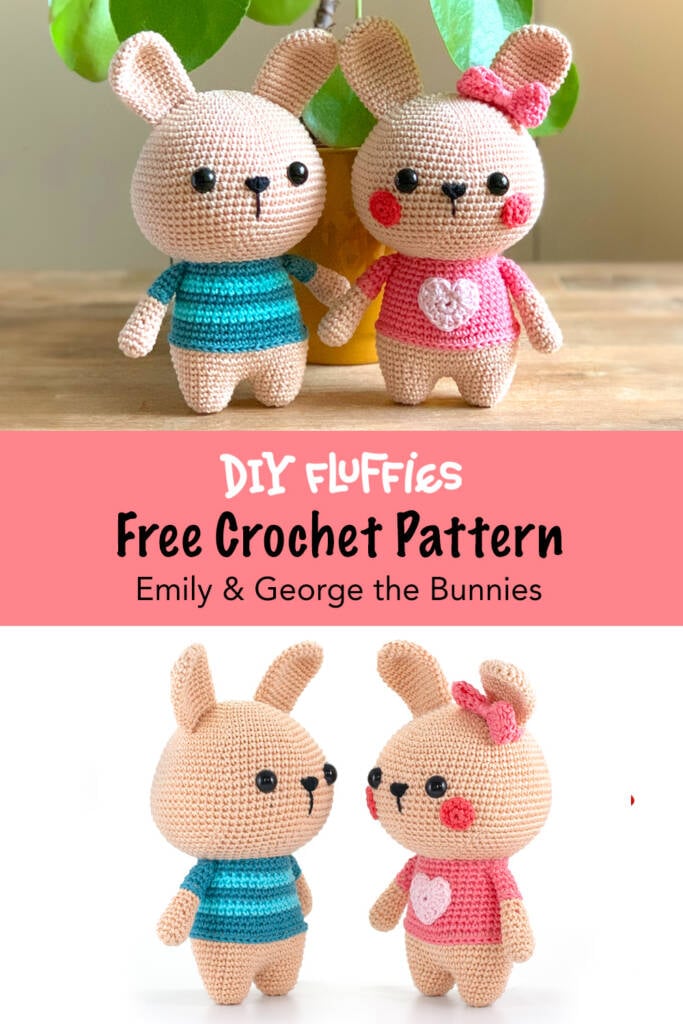
Free Bunnies Crochet Pattern
Emily the Bunny
Click here to go to George the bunny free crochet pattern.
Head:
- Use beige yarn
- Rnd 2: inc in all 6 st (12)
- Rnd 3: (sc in next st, inc in next st) repeat 6 times (18)
- Rnd 4: (sc in next 2 st, inc in next st) repeat 6 times (24)
- Rnd 5: (sc in next 3 st, inc in next st) repeat 6 times (30)
- Rnd 6: (sc in next 4 st, inc in next st) repeat 6 times (36)
- Rnd 7: (sc in next 5 st, inc in next st) repeat 6 times (42)
- Rnd 8: (sc in next 6 st, inc in next st) repeat 6 times (48)
- Rnd 9: (sc in next 7 st, inc in next st) repeat 6 times (54)
- Rnd 10: sc in all 54 st (54)
- Rnd 11: (sc in next 8 st, inc in next st) repeat 6 times (60)
- Rnd 12 – 14: sc in all 60 st (60)
- Rnd 15: (sc in next 9 st, inc in next st) repeat 6 times (66)
- Rnd 16: sc in all 66 st (66)
- Rnd 17: (sc in next 10 st, inc in next st) repeat 6 times (72)
- Rnd 18 – 24: sc in all 72 st (72)
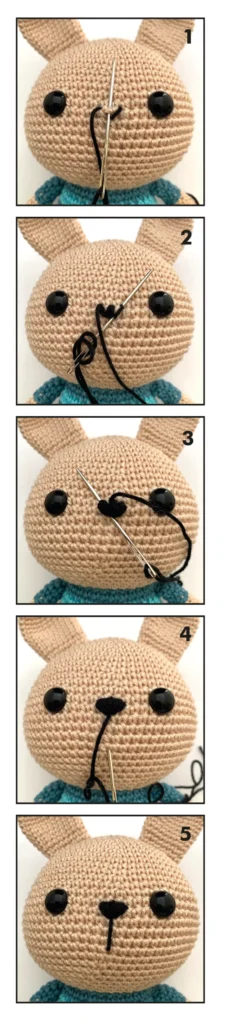
- Insert the safety eyes between rounds 18 and 19,with an interspace of 11 stitches. With black yarn, embroider the nose on round 19, with a width of two stitches. Embroider a short stripe under the nose. The stripe of Emily the bunny has a length of 3 rounds. (photo 1-5).
- Watch my video on how to attach safety eyes the easy way.
- Rnd 25: (sc in next 10 st, dec) repeat 6 times (66)
- Rnd 26: (sc in next 9 st, dec) repeat 6 times (60)
- Rnd 27: (sc in next 8 st, dec) repeat 6 times (54)
- Rnd 28: (sc in next 7 st, dec) repeat 6 times (48)
- Rnd 29: (sc in next 6 st, dec) repeat 6 times (42)
- Rnd 30: (sc in next 5 st, dec) repeat 6 times (36)
- Rnd 31: (sc in next 4 st, dec) repeat 6 times (30)
- Rnd 32: (sc in next 3 st, dec) repeat 6 times (24)
- Rnd 33: (sc in next 2 st, dec) repeat 6 times (18)
- Stuff the head with fiberfill.
- Rnd 34: (sc in next st, dec) repeat 6 times (12)
- Rnd 35: dec 6 times (6)
- Fasten off, leaving a long yarn tail. Using your yarn needle, weave the yarn tail through the front loop of each remaining stitch and pull it tight to close. Weave in the yarn end.
Cheek 2x:
- Use dark pink yarn
- Rnd 1: start 6 sc in a magic ring (6)
- Rnd 2: inc in all 6 st (12)
- Slst in next st. Fasten off, leaving a long tail for sewing. Sew the cheeks to the head between rounds 19-24.
Ears 2x:
- Use beige yarn
- Rnd 1: start 6 sc in a magic ring (6)
- Rnd 2: inc in all 6 st (12)
- Rnd 3: (sc in next st, inc in next st) repeat 6 times (18)
- Rnd 4: (sc in next 5 st, inc in next st) repeat 3 times (21)
- Rnd 5 – 10: sc in all 21 st (21)
- Rnd 11: (sc in next 5 st, dec) repeat 3 times (18)
- Rnd 12 – 13: sc in all 18 st (18)
- Rnd 14: (sc in next 4 st, dec) repeat 3 times (15)
- Rnd 15: sc in all 15 st (15)
- Slst in next st. Fasten off, leaving a long tail for sewing. The ears don’t need to be stuffed. Flatten the ears. Sew the ears to the head between rounds 4-10.
Strap:
- Use pink yarn
- Ch 16 (try the strap around Emily’s ear and adjust the number of chains if necessary). Crochet in rows.
- Row 1: skip first ch on hook, sc in next 15 ch (15)
- Fasten off, leaving a long tail for sewing. Wrap the strap around one ear and sew the ends together.
Bow:
- Use pink yarn
- Ch 21. Crochet in rows.
- Row 1: start in second ch from hook, (sc in next 2 st,hdc in next st, dc in next 4 st, hdc in next st, sc in next 2 st) repeat 2 times, ch 1, turn (20)
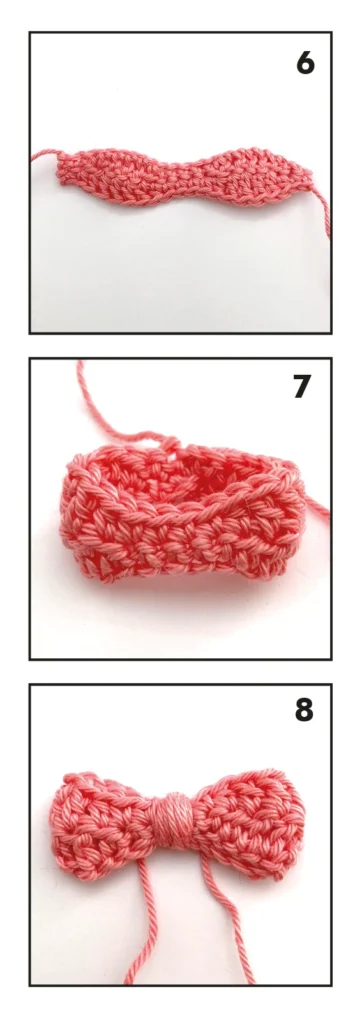
- Row 2: (sc in next 2 st, hdc in next st, dc in next 4 st, hdc in next st, sc in next 2 st) repeat 2 times (20) (photo 6)
- Fasten off, leaving a long tail for sewing.
- Sew the short ends of the piece together (photo 7). Then wrap the yarn around the center of the bow. Knot the yarn tail at the back of the bow (photo 8) . Sew the bow to the strap.
Body:
- We start by making 2 legs in beige yarn.
- Use beige yarn
- Rnd 1: start 8 sc in a magic ring (8)
- Rnd 2: inc in all 8 st (16)
- Rnd 3 – 5: sc in all 16 st (16)
- Rnd 6: (sc in next 3 st, inc in next st) repeat 4 times (20)
- Slst in next st and fasten off on the first leg. Repeat rounds 1-6 but do not fasten off on the second leg. Continue crocheting on the second leg.
- If you find it hard to sew the legs together in the next step, then please check my help video on youtube: www.youtube.com/crochetlegstogether
- Rnd 1: sc in next 10 st, continue in the first stitch of the first leg, sc in all 20 st of the first leg, continue in the eleventh stitch of the second leg, sc in next 10 st of the second leg (40)
- Rnd 2: sc in all 40 st (40)
- Rnd 3: (sc in next 4 st, inc in next st) repeat 8 times (48)
- Rnd 4 – 6: sc in all 48 st (48)
- Change to pink yarn.
- Rnd 7 – 8: sc in all 48 st (48)
- Rnd 9: (sc in next 4 st, dec) repeat 8 times (40)
- Rnd 10 – 14: sc in all 40 st (40)
- Rnd 15: (sc in next 3 st, dec) repeat 8 times (32)
- Rnd 16 – 17: sc in all 32 st (32)
- Slst in next st. Fasten off, leaving a long tail for sewing.
- Crochet a pink border between the beige and pink rounds with surface slip stitches .
- Learn how to surface crochet with this tutorial.
- Stuff the body with fiberfill. Sew the body between rounds 31-32 of the head.
Heart:
- Use light pink yarn
- Rnd 1: start 8 sc in a magic ring, slst in first st (8)
- Rnd 2: skip first st, 5 dc in next st, hdc in the next 2 st, hdc + dc + hdc in the next st, hdc in next 2 st, 5 dc in next st, slst in next st (18)
- Fasten off, leaving a long tail for sewing. Sew the heart between rounds 9-15 of the bunny’s body.
Arms 2x:
- Start with beige yarn
- Rnd 1: start 6 sc in a magic ring (6)
- Rnd 2: inc in all 6 st (12)
- Rnd 3 – 4: sc in all 12 st (12)
- Rnd 5: (sc in next 2 st, dec) repeat 3 times (9)
- Stuff the arm with fiberfill and continue stuffing as you go.
- Rnd 6 – 7: sc in all 9 st (9)
- Rnd 8: sc in next 2 st, dec, sc in next 3 st, dec (7)
- Rnd 9 – 10: sc in all 7 st (7)
- Change to pink yarn.
- Rnd 11 – 14: sc in all 7 st (7)
- Slst in next st. Fasten off, leaving a long tail for sewing.
- Crochet a pink border between the beige and pink rounds of your bunny rabbit using surface slip stitches.
- Sew the arms to the sides of the body on round 16.
Tail:
- Use beige yarn
- Rnd 1: start 6 sc in a magic ring (6)
- Rnd 2: sc in all 6 st (6)
- Stuff the tail with fiberfill. Sew the tail to the back of the body, under the shirt.
Now Emily the bunny is done, I hope you enjoyed this free bunny rabbit crochet pattern. Let’s make George the bunny!
George the Bunny
Head:
- Use beige yarn
- Rnd 1: start 6 sc in a magic ring (6)
- Rnd 2: inc in all 6 st (12)
- Rnd 3: (sc in next st, inc in next st) repeat 6 times (18)
- Rnd 4: (sc in next 2 st, inc in next st) repeat 6 times (24)
- Rnd 5: (sc in next 3 st, inc in next st) repeat 6 times (30)
- Rnd 6: (sc in next 4 st, inc in next st) repeat 6 times (36)
- Rnd 7: (sc in next 5 st, inc in next st) repeat 6 times (42)
- Rnd 8: (sc in next 6 st, inc in next st) repeat 6 times (48)
- Rnd 9: (sc in next 7 st, inc in next st) repeat 6 times (54)
- Rnd 10: sc in all 54 st (54)
- Rnd 11: (sc in next 8 st, inc in next st) repeat 6 times (60)
- Rnd 12 – 14: sc in all 60 st (60)
- Rnd 15: (sc in next 9 st, inc in next st) repeat 6 times (66)
- Rnd 16: sc in all 66 st (66)
- Rnd 17: (sc in next 10 st, inc in next st) repeat 6 times (72)
- Rnd 18 – 24: sc in all 72 st (72)
- Insert both safety eyes between rounds 18 and 19, with an interspace of 11 stitches. With black yarn, embroider the nose on round 19, with a width of two stitches. Embroider a short stripe under the nose. The stripe of George bunny has a length of 4 rounds. (photo 1-5)
- Watch my video on how to attach safety eyes the easy way.
- Rnd 25: (sc in next 10 st, dec) repeat 6 times (66)
- Rnd 26: (sc in next 9 st, dec) repeat 6 times (60)
- Rnd 27: (sc in next 8 st, dec) repeat 6 times (54)
- Rnd 28: (sc in next 7 st, dec) repeat 6 times (48)
- Rnd 29: (sc in next 6 st, dec) repeat 6 times (42)
- Rnd 30: (sc in next 5 st, dec) repeat 6 times (36)
- Rnd 31: (sc in next 4 st, dec) repeat 6 times (30)
- Rnd 32: (sc in next 3 st, dec) repeat 6 times (24)
- Rnd 33: (sc in next 2 st, dec) repeat 6 times (18)
- Stuff the head with fiberfill.
- Rnd 34: (sc in next st, dec) repeat 6 times (12)
- Rnd 35: dec 6 times (6)
- Fasten off, leaving a long yarn tail. Using your yarn needle, weave the yarn tail through the front loop of each remaining stitch and pull it tight to close. Weave in the yarn end.
Ear 2x:
- Use beige yarn
- Rnd 1: start 6 sc in a magic ring (6)
- Rnd 2: inc in all 6 st (12)
- Rnd 3: (sc in next st, inc in next st) repeat 6 times (18)
- Rnd 4: (sc in next 5 st, inc in next st) repeat 3 times (21)
- Rnd 5 – 10: sc in all 21 st (21)
- Rnd 11: (sc in next 5 st, dec) repeat 3 times (18)
- Rnd 12 – 13: sc in all 18 st (18)
- Rnd 14: (sc in next 4 st, dec) repeat 3 times (15)
- Rnd 15: sc in all 15 st (15)
- Slst in next st. Fasten off, leaving a long tail for sewing.
- The ears don’t need to be stuffed. Flatten the ears. Sew the ears to the head between rounds 4-10.
Body:
- We start by making 2 legs
- Start with beige yarn
- Rnd 1: start 8 sc in a magic ring (8)
- Rnd 2: inc in all 8 st (16)
- Rnd 3 – 5: sc in all 16 st (16)
- Rnd 6: (sc in next 3 st, inc in next st) repeat 4 times (20)
- Slst in next st and fasten off on the first leg.
- Repeat rounds 1-6 but do not fasten off on the second leg. Continue crocheting on the second leg.
- If you find it hard to sew the legs together in the next step, then please check my help video on youtube: www.youtube.com/crochetlegstogether
- Rnd 1: sc in next 10 st, continue in the first stitch of the first leg, sc in all 20 st of the first leg, continue in the eleventh stitch of the second leg, sc in next 10 st of the second leg (40)
- Rnd 2: sc in all 40 st (40)
- Rnd 3: (sc in next 4 st, inc in next st) repeat 8 times (48)
- Rnd 4 – 6: sc in all 48 st (48)
- Change to blue yarn.
- Rnd 7 – 8: sc in all 48 st (48)
- Change to light blue yarn.
- Rnd 9: (sc in next 4 st, dec) repeat 8 times (40)
- Rnd 10: sc in all 40 st (40)
- Change to blue yarn.
- Rnd 11 – 12: sc in all 40 st (40)
- Change to light blue yarn.
- Rnd 13 – 14: sc in all 40 st (40)
- Change to blue yarn.
- Rnd 15: (sc in next 3 st, dec) repeat 8 times (32)
- Rnd 16 – 17: sc in all 32 st (32)
- Slst in next st. Fasten off, leaving a long tail for sewing.
- Crochet a blue border between the blue and beige rounds of your bunny rabbit using surface slip stitches. Stuff the body with fiberfill. Sew the body to the head, between rounds 31-32.
- Learn how to surface crochet with this tutorial.
Arms 2x:
- Start with beige yarn
- Rnd 1: start 6 sc in a magic ring (6)
- Rnd 2: inc in all 6 st (12)
- Rnd 3 – 4: sc in all 12 st (12)
- Rnd 5: (sc in next 2 st, dec) repeat 3 times (9)
- Stuff the arm with fiberfill and continue stuffing as you go.
- Rnd 6 – 7: sc in all 9 st (9)
- Rnd 8: sc in next 2 st, dec, sc in next 3 st, dec (7)
- Rnd 9 – 10: sc in all 7 st (7)
- Change to blue yarn.
- Rnd 11 – 14: sc in all 7 st (7)
- Slst in next st. Fasten off, leaving a long tail for sewing.
- Crochet a blue border between the beige and blue rounds using surface slip stitches.
- Sew the arms to the sides of the body on round 16.
Tail:
- Use beige yarn
- Rnd 1: start 6 sc in a magic ring (6)
- Rnd 2: sc in all 6 st (6)
- Stuff the tail with fiberfill. Sew the tail to the back of the body, under the shirt.
Now your cute bunny rabbit is done, are you looking for more free easter crochet patterns?
Try my other cute stuffed animal Amigurumi patterns below:
Source link