Decreases that require slipping and/or flipping stitches make me um, hiss, in frustration. I like to use slick needles, but too many times, when I pass a stitch over, the entire unit flips off the needle, runs down the complicated lace pattern, and dares me to breathe.
The last time this happened, I decided to put a stop to the insanity and spent a couple of hours reworking all those stupid stop-slip-slip-flip-slide techniques so they can be done in a single step. No slipping or flipping required. No hauling stitches over other stitches. No stopping to rip back to the lifeline (you did have a lifeline there, right?)
Watch closely.
K2 together–left slant
Traditional method: slip 1, k1 pass the slipped stitch over the knit stitch.
Better method: Slip 1 knitwise, Slip 1 purlwise, knit the two together through the back loop on the right-hand needle.
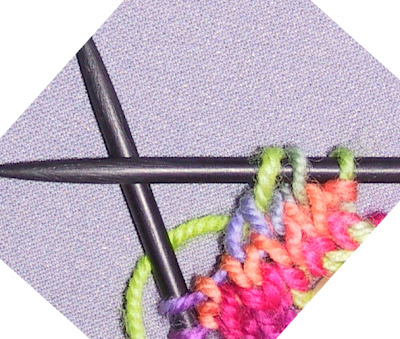
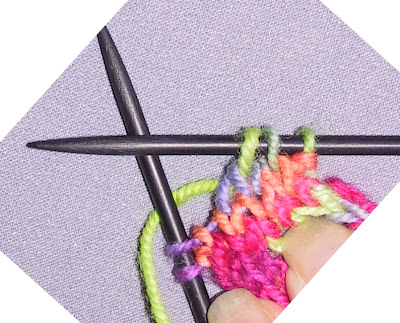
Slipless method: Put the needle through the front of the first loop and the back of the second and knit them together as a unit through the back loop.
Needle through the front of the first loop:
Needle through the back of the second loop
Wrap yarn…
And pull it through both stitches.
Finished result:
K3 together–left slant
Traditional method: There are lots of variants of this–all of them ghastly. Here’s one: Slip 2 knitwise one at a time, knit 1, shlep the 2 knit stitches over the slipped stitch. There’s a K3 together through the back loop that twists the stitches, another that involves a K1 Slip-Slip-Knit and pass something over something else.
Slipless method: Put the needle through front of the first stitch and the back of the next two stitches. Knit the together as a unit through the back loops.
Needle through the front of the first loop:
:
Needle through the back of second and third loops:
Wrap the yarn…
And pull it through all three stitches.
The finished stitch:

K3 together–central decrease (no slant)
Traditional method: Slip 2 knitwise as a unit, knit 1, pass the slipped stitches as a unit over the knit stitch.
Slipless method: Put the needle through the front of the first two stitches, reach around and put the needle through the back of the third stitch and knit them together as a unit through the back loops. It’s kind of squinchy, but with practice (and loose knitting), it becomes effortless.
Needle through the front of the first two loops:
Needle through the back of the third loop:
Wrap yarn… (I notice here that I am wrapped the yarn wrong for the photo. It should go over the needle. Please excuse me…taking another photo, cropping, uploading to Blogger….just wrap the yarn the other way, OK?
And pull it through all three stitches.
Note that you should practice the easiest one first (K2 together–left slant) to get an idea of how these stitches feel when they are being knitted. Work in good light so you can see what you are doing. When you feel comfortable with this one, progress to the K3 together–left slant. When you are totally comfortable with the first two, graduate to the K3 together–central decrease (no slant).
If you are having trouble getting the needle through these stitches, pinch the knitting below them and pull down. The stitches will open up nicely.
You will be amazed at how these techniques will improve your knitting efficiency, especially if you are doing lace. You’ll attain a nice rhythm, too, because you don’t have to stop and slip.
I don’t think you can do these tricks if you are a tight knitter. Why are you a tight knitter, anyway? Loosen up! Relax!
Source link

