


This post contains affiliate links. If you make a purchase through links on our site, I may earn a small commission. Click to see full details of my Privacy Policy.
However, do you struggle when it comes to the approach of capturing your latest make? If you’re sitting there thinking, ‘I wish my photos were better!!’ Then this post is for you, let’s hand over to Nicola…
All images featured in this post have been taken by photographer Nicola White.
Do I need a digital camera to take good photos?
In short, the answer is no. The biggest misconception is that you have to have a ‘professional’ camera to take good photos, but that’s simply not the case. Your iPhone or Android phone can take amazing pictures! It’s all about light, positioning and composition.
We all love photographing our crochet to share on social media, right? I often see people posting their work with the caption: ‘not a great image, but here is my….’
If you can relate to this comment, then you’re in the right place.
I’ll be sharing all my top tips for capturing your work using your phone and items around your home.
Remember: just like all things, photography takes practice, just like the first time you picked up a crochet hook, the more you practice and experiment, the better the outcome of your photos.
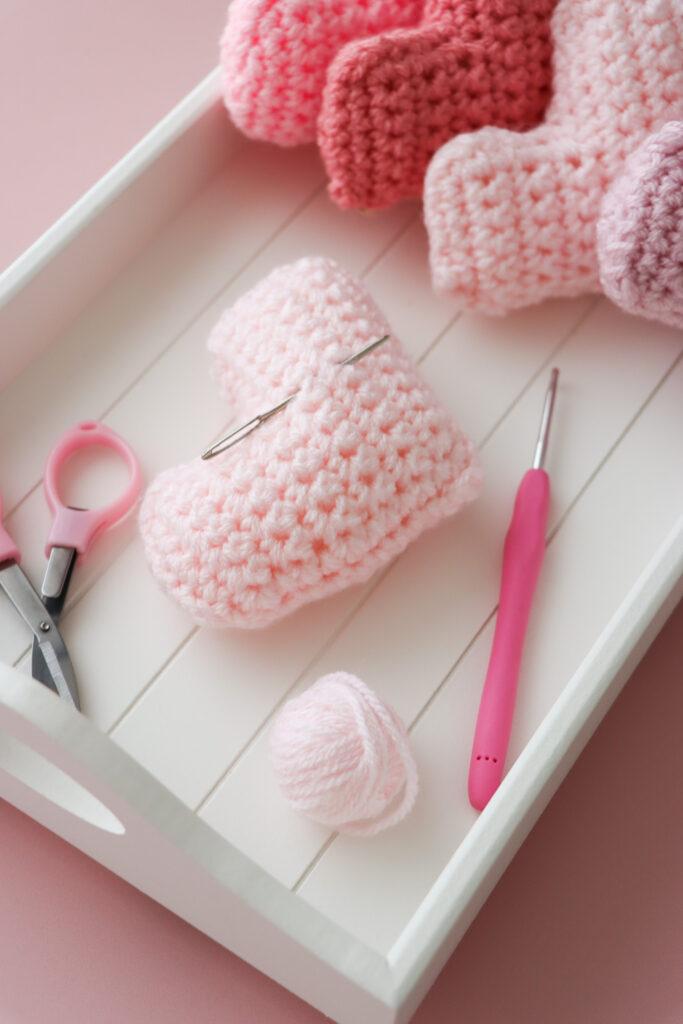
Props
Props can definitely add to an image but they can distract from what you are trying to showcase. I’ll be sharing some examples of crochet photographed with and without props. But first, my top tips are:
- Using the hook and yarn in your images can work really well, also switching out your actual hook for a more aesthetically pleasing hook can really add to your image.
- Adding any accessories that you have used to make your crochet item can also look really lovely, for example, stitch markers, beads, embroidery thread, tape measure, scissors, etc. However, if your image starts to look too overcrowded, either take some away or don’t use them!
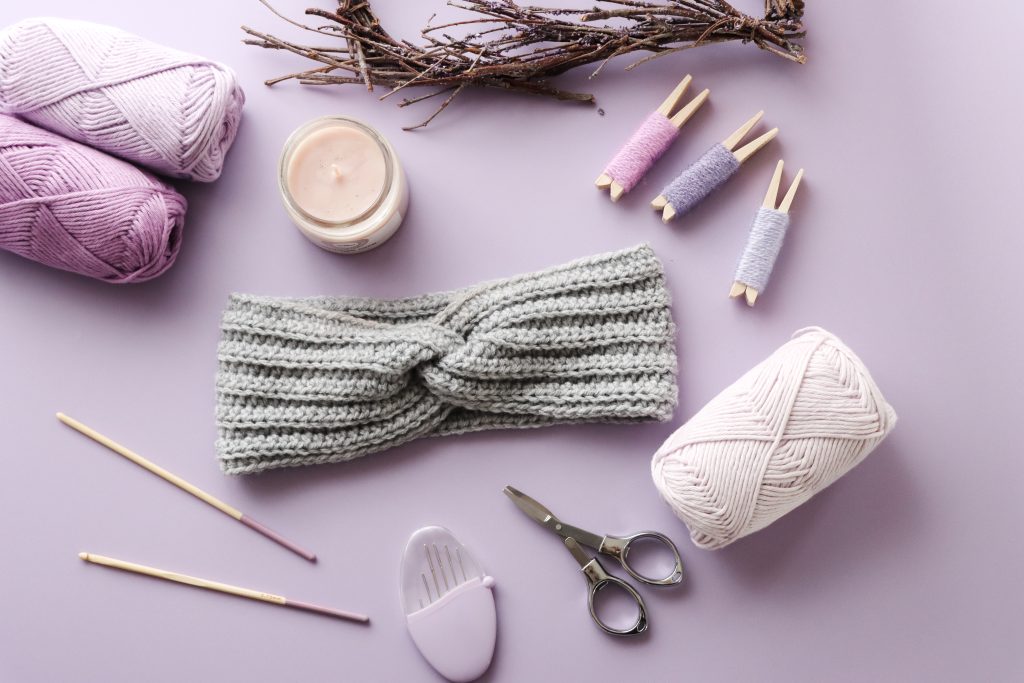
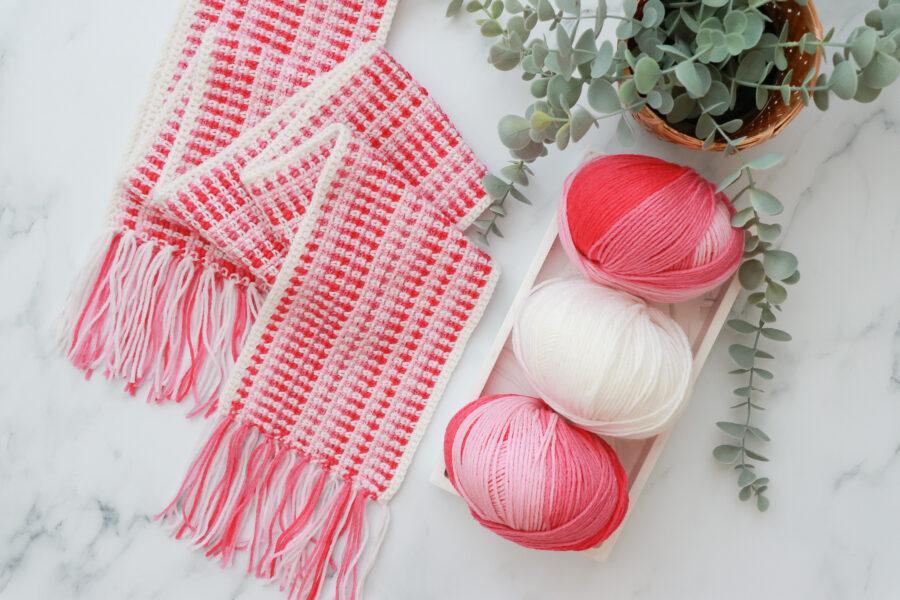
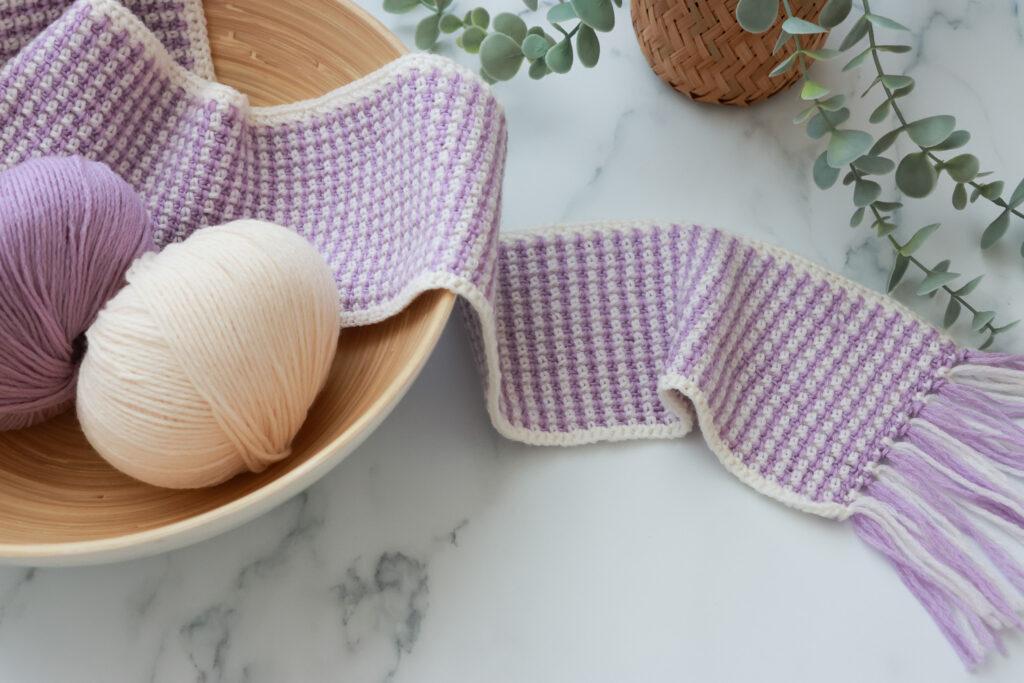
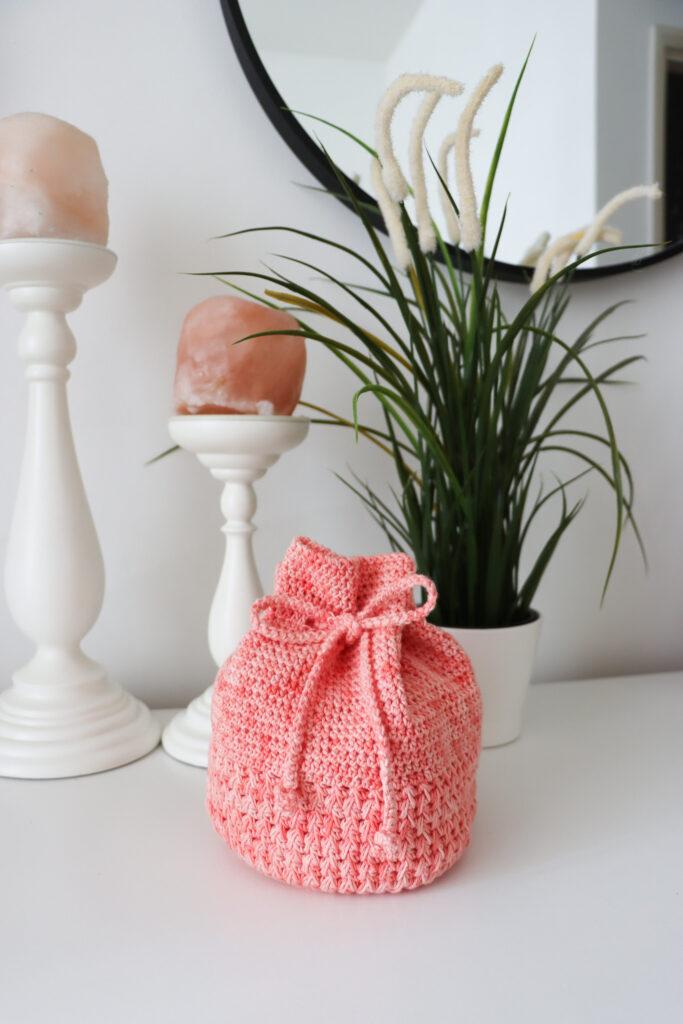
- Look around your home for props before buying anything; for example, plants, fresh or dried flowers, candles, mugs, pens, and notepads can work well.
All of the props featured are things from around my home. I personally love using crochet accessories, small trays and a latte in my images, which I then enjoy after I’ve captured the images.
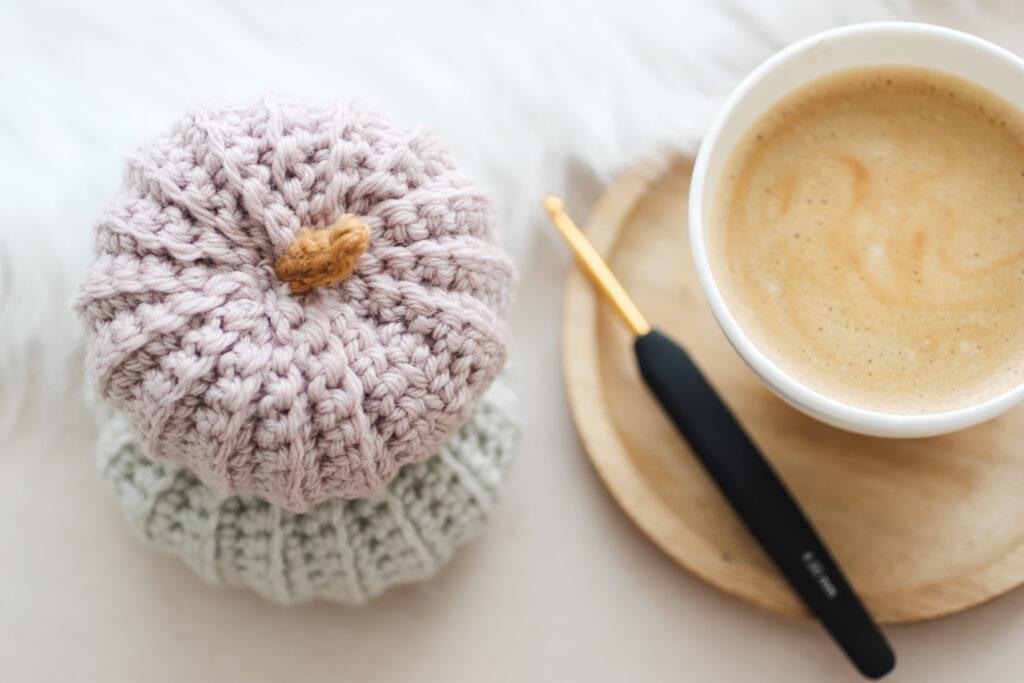
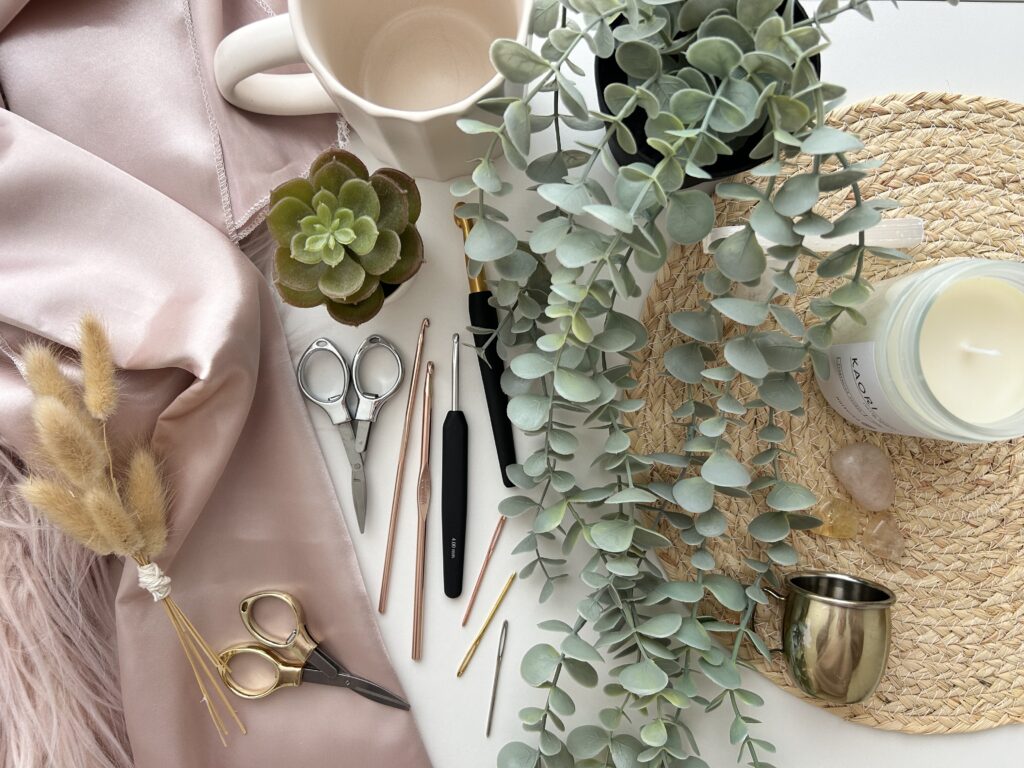
Selecting Your Props
These are a few things I often use in my images when photographing my crochet projects, some faux greenery, dried flowers, a candle, a mug, a placemat and fabric to lay over the surface I’m using, sometimes to add a little texture to my images.
As for backdrops, a clean, matte surface is perfect, whether it’s a sideboard, dining room table, coffee table or a vinyl backdrop. Ideally, you don’t want anything that’s going to reflect back at you.
Task: take a look around your home and select a few things that you could use in your images, and in the next section, I’ll be sharing some props for those of you who want to invest, including the backdrops pictured.
Recommended Props
- Wooden Ladder: great for blankets
- Clothes Hangers: for wearables and blankets
- Large Baskets: great for blankets
- Small Baskets and Bowls: work well for amigurumi
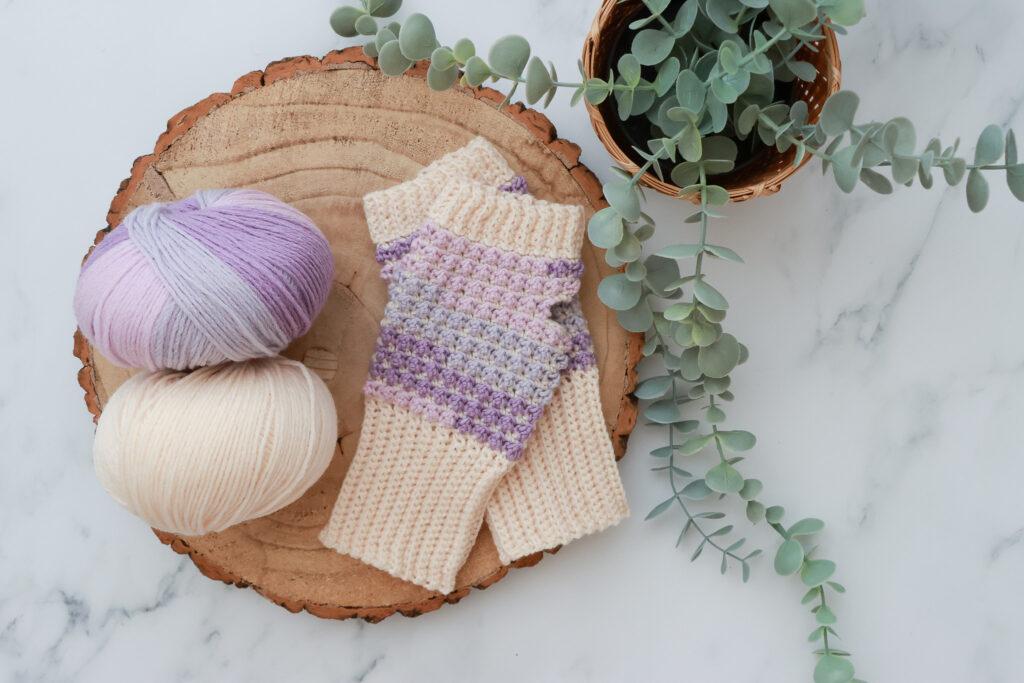
- Log Slices: great for flat lays, hats, gloves, small accessories
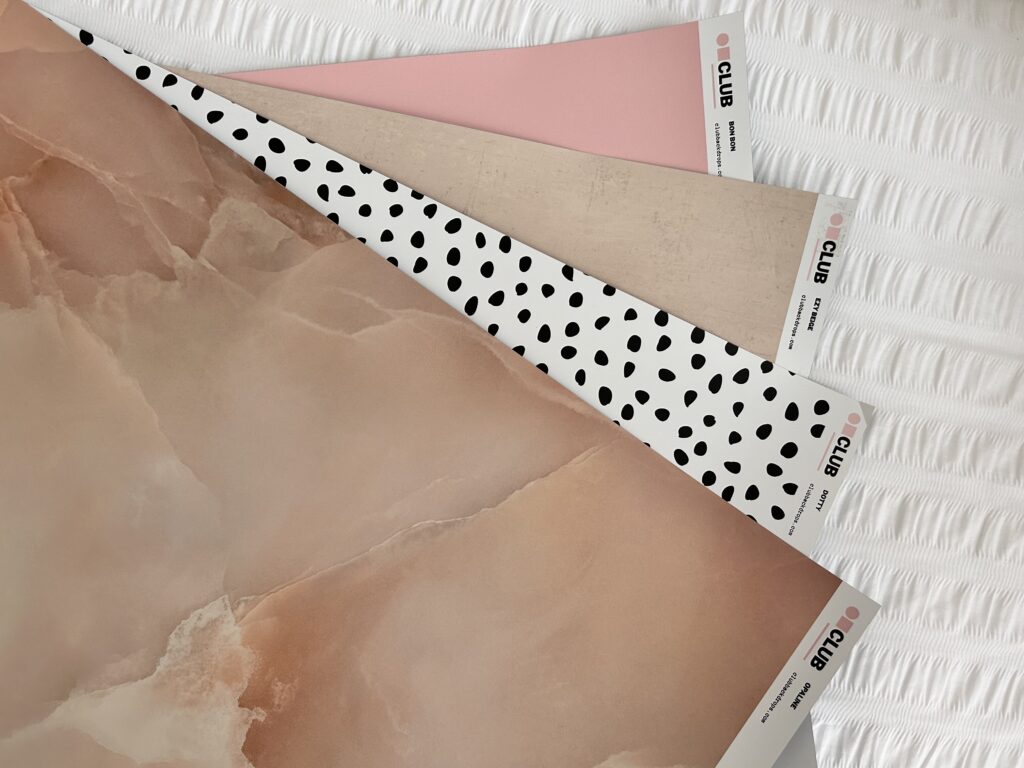
- Club Backdrops: these are great for flat lays. I use the vinyl backdrops. Size: 90cm/60cm
- Tripod: adjustable 360-degree tripods can be a great investment, you can use these for self-timer images or overhead shots
- Mannequin: you might want to invest in a mannequin if you enjoy making wearables and want to photograph them regularly
Places to shop for props:
- The Range
- Ikea
- Home Bargains
- Poundland
- TK Maxx
- Asda Home
- Tesco Home
- Sainsbury’s Home
- Amazon
Pin For Later
Where to Take Your Photos
The space in which you choose to take your photos is one of the most important factors I want you to consider. You ideally want to work in a space near to a window that is clear of any clutter that will either absorb light or cast unwanted shadows on your work.
Objects absorb light, so the more objects surrounding your workspace, the darker your images will be. White reflects light, so if you have a white or light table, desk, curtains or wall, I’d recommend using this as your ‘photography’ space.
If you naturally have a dark home, then embrace it rather than fight against it. What I mean by that is don’t try and brighten your images in editing software, or you’ll distort the colours of the yarn, and you’ll likely highlight the grain in the images, meaning they will look fuzzy. You may want to take your photos outside in a shaded area as an alternative.
TASK: take a look around your home for an ideal space to photograph your work.
Working with Natural Light
- Place your crochet in a well-lit area but not in direct sunlight.
- Direct sunlight will overexpose your images and bleach out the colours in your image or make them appear a different shade.
- Avoid photographing your projects at night with or without artificial light as artificial light often makes images yellow.
- Remember, objects in the surrounding area can absorb light and/or cast shadows on your work.
- I often take images on my bed with white bedding:
- ☑️ it’s by the window
- ☑️ it’s in a bright, light room
- ☑️ the white bedding helps reflect the light from the window, off the wall onto the bedding into the phone, creating crisp clean images…
- Alternatively, I use my chest of drawers in my bedroom, which also makes a good surface as they are white against a white wall, which has the same light bouncing effect as the bed.
- I’ll leave some examples below, sharing some of my top styling tips…
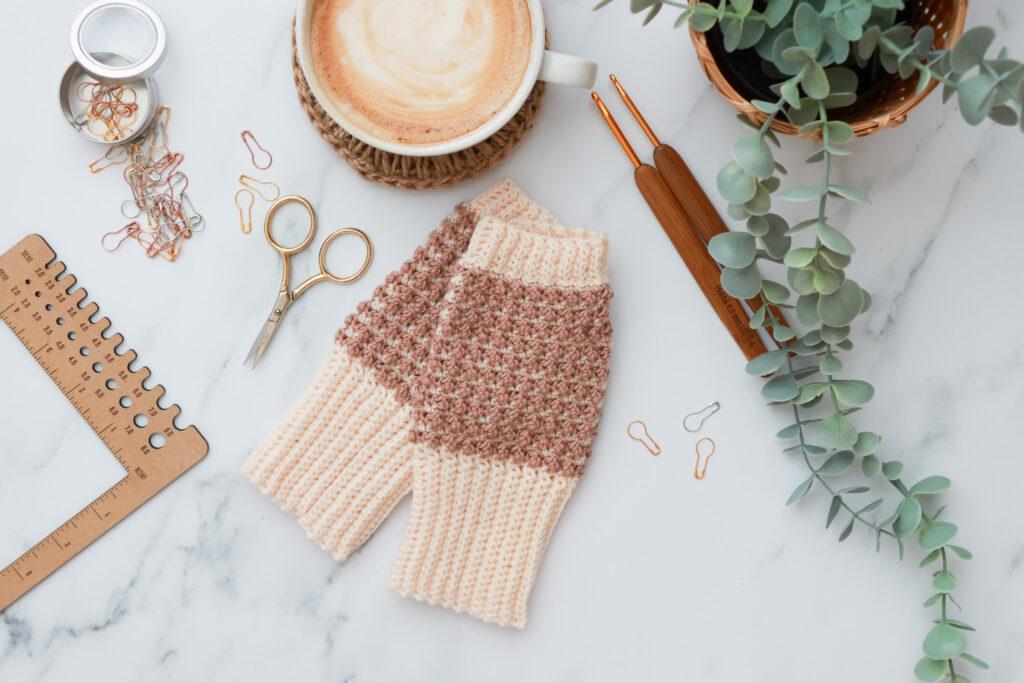
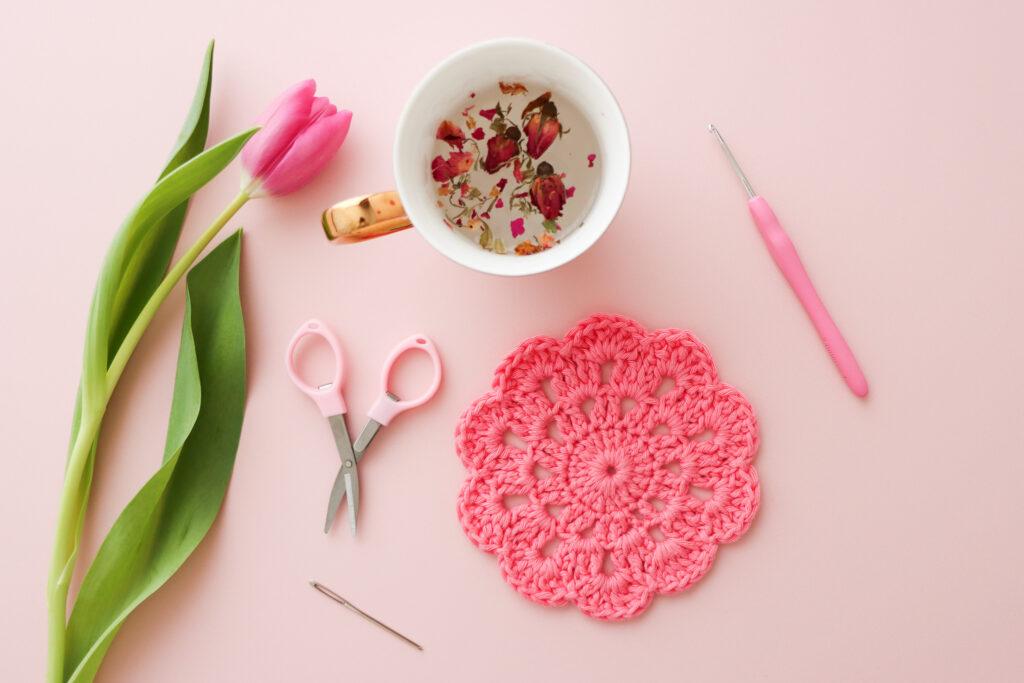
Flat lay: Photography Ideas
I personally love colour blocking and incorporating similar colours into my flat lay images. Crochet accessories make the best props, and I know you’ll all have a great selection to choose from. We’re crocheters! We love accessories!
Top tip: when using props, ensure your crochet is the main focus. The easiest way to achieve this is to centralise it.
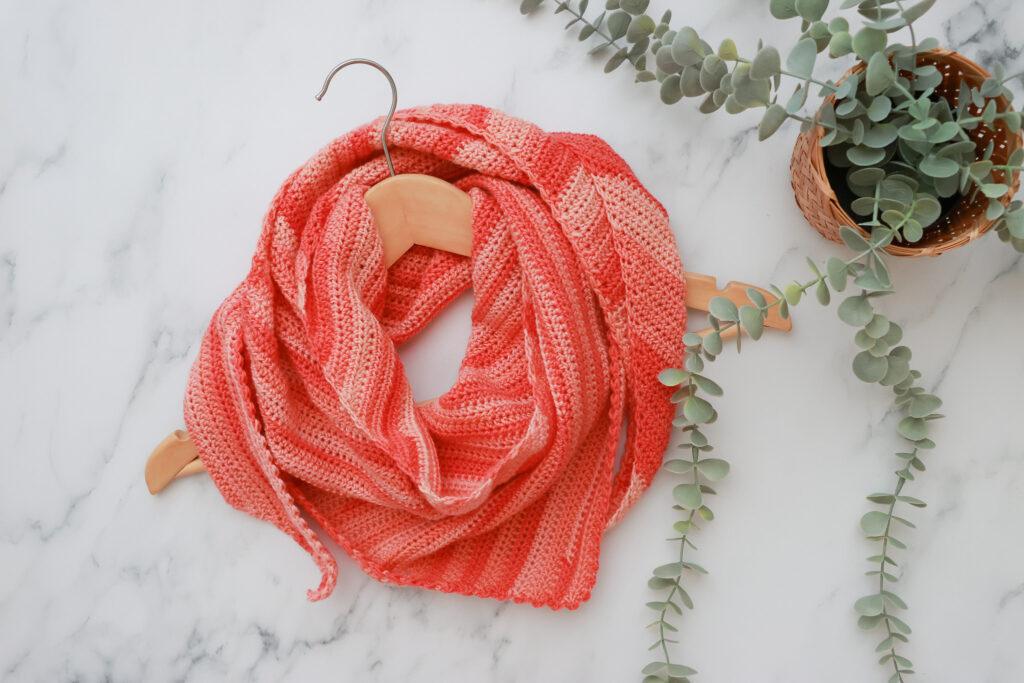
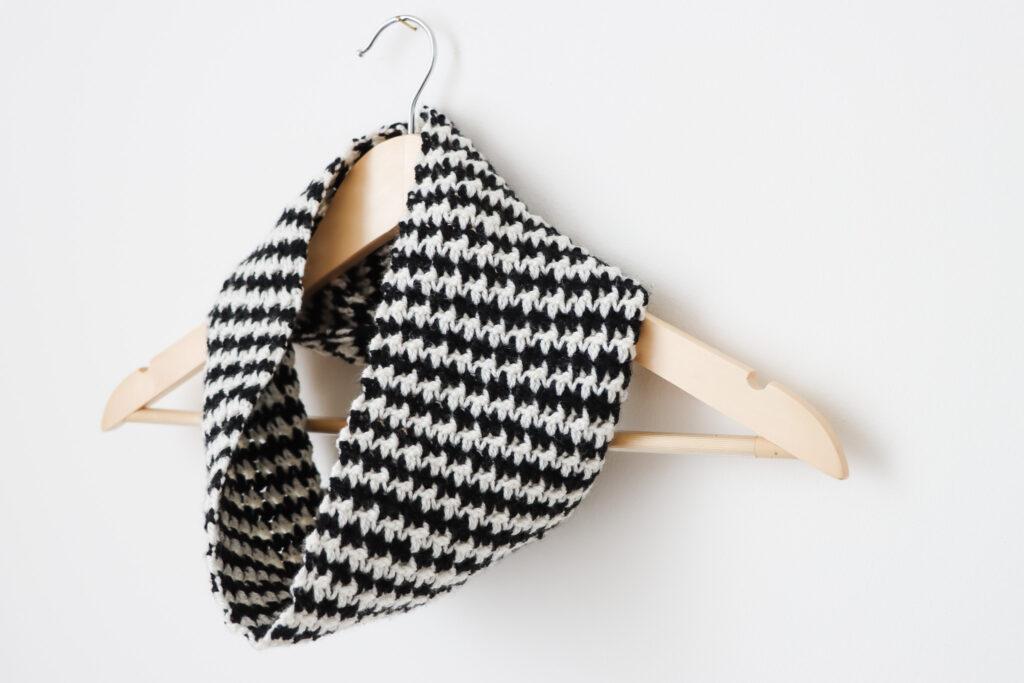
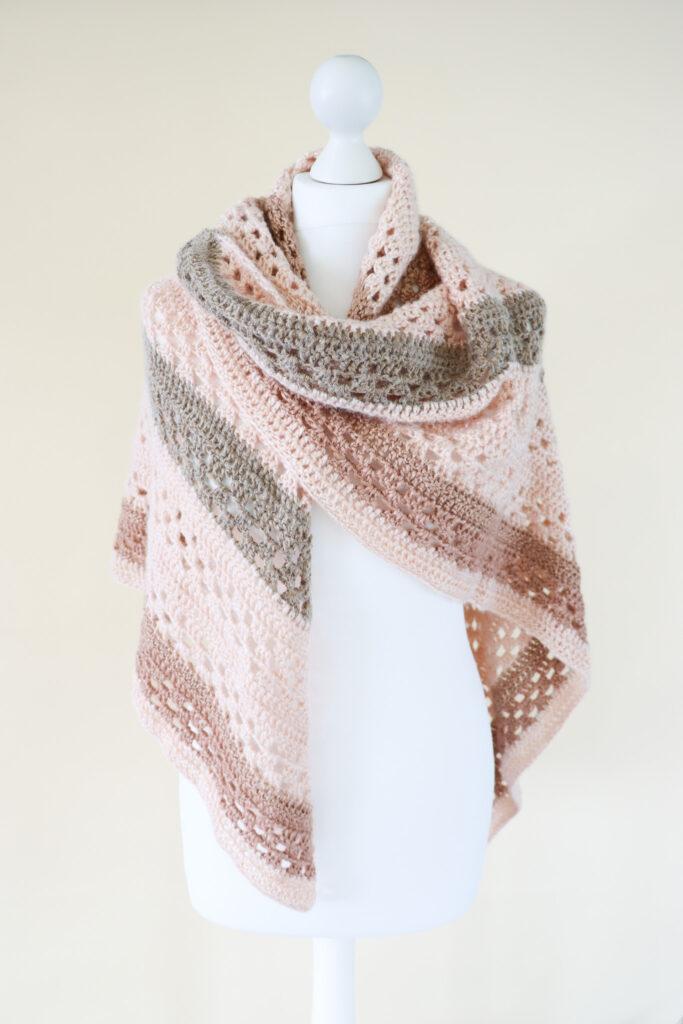
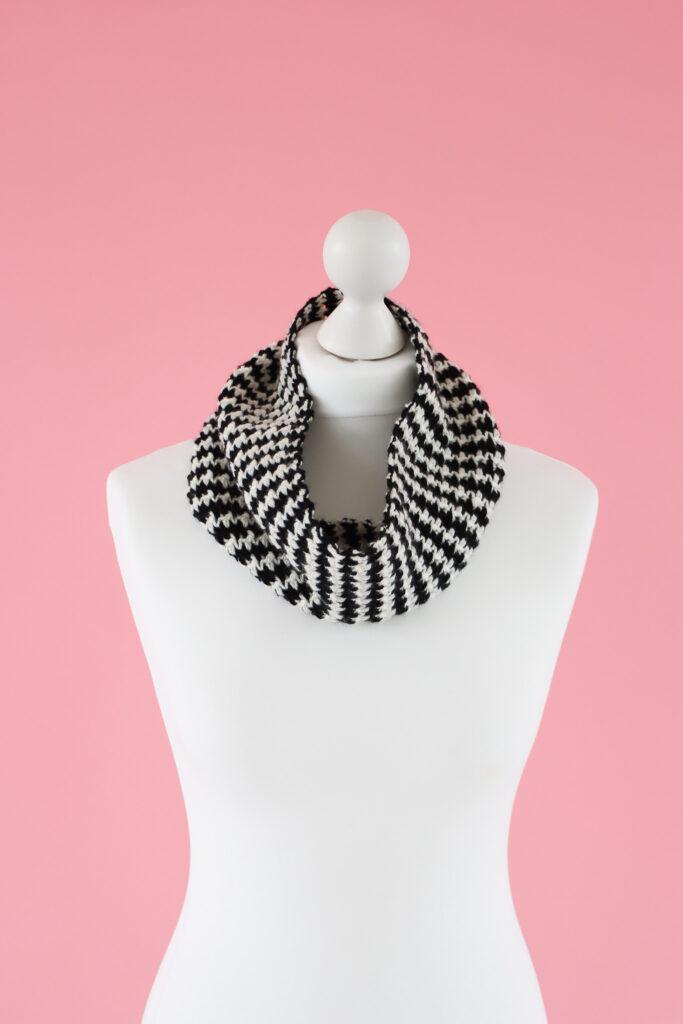
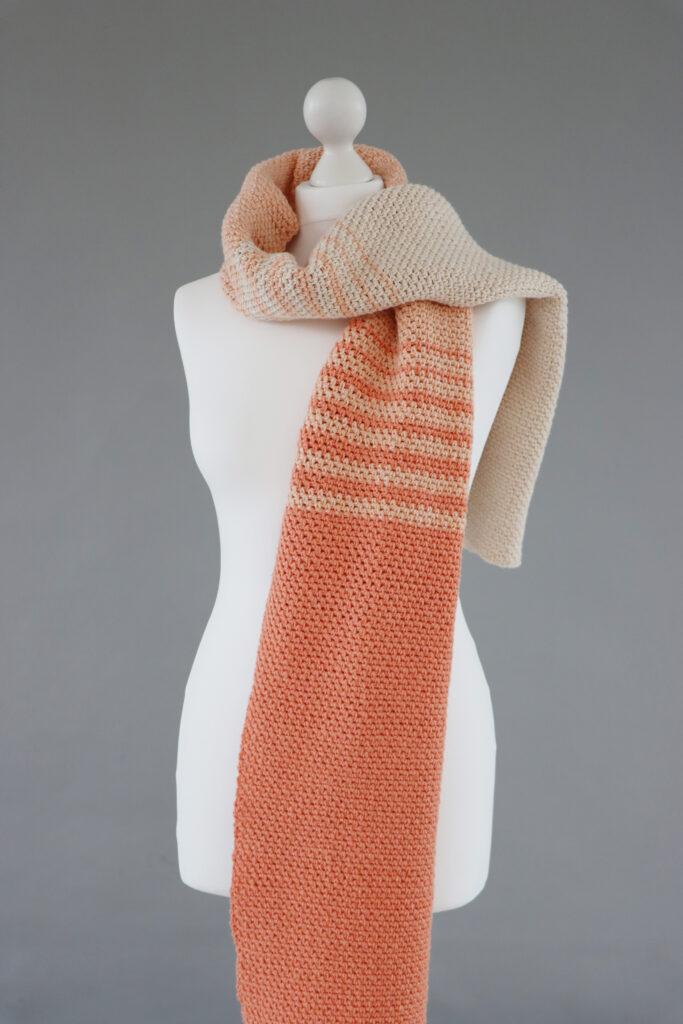
Scarves & Shawls: Photography Ideas
No mannequin or model… don’t worry, there are plenty of ways you can display your crochet shawls and scarves:
- Flat lay: lay your scarves and shawls on a flat surface with or without props. It’s lovely to add in any leftover yarn to your images to show a before/after style shot in the same image.
- Hangers: you can wrap them around a hanger to showcase the style and how you would wear it.
- Yarn/decorative bowl: drape your crochet shawl or scarf over a chair, or a decorative item like a large decorative bowl.
- Displayed on a wall: If you have a frame or a decorative wall hanging already in your home on a well-lit wall, you can utilise this hook/nail to hang your crochet for a photo.
- Mannequin: If you love crocheting scarves, shawls or wearables, you might want to invest in a mannequin.
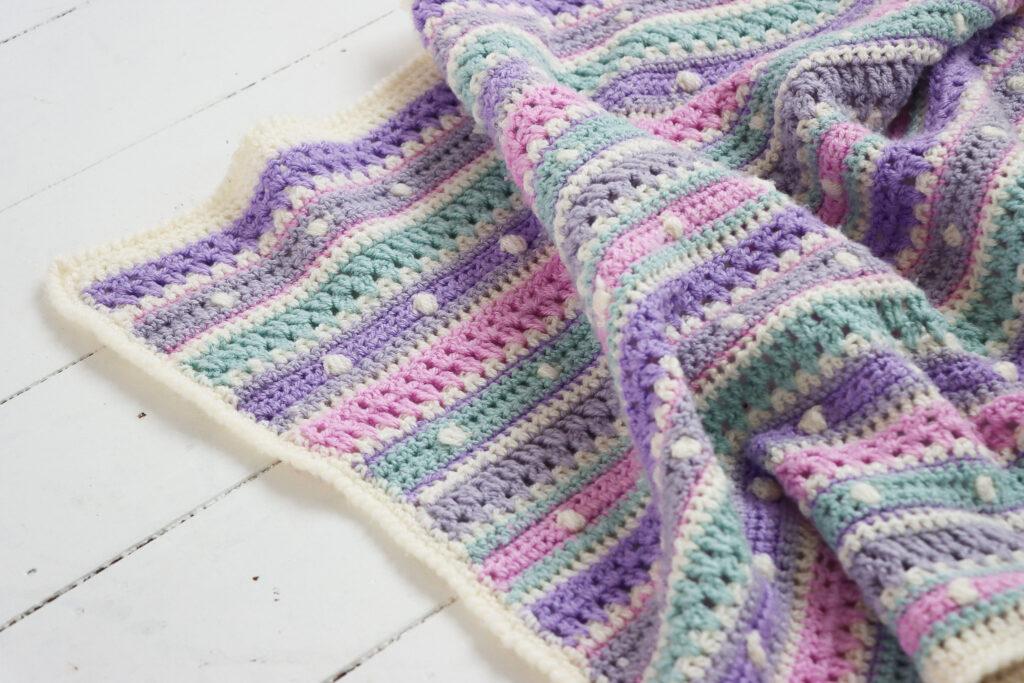
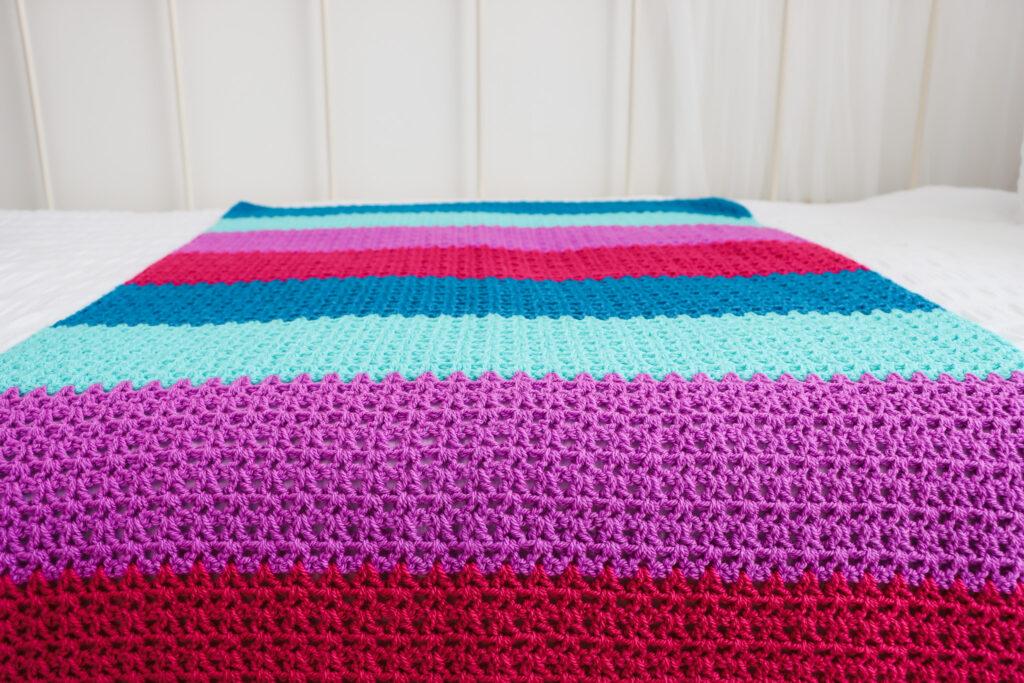
Blankets: Photography Ideas
Blankets are super popular in the world of crochet, and there are so many ways you can capture them. Starting with a naturally light room or space you can capture your blankets:
- On the floor: Either lay it flat or create a ‘dropped on the floor’ look with some of the blanket slightly scrunched or folded.
- Lay on a bed: Either flat, folded or draped. I’ve laid the blanket hanging down the edge of the bed here to get a perspective on the colour block and pick up the lovely stitch. Having plain, light bedding underneath is always recommended.
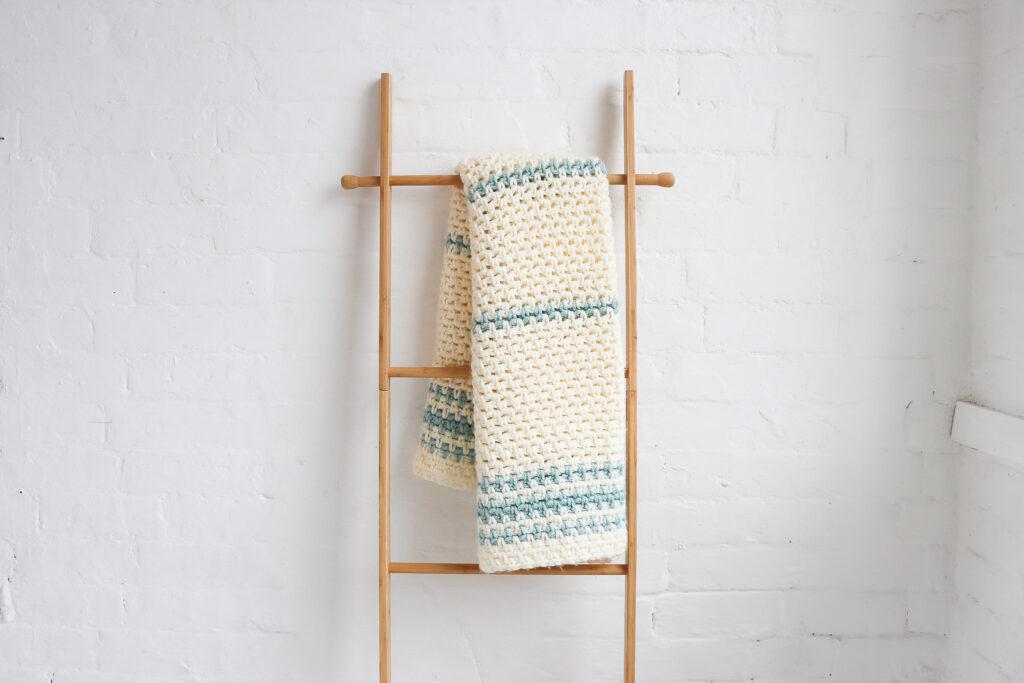
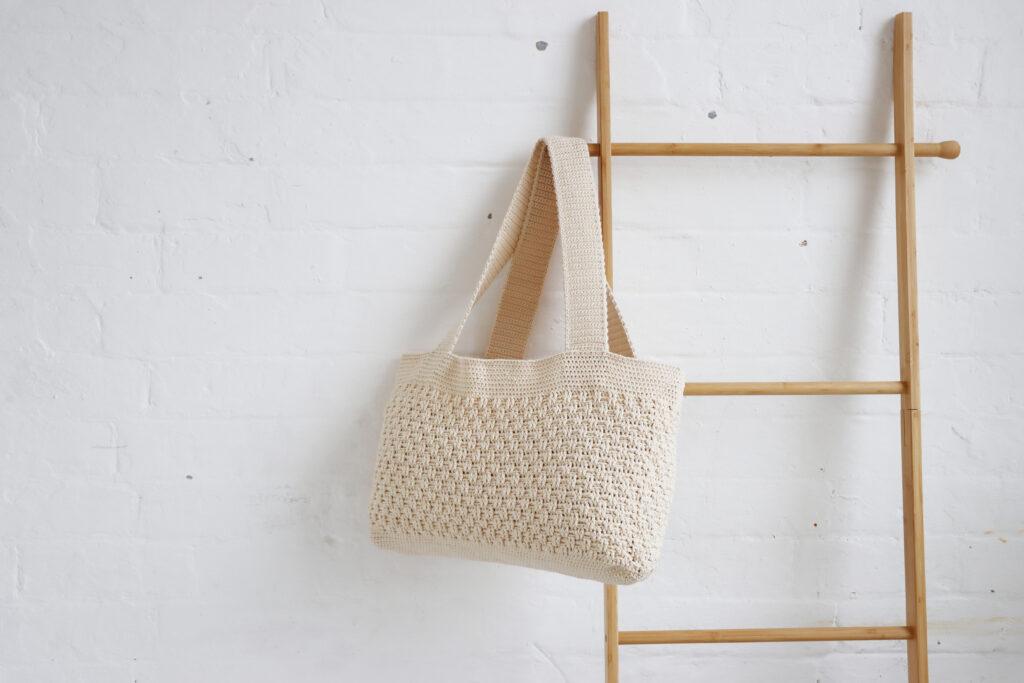
- Ladders: These decorative ladders are such an effective way to showcase your blankets, so if you love crocheting blankets and struggle to take photos of them, this is a recommended prop!
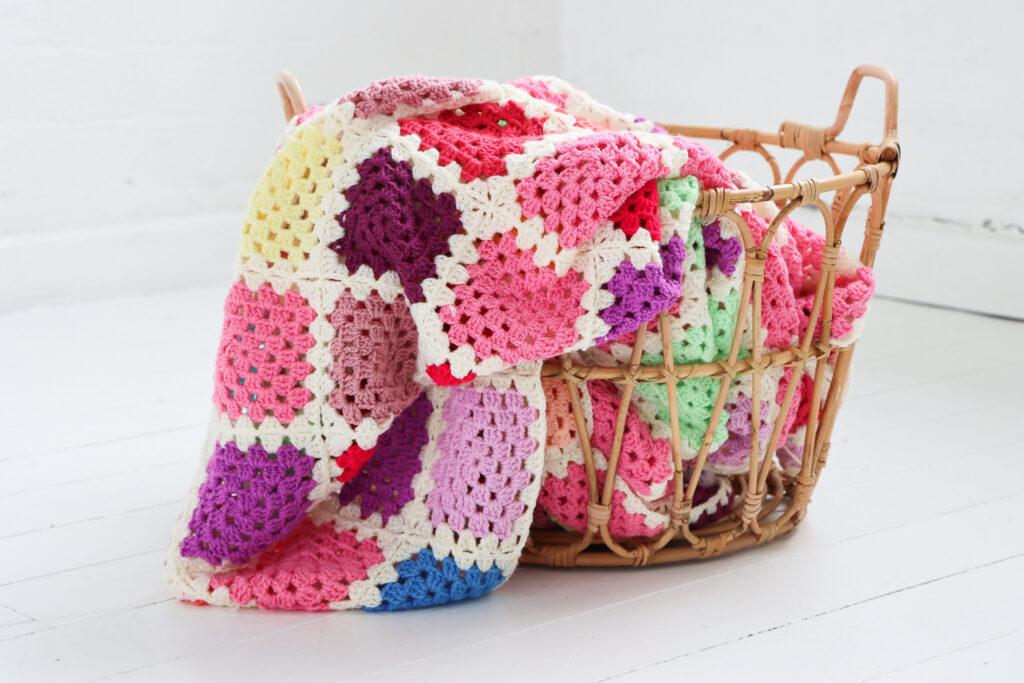
- Basket: Drape your crochet blankets over a basket. I prefer open baskets, but a solid basket also works, just ensure more of the blanket is out of the basket than in.
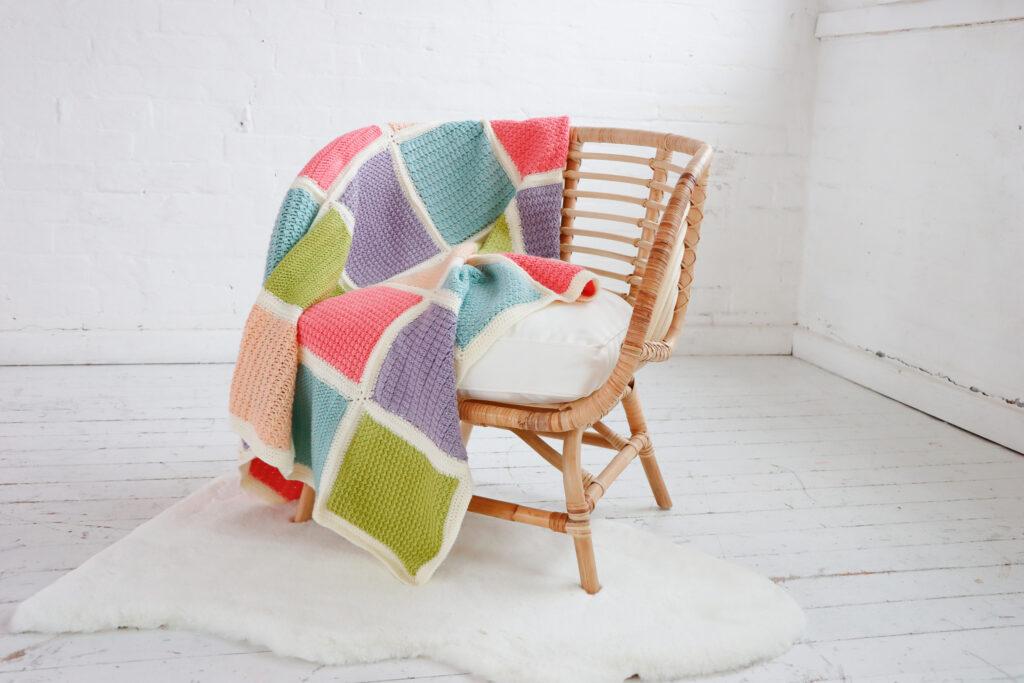
- Chair: Drape your blanket over a chair, ideally use a plain chair with a plain and neutral seat pad so that it doesn’t distract from the colours in your crochet.
Remember: keep your spaces clear of unnecessary items around your work so it doesn’t distract from your crochet, and avoid photographing your crochet items at night when you need to use artificial light.
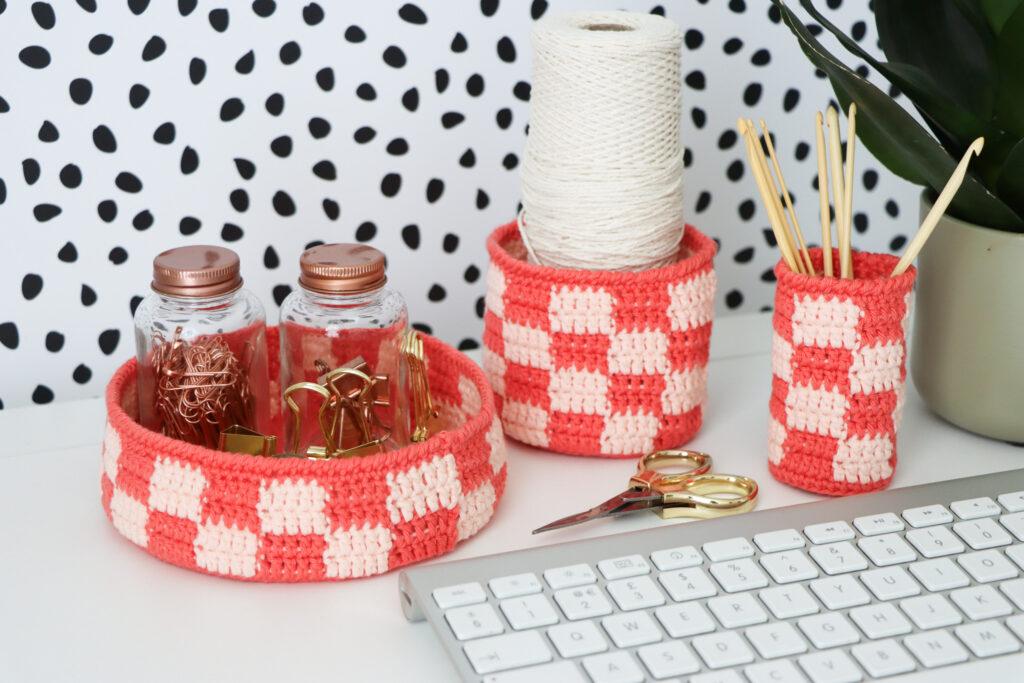
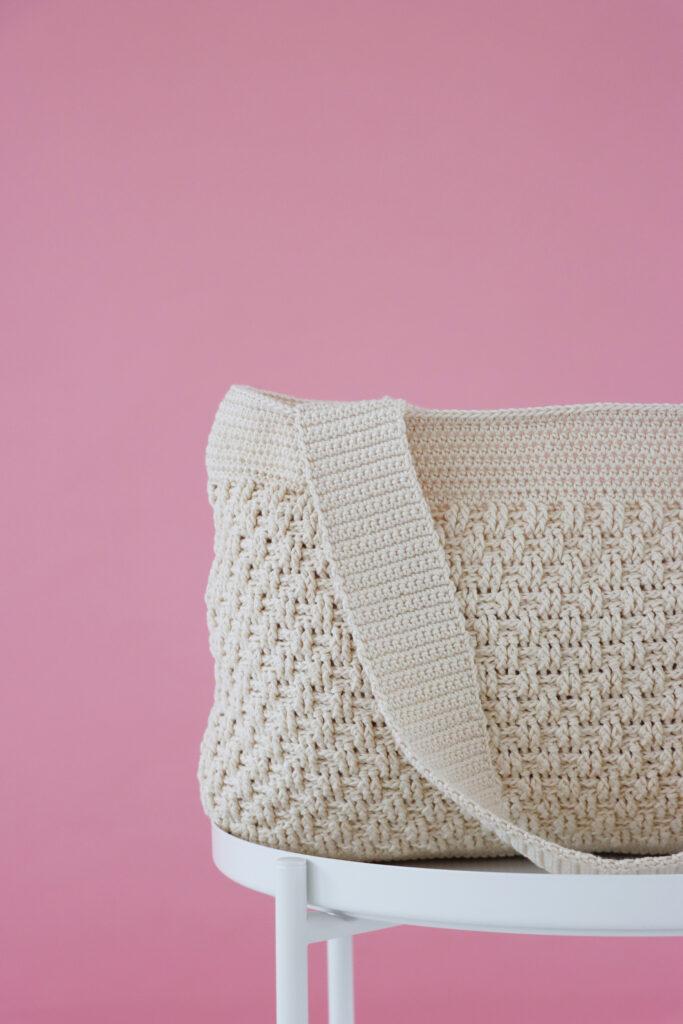
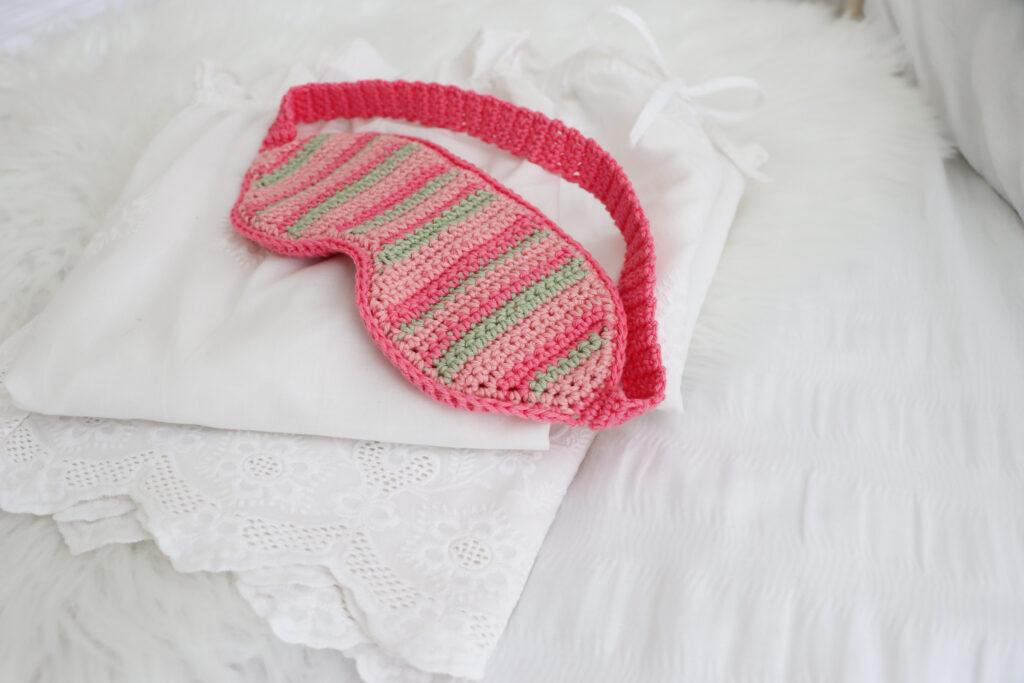
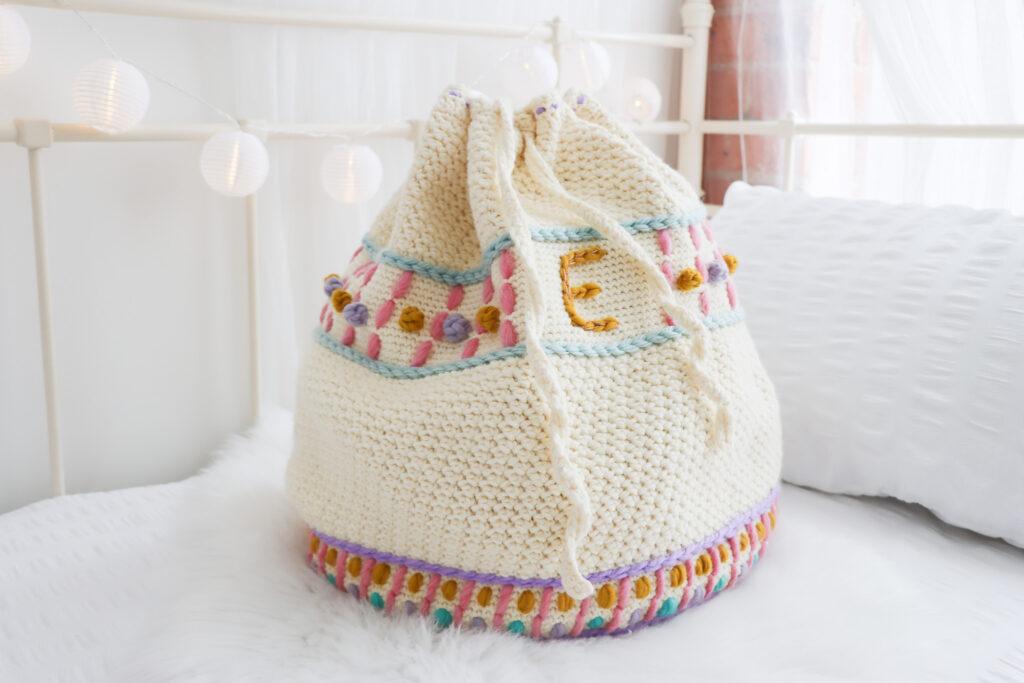
Crochet Accessories: Photography Ideas
Here is a selection of flat lay and lifestyle images to display your crochet accessories:
- Displayed on a white surface with minimal props.
- On a small table: don’t forget to stuff your bags to help it sit upright.
- Flat lay with props framing the crochet.
- Hanging a bag on a decorative ladder in a clear space against a wall.
- Flat lay with the use of a blanket on the floor and a selection of props in the top left corner.
- Styling your crochet accessories with clothes.
- Using foliage and a wooden log slice.
- On the bed with subtle string lights in the background.
Top tip: selecting relevant props can really enhance your images. Less is more, so if you don’t have props that relate to your crochet, then I’d advise removing them
Source link