


This post contains affiliate links. If you make a purchase through links on our site, I may earn a small commission. Click to see full details of my Privacy Policy.
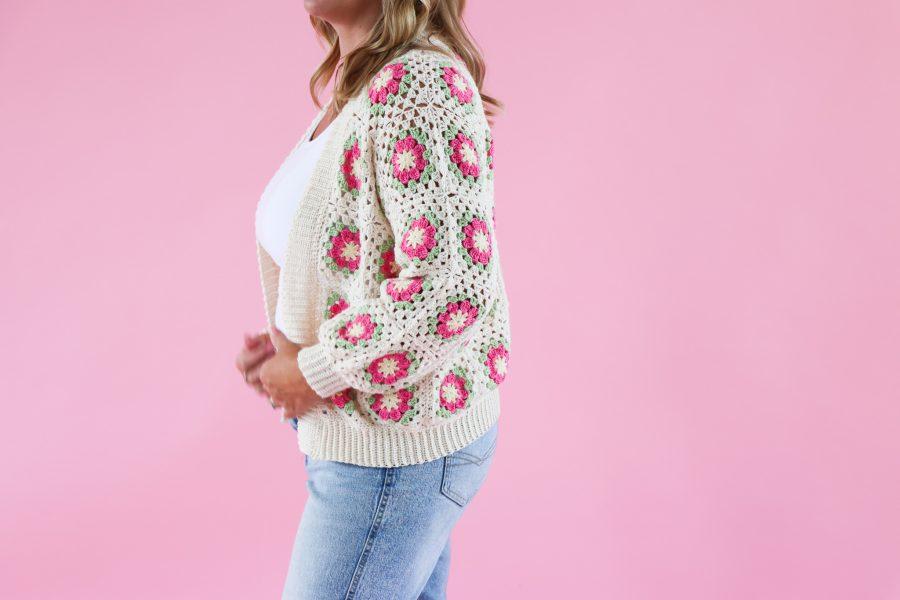
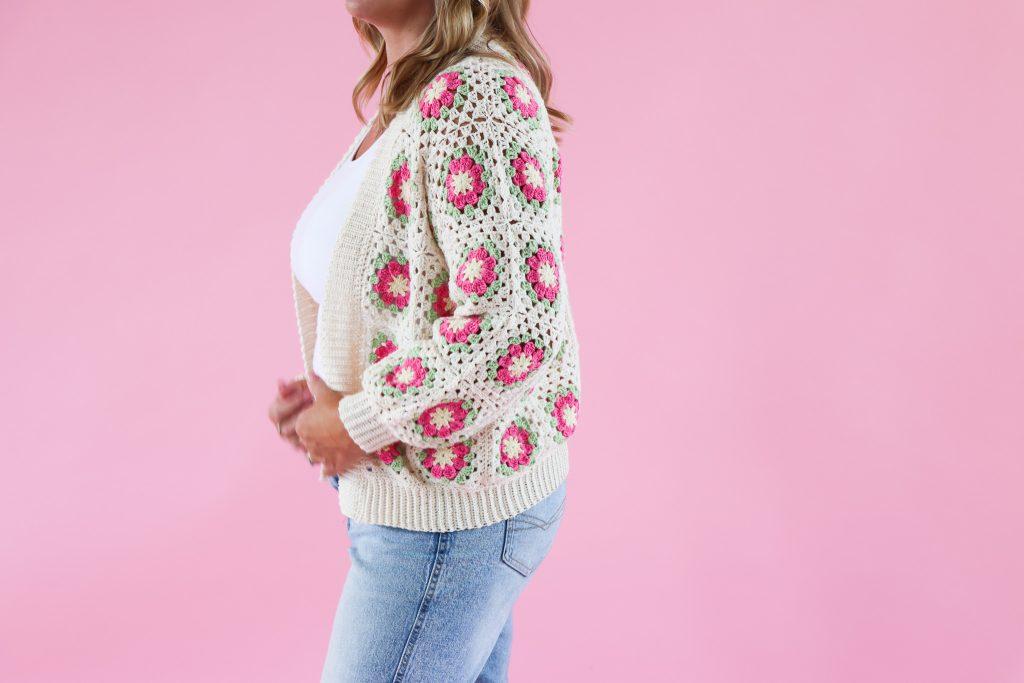
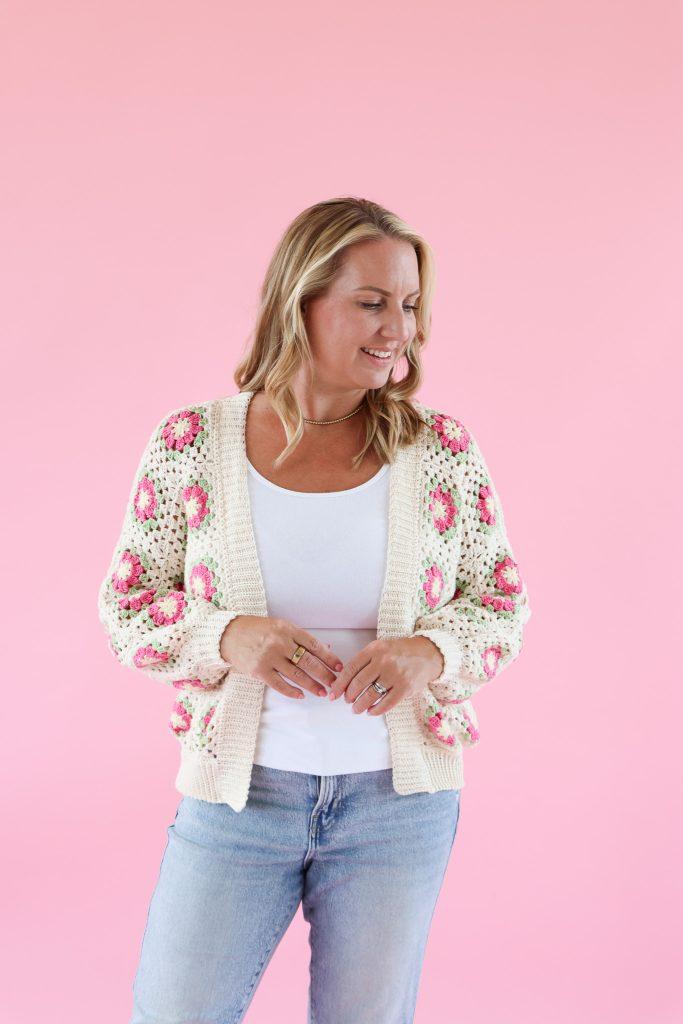
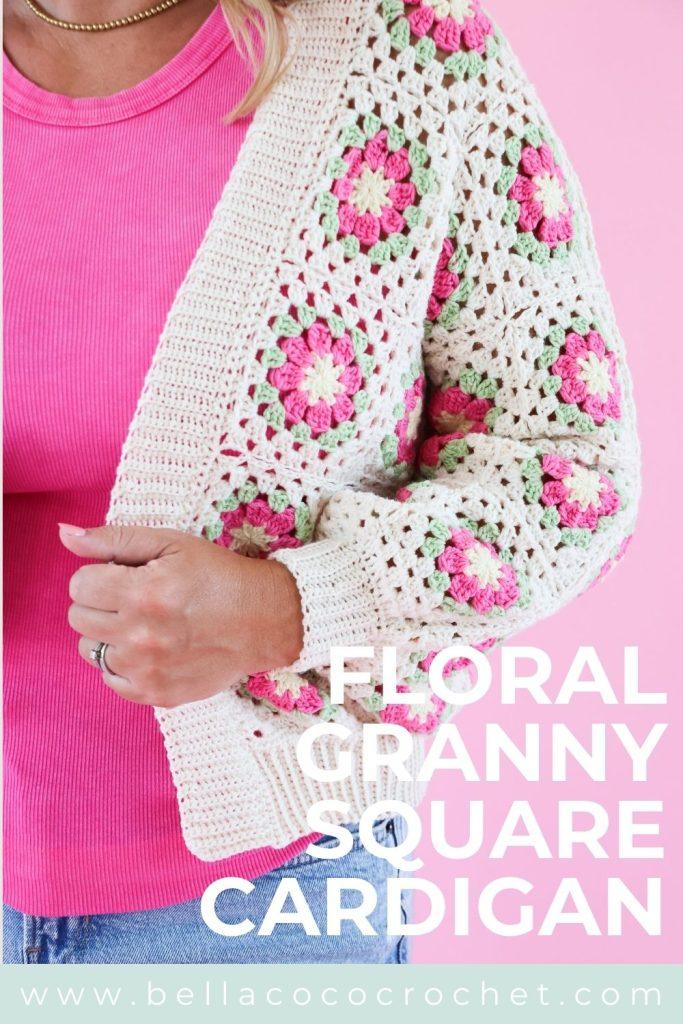
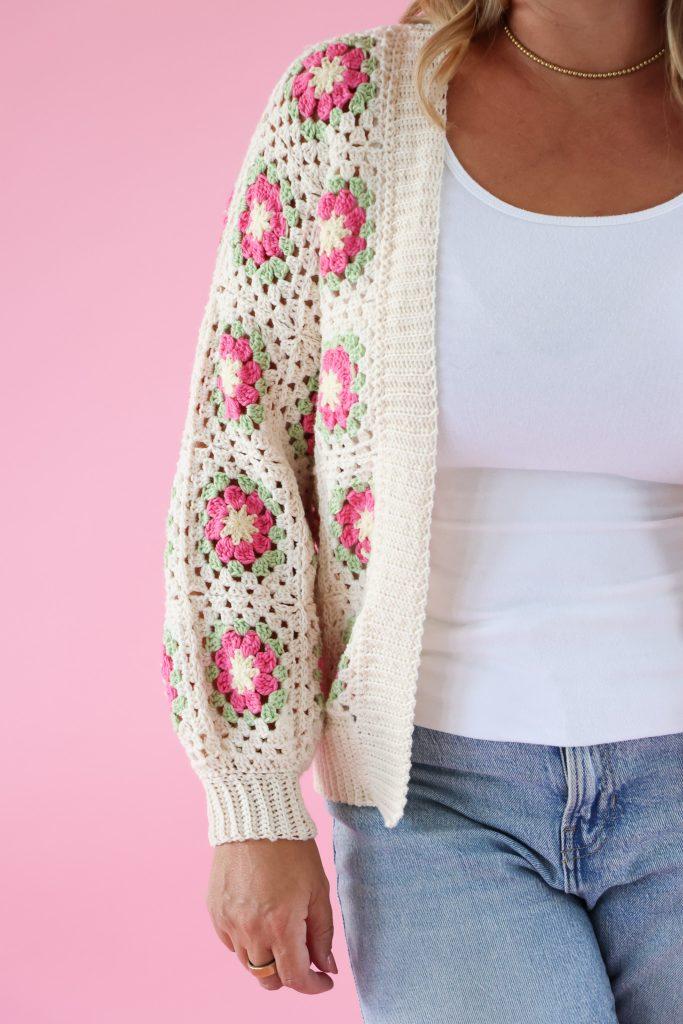
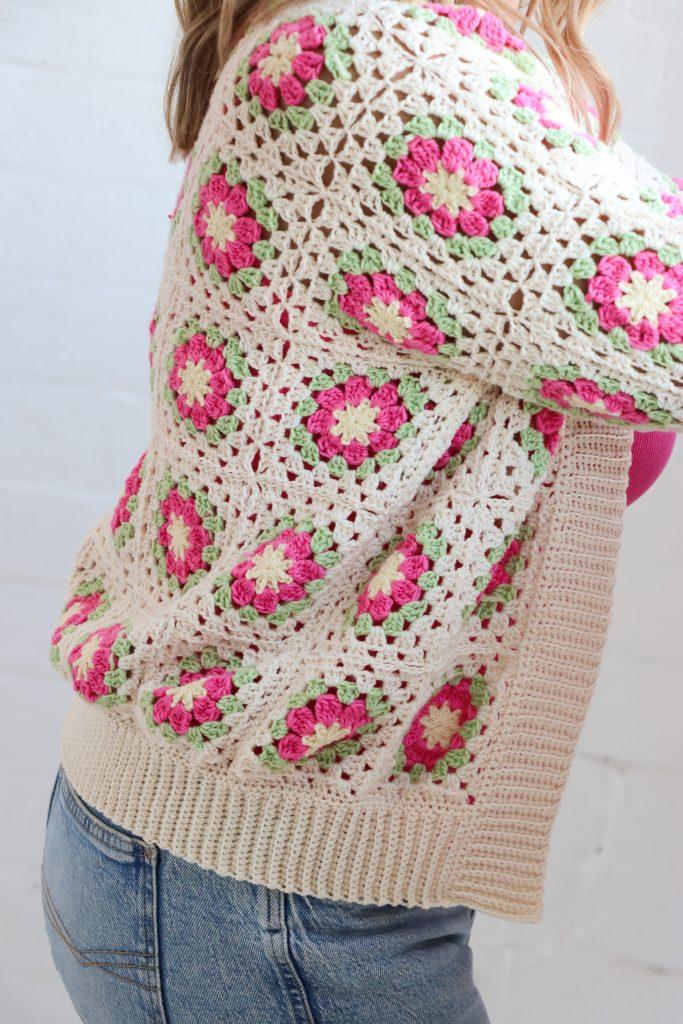
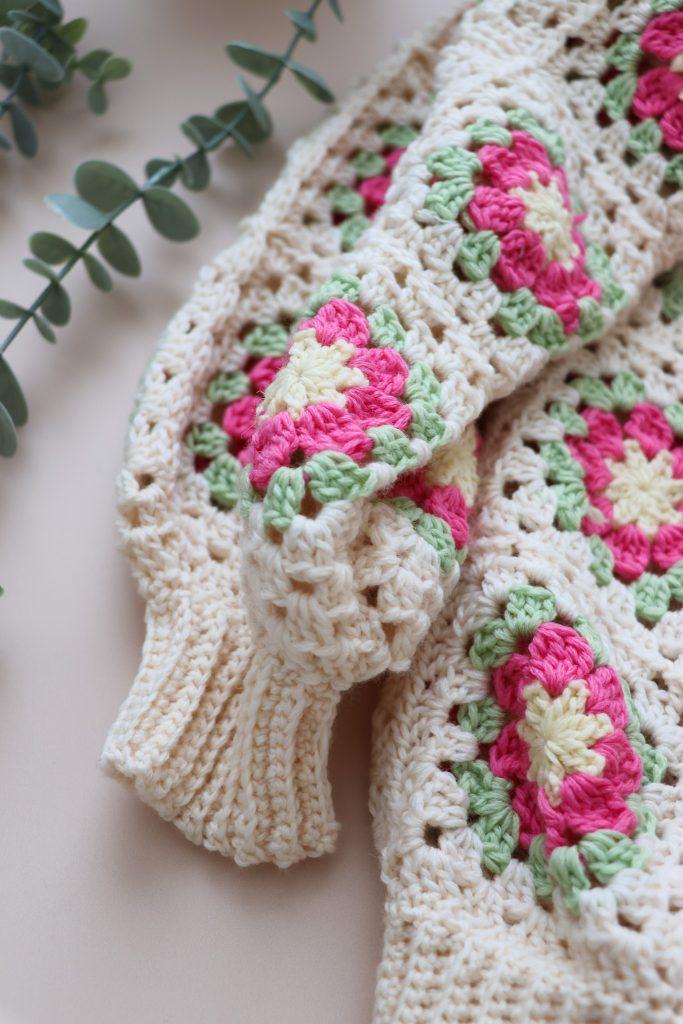
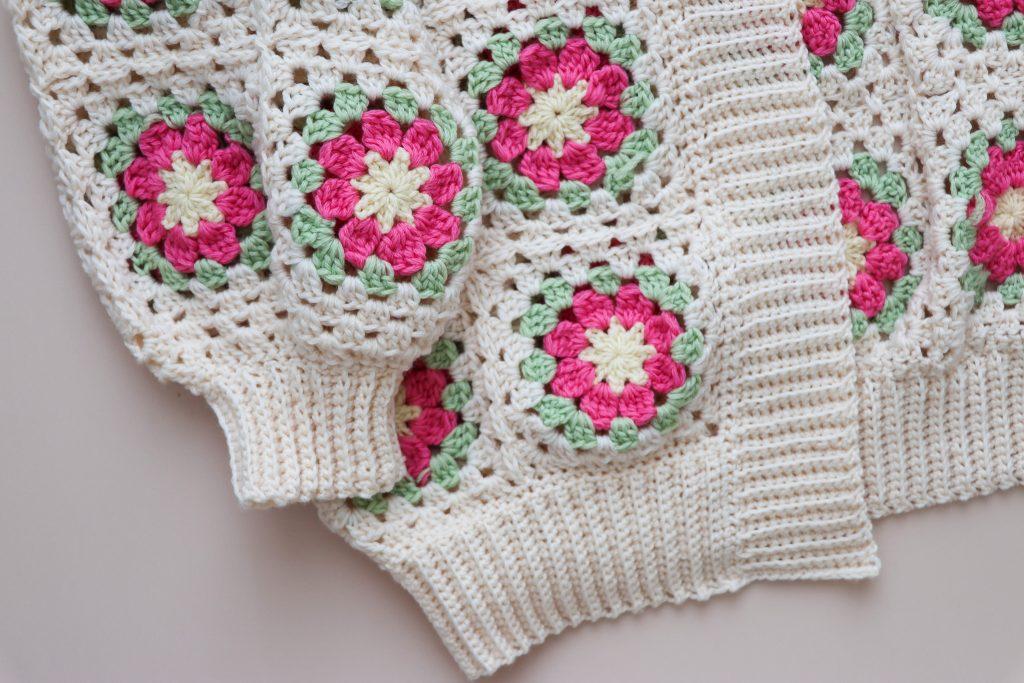
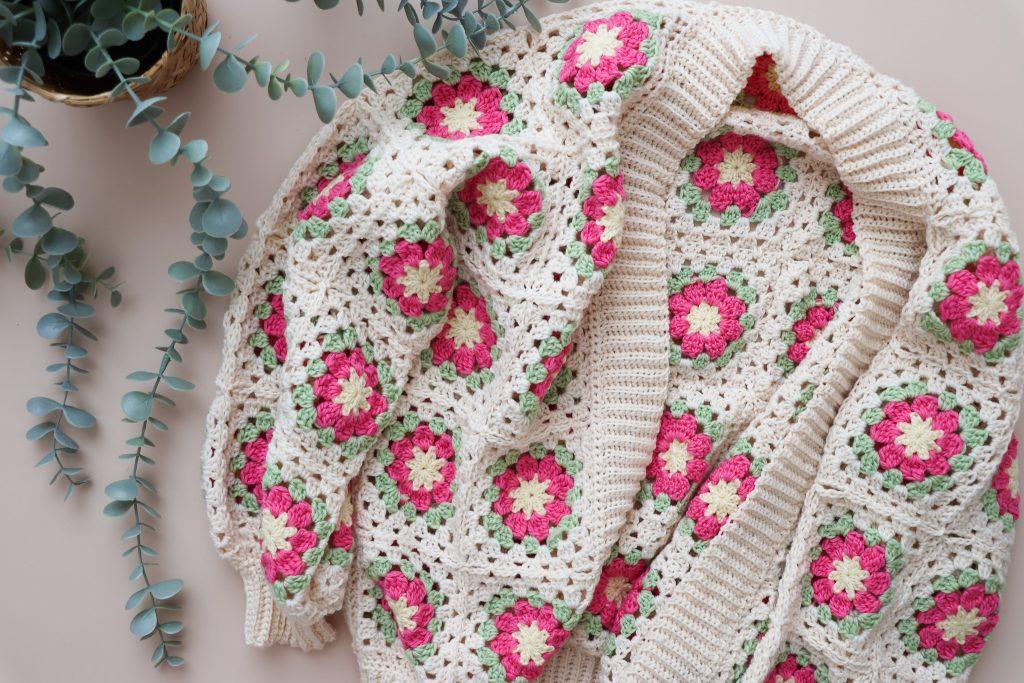
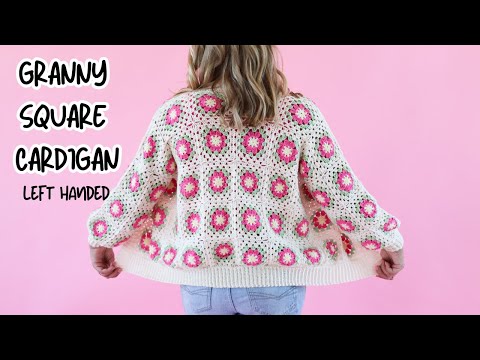
Perfect for layering all year round, the Flora Cardigan is as cosy as it is eye-catching. In this post, I’ll be sharing the pattern so you can create your own beautiful wearable, whether you’re looking for a statement piece for your wardrobe or a thoughtful handmade gift.
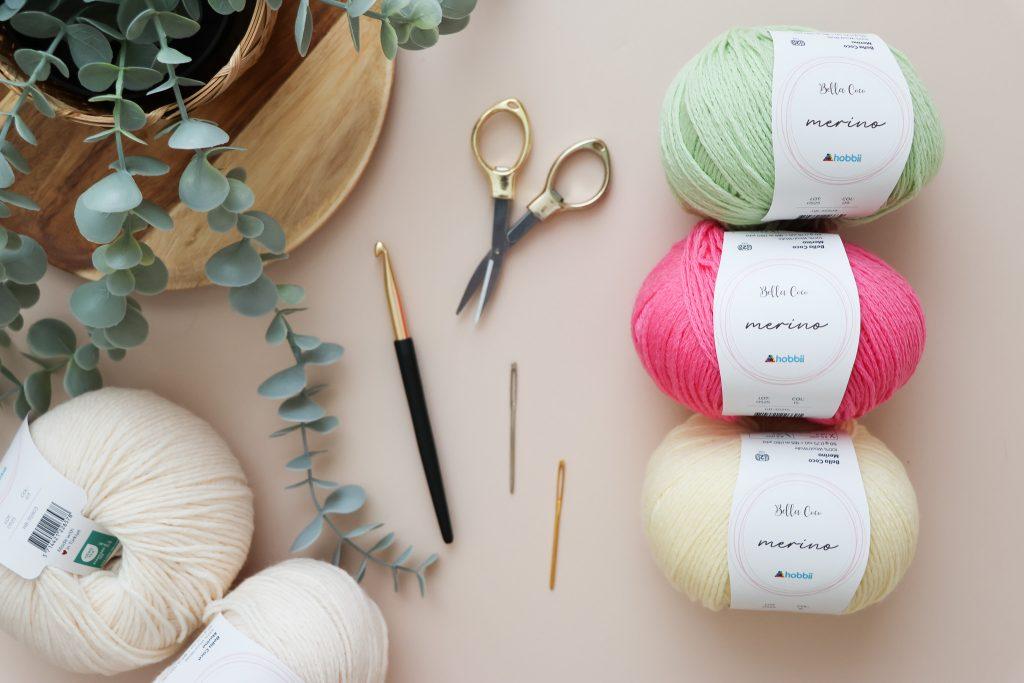
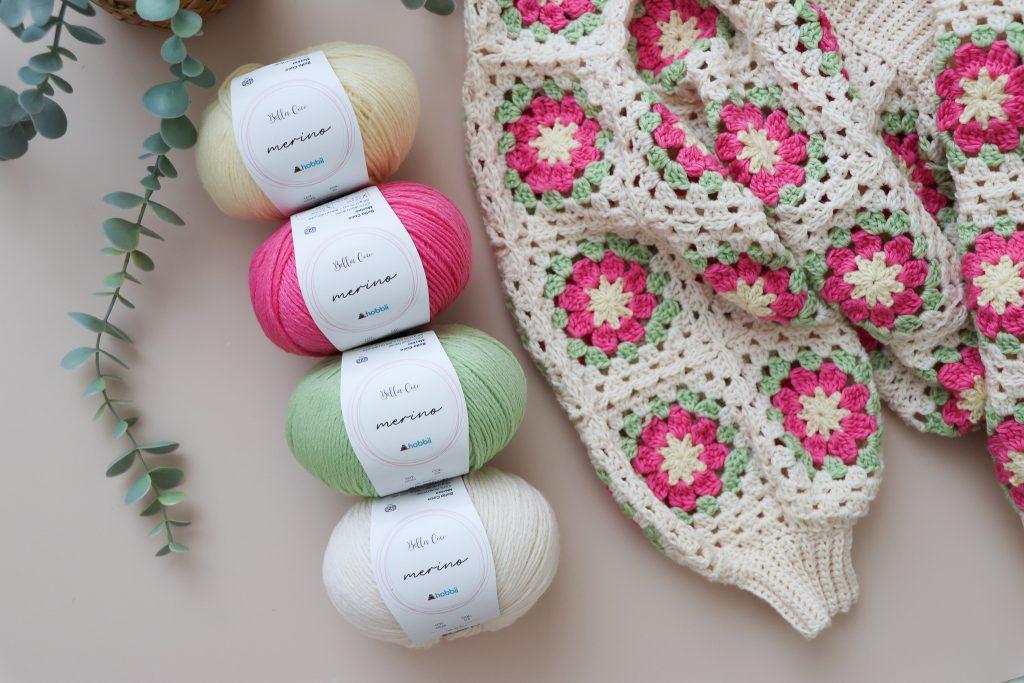
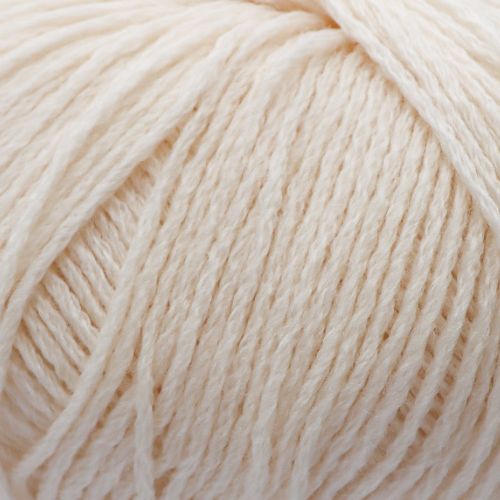
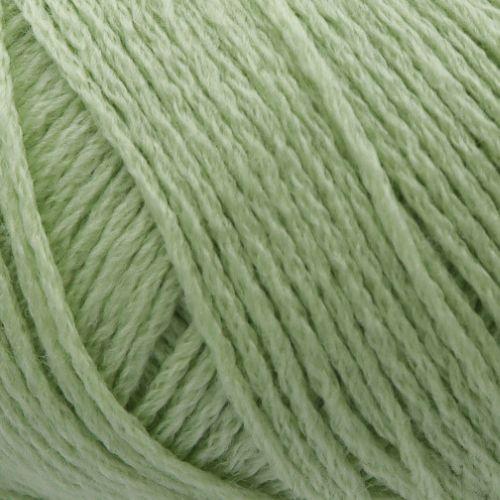
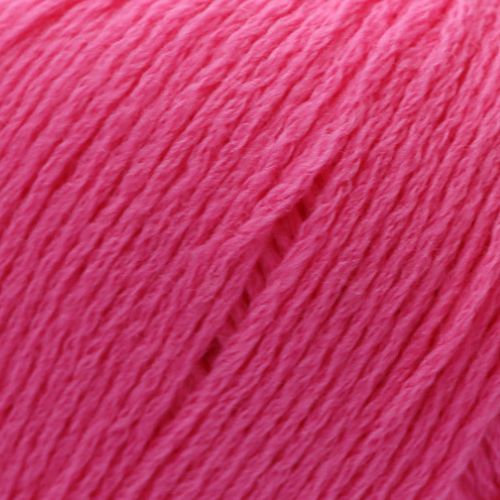
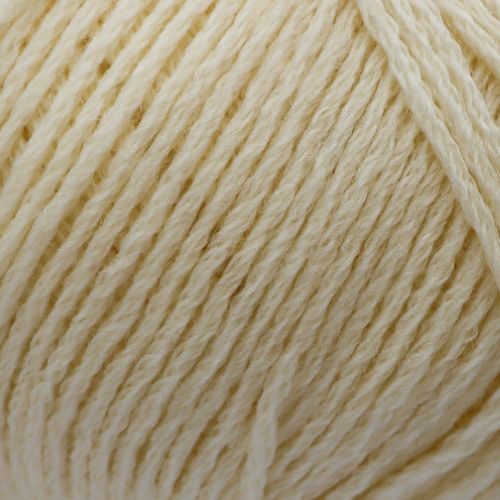
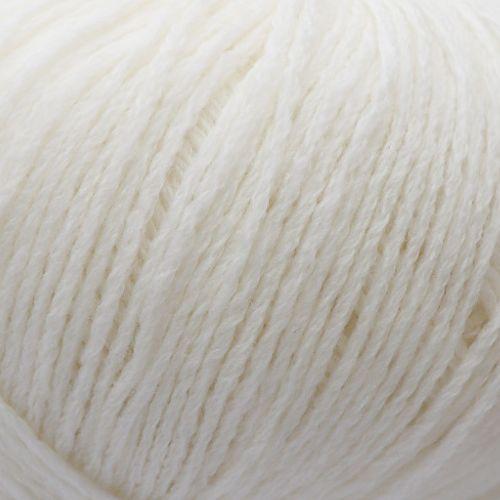
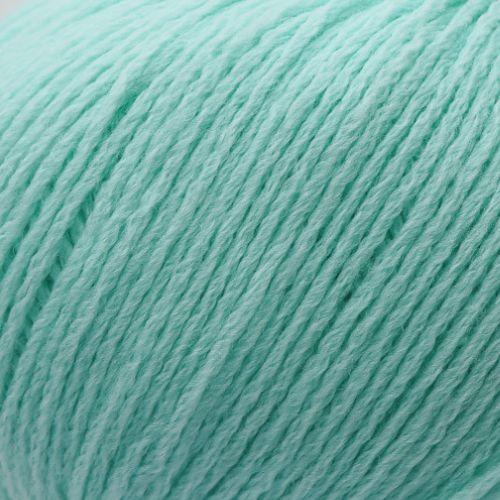
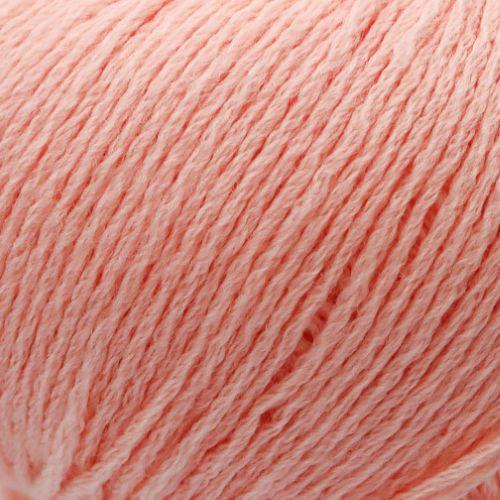
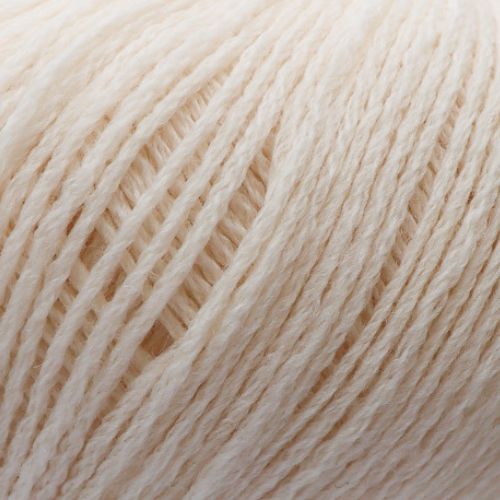
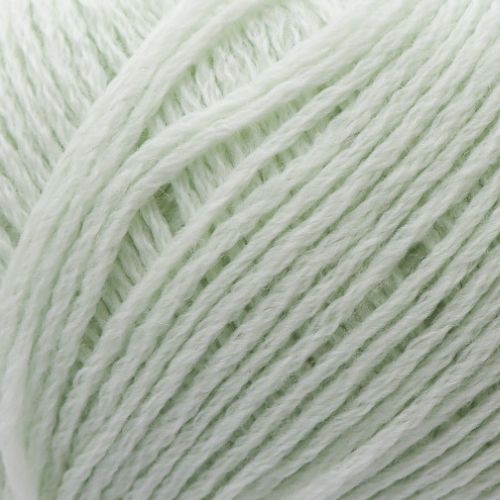
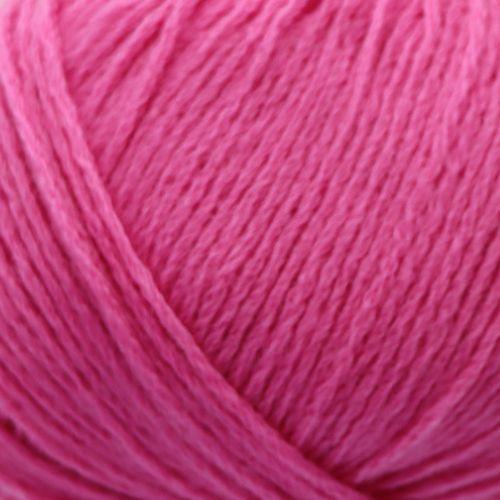
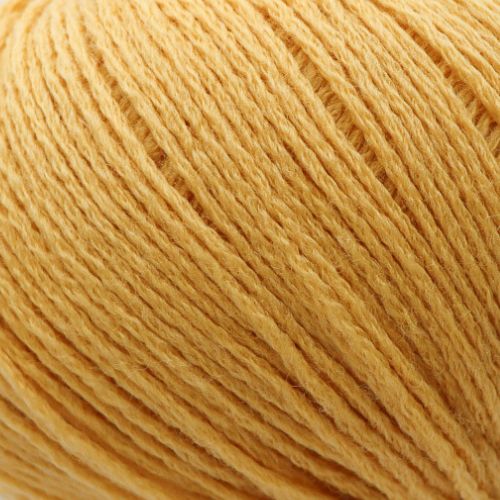
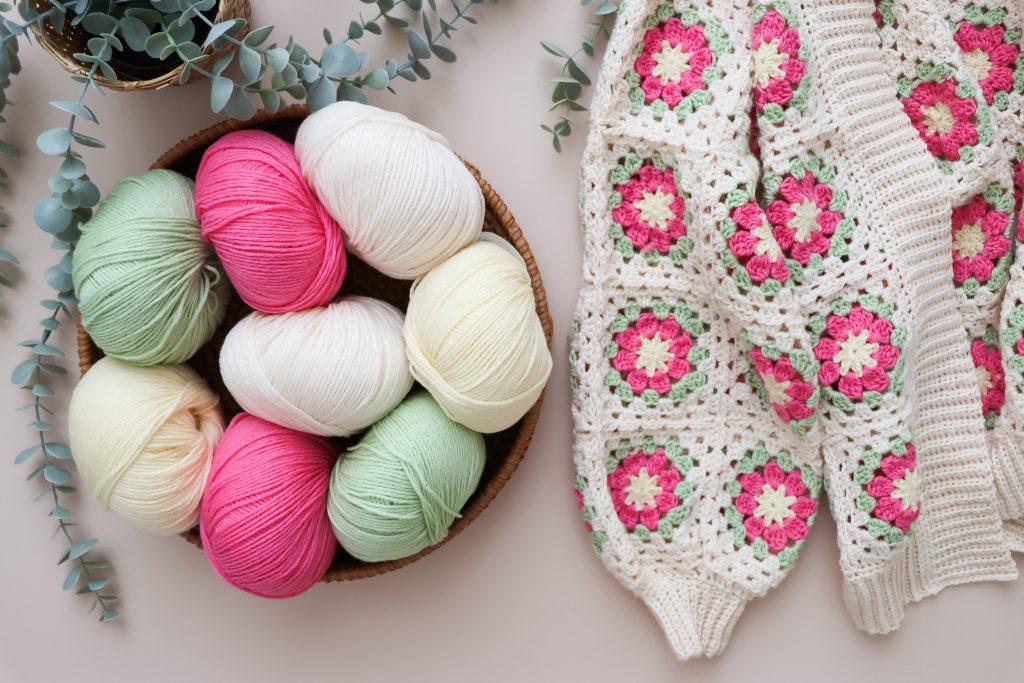
- Yarn: Bella Coco Merino, 100% Merino Wool, Sport (#2), 50g (1.75oz), 165m (180yds). In Yarn A: Buttermilk (16), Yarn B: Bubblegum (15), Yarn C: Tea Green (09) Yarn D: Cream (03) see amounts needed under Yarn Quantities.
- Hook: 2 hook sizes; 3mm 3.5mm (US E4), 4mm (US G-6), 4.5mm (US 7), 5mm (US H-8), depending on the size you are making.
Tools
About The Yarn
Bella Coco Merino is spun with a z-twist instead of the classic s-twist. This special twist means that this yarn is made specifically for crocheters. Where the s-twist may tend to split and unwind when you work with it, the z-twist keeps the structure intact. The result is a smooth, flexible, and comfortable crafting experience! Available in 30 shades and 5 prints, this carefully curated colour palette includes: delicate pastels and muted shades to bright middle tones and vivid colours which can be mixed and matched to your creative heart’s content!
Where To Shop for Yarn
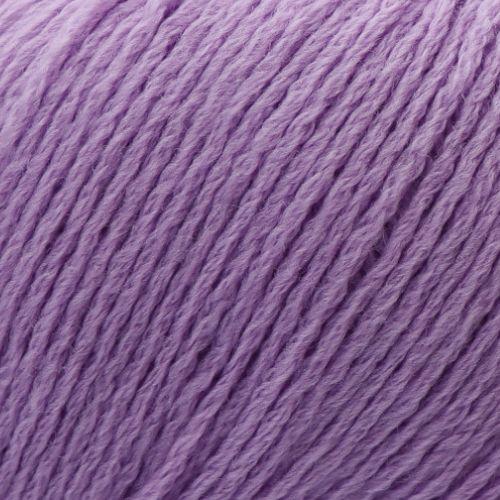
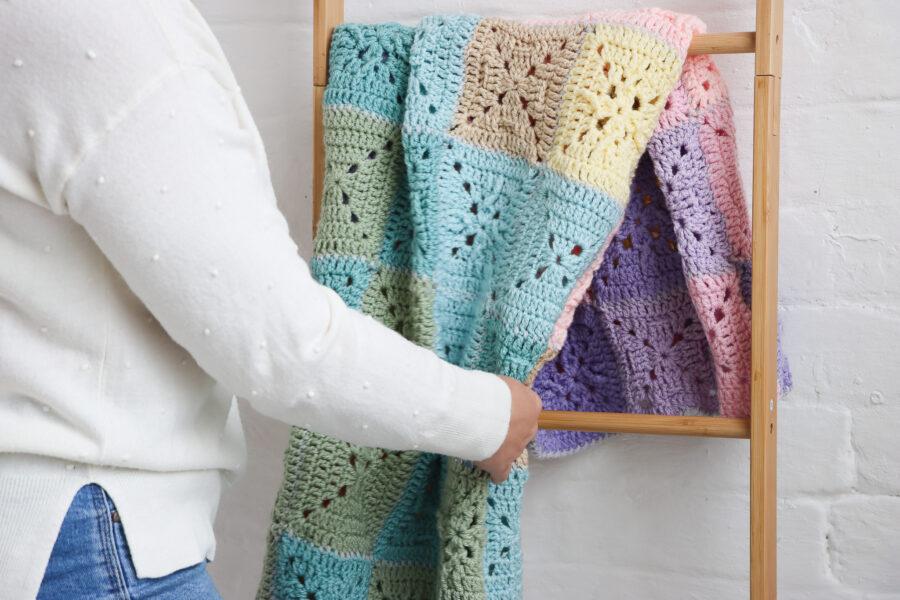
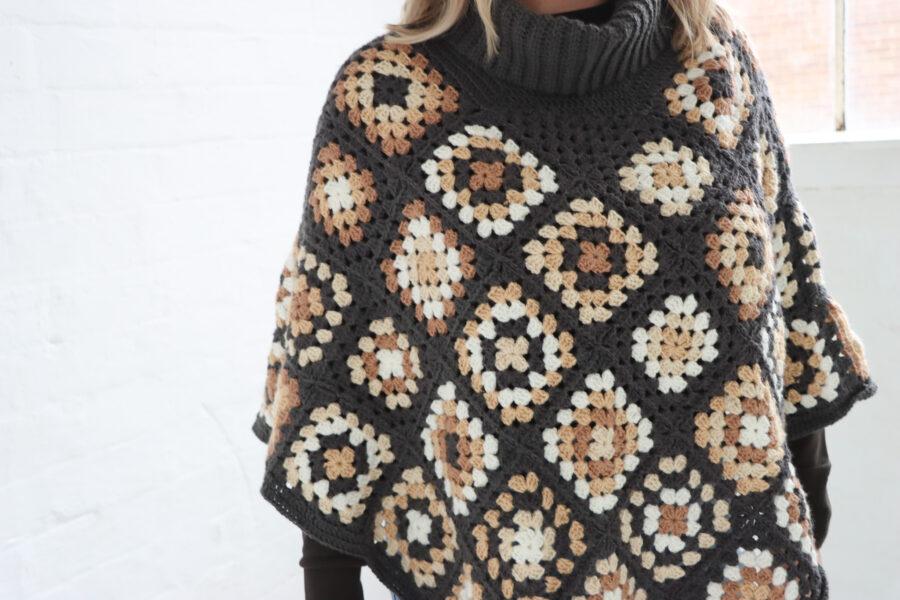
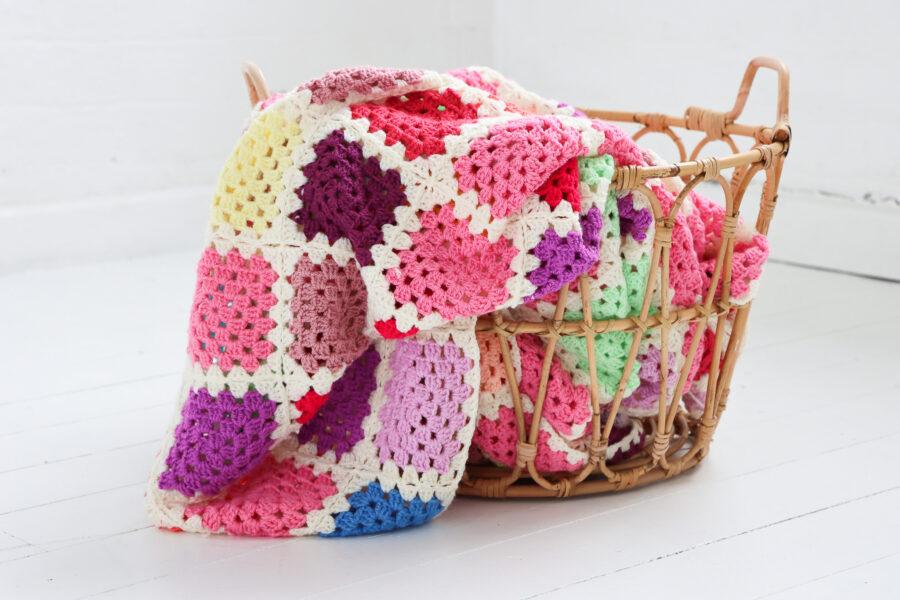
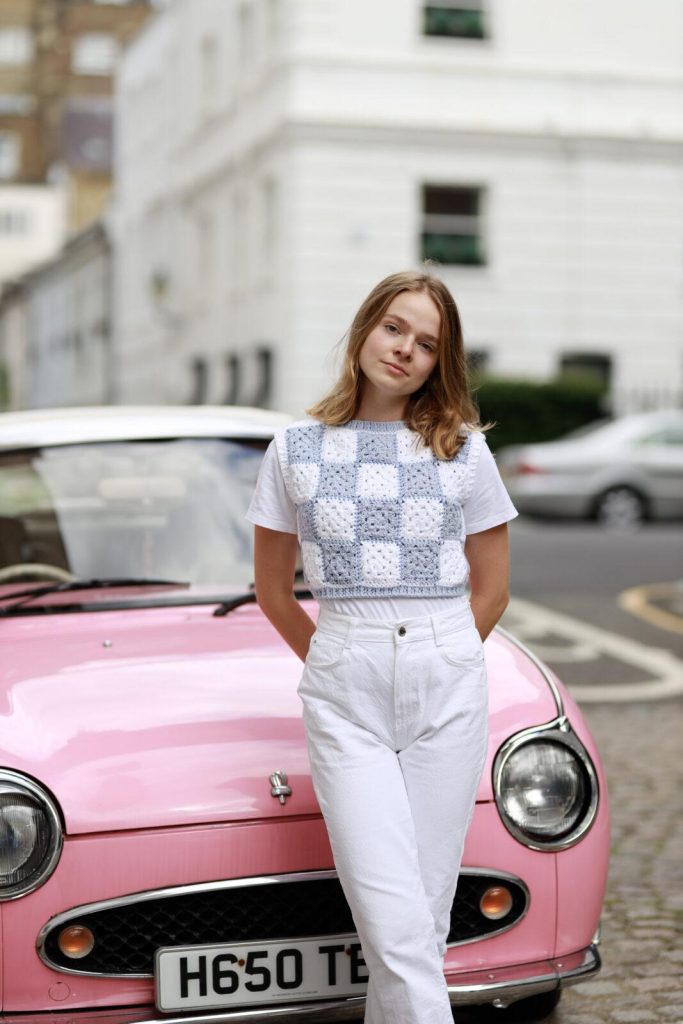
Colour Inspiration
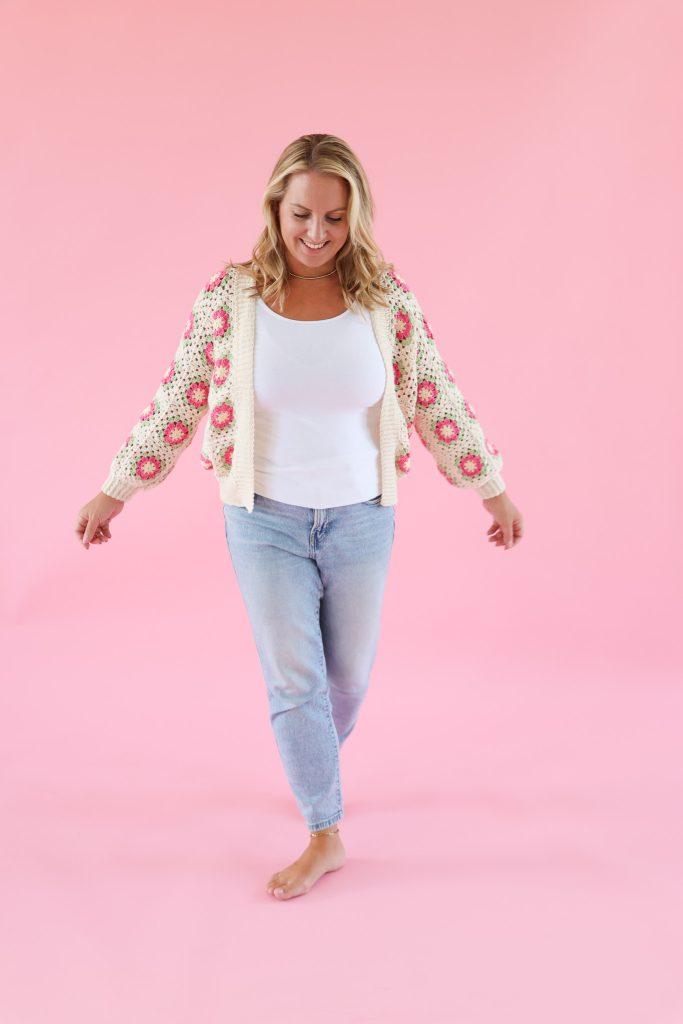
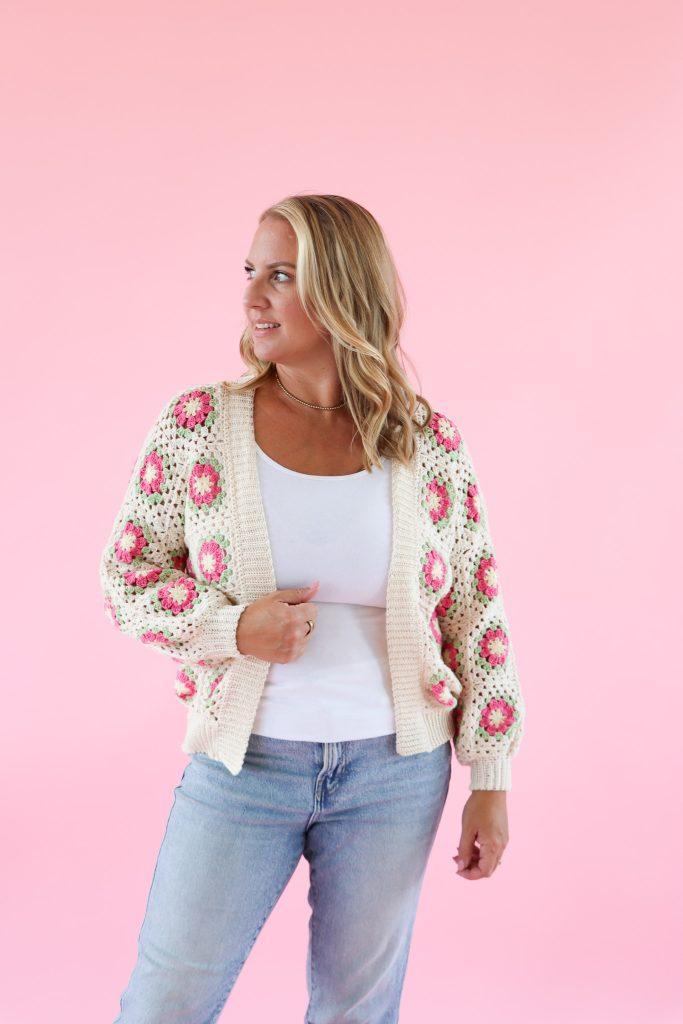
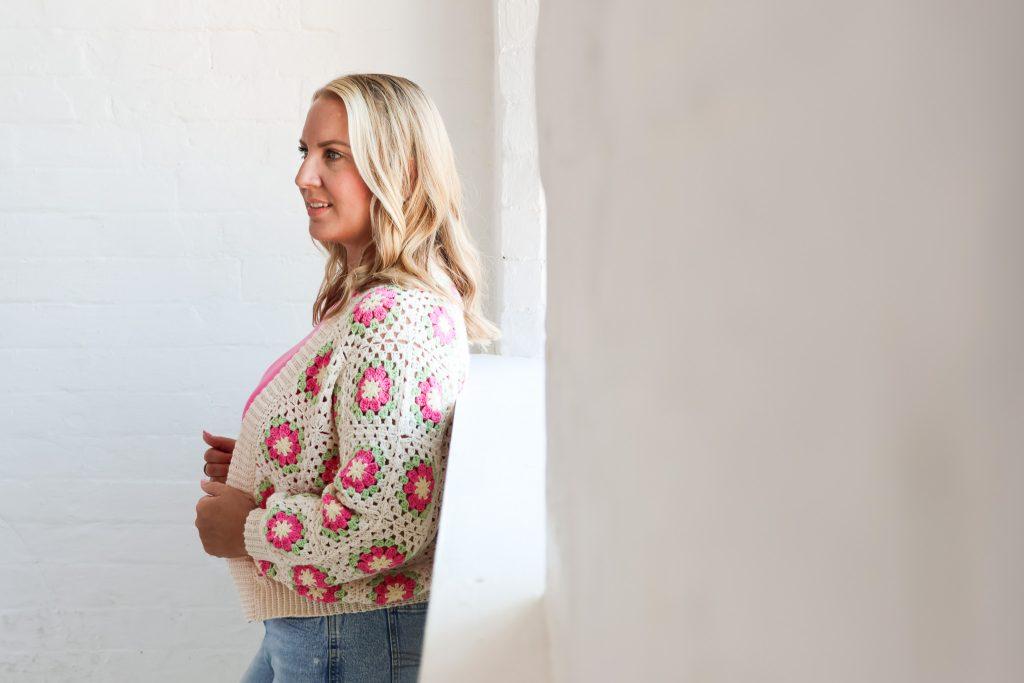
Original Colourway
Alternative Colourway 1
Alternative Colourway 2
Sizing and Yarn Quantities
| XS | S | M | L | XL/2X | 3X | 4X | 5X | |
| To fit chest size | 71-76cm 28-30in | 81-86cm 32-34in | 91.5-96.5cm 36-38in | 101.5-106.5cm 40-42in | 112-127cm 44-50in | 132-137cm 52-54in | 142-147cm 56-58in | 152.5-157.5cm 60-62in |
| Actual Circumference | 89cm 35in | 106.5cm 42in | 122cm 48in | 137cm 54in | 142cm 56in | 152.5cm 60in | 162.5cm 64in | 183cm 72in |
| Balls/ Yardage YARN A | 1/ 150yds | 1/ 160yds | 1/ 160yds | 2/ 187yds | 2/ 260yds | 2/ 260yds | 2/ 303yds | 2/ 303yds |
| Balls/ Yardage YARN B | 2/ 224yds | 2/ 240yds | 2/ 267yds | 2/ 267yds | 3/ 389yds | 3/ 432yds | 3/ 432yds | 3/ 519yds |
| Balls/ Yardage YARN C | 2/ 249 yds | 2/ 267yds | 2/ 294yds | 2/ 294yds | 3/ 433yds | 3/ 476yds | 3/ 478yds | 3/ 521yds |
| Balls/ Yardage YARN D | 5/ 803yds | 5/ 863yds | 5/ 871yds | 5/ 900yds | 8/ 1369yds | 8/ 1378yds | 8/ 1443yds | 9/ 1538yds |
Yardage is approximate. Please purchase extra if you want to adapt your cardigan by adding more squares or wider ribbing.
| Centimeters | Inches | |
| A = Length | 44.5 (44.5, 51, 57, 53.5) (57, 61, 68.5) | 17.5 (17.5, 20, 22.5, 21) (22.5, 24, 27) |
| B = Width | 44.5 (53.5, 61, 68.5, 71) (76, 81.5, 91.5) | 17.5 (21, 24, 27,28) (30, 32, 36) |
| C = Circumference | 89 (107, 122, 137, 142) (152.5, 162.5, 183) | 35 (42, 48, 54, 56) (60, 64, 72) |
| D = Neckline | 9 (18, 20, 23, 18) (19, 20, 23) | 3.5 (7, 8, 9, 7) (7.5, 8, 9) |
| E = Armhole Depth | 18 (18, 20, 23, 26.5) (28.5, 30.5, 34.5) | 7 (7, 8, 9, 10.5) (11.25, 12, 13.5) |
Customisation
Bodies come in all shapes and sizes, so you may find that you want to adjust your sizing to suit your own body or your own taste.
Sleeve length
If you decide that you want your sleeves longer, you can add another row of squares to the length. This can be done at any time prior to adding the ribbing. If you have already connected your squares using the join as you go method, simply make another smaller panel and add on to the bottom of the sleeve.
Length
Similarly to the sleeves, if you decide that you would like your cardigan a little (or a lot) longer, you can add a row or more of squares to the base of the work providing its done before the bottom ribbing.
Gauge
XS
Hook 3.5mm
Square size 3.5inch
69 Squares
S
Hook 3.5mm
Square size 3.5inch
74 Squares
M
Hook 4.5mm
Square size 4inch
74 Squares
L
Hook 5mm
Square size 4.5inch
74 Squares
XL/2X
Hook 3.5mm
Square size 3.5inch
120 Squares
3X
Hook 4mm
Square size 3.75inch
120 Squares
4X
Hook 4.5mm
Square size 4inch
120 Squares
5X
Hook 5mm
Square size 4.5inch
120 Squares
Gauge Swatch
Follow round 1-4 of the squares pattern without fastening off, ss across to ch-3 sp, then add round 5: Ch 3 (counts as tr), (2 tr, ch 3, 3 tr) in ch-2 sp, *(skip 3 sts, 3 tr in next sp) three times, skip 3 sts, (3 tr, ch 3, 3 tr) in ch-2 sp, corner made; repeat from * twice more. (Skip 3 sts, 3 tr in next sp) three times, skip 3 sts. Join with ss to top of ch-3. Fasten off.
Pattern Notes
Written in UK terms but switchable to US crochet terms below.
Skill level: Advanced beginner.
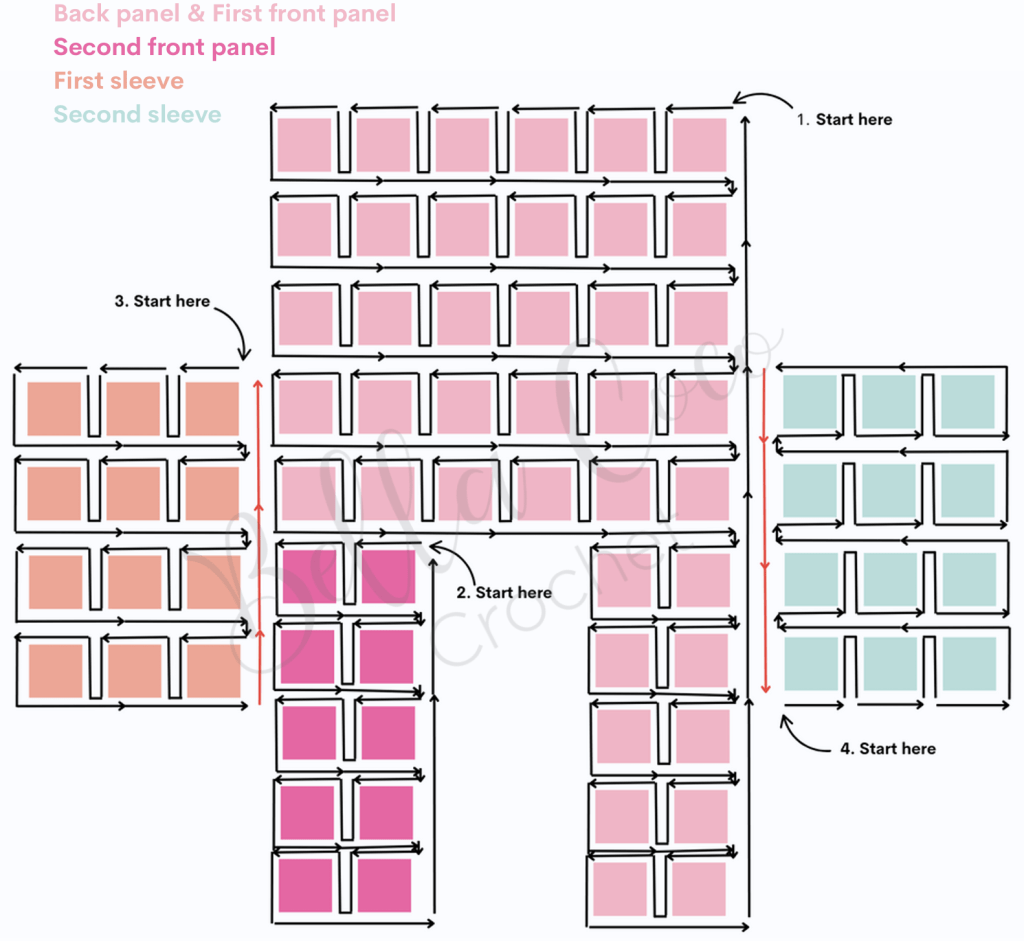
This cardigan is made by making individual squares made up of 4 rounds. Then, adding the final fifth round using the continuous join as you go (CJAG) method to connect and
create the shape of the project. Simple seaming is used to seam up the sides and sleeves before adding the ribbing.
The number references for each size will be listed as follows:
XS (S, M, L, XL/2X)(3X, 4X, 5X)
Please read through the whole pattern before starting.
Pattern Support
The fastest way to get pattern support is to ask in our dedicated facebook group for Bella Coco Crochet patterns. This is the best place for you to connect with other crocheters.
Please note, if you wish to change and adapt this pattern in any way, this must be done at your own exploration and we cannot offer assistance with this.
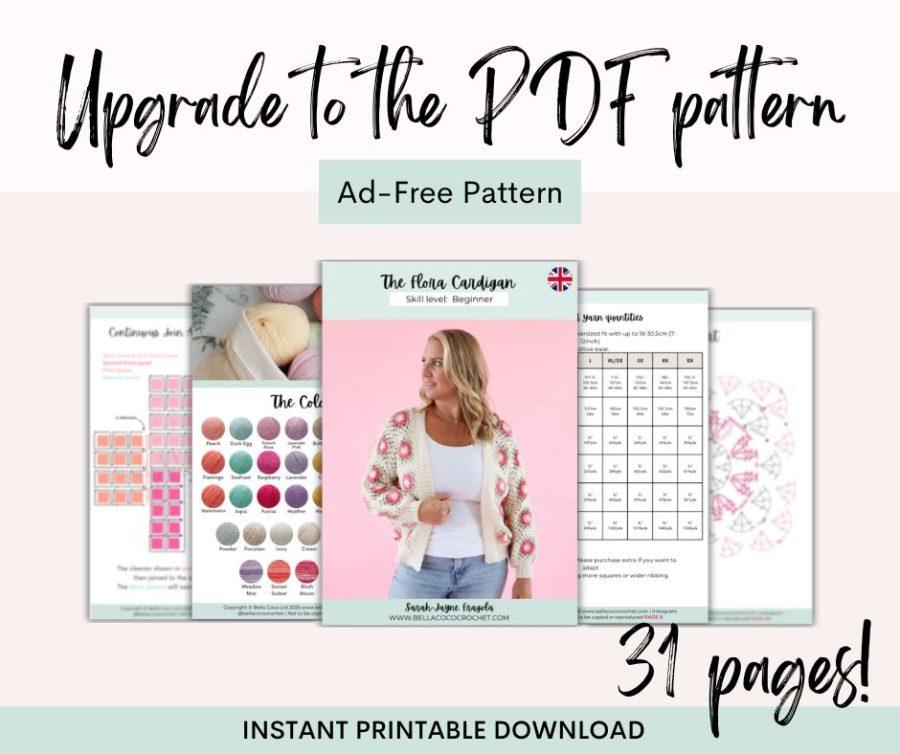
PDF Pattern
Convert Pattern Terms
Here you can quickly switch between UK and US crochet terms. This will make following the pattern easier as all terms will be converted to your preferred version.
Terms & Abbreviations
- Stitch(s): st(s)
- Slip Stitch(s): ss(s): Insert hook, yarn over, pull through stitch and loop on hook.
- Repeat: rep.
- Magic Ring
- Chain(s): ch(s): Yarn over, pull through loop on the hook.
- Back Loop Only: BLO: Working into the back loop only of the stitch.
- Repeat: rep.
Stitches
- Double Crochet(s): dc(s): Insert hook into stitch, yarn over, pull up a loop, you will have two loops on the hook. Yarn over, pull through remaining two loops.
- Treble Crochet(s): tr(s): Yarn over, insert into stitch, yarn over, pull up a loop, you will have three loops on the hook. Yarn over, pull through two loops, yarn over, pull through remaining two loops.
- Double Treble(s): dtr(s): Yarn over hook twice, insert into stitch, yarn over, pull up a loop, you will have four loops on the hook. Yarn over, pull through two loops, you will have three loops on the hook. Yarn over, pull through two loops, yarn over, pull through remaining two loops.
Granny Terms
- Granny Set: Set of 3 tr in a sp together.
- Split Granny Set: Two tr in first sp, tr in next sp to form a granny set. Used in Cuff ribbing set up rows.
Special Stitches
- Decrease Granny Set(s): DecGrSet(s): Treble crochet in same space, yarn over, insert hook into same space, yarn over, pull up a loop, yarn over, pull through 2 loops (2 loops on hook). Yarn over, insert hook into next space, yarn over, pull up a loop, yarn over, pull through 2 loops (3 loops on hook). Yarn over, pull through all loops on hook. Treble crochet in same space.
- Double Treble 2 together: dtr2tog: Yarn over hook twice, insert into stitch, yarn over, pull up a loop, you will have four loops on the hook. (Yarn over, pull through two loops) twice, you will have two loops on the hook. Yarn over hook twice, insert into same stitch, yarn over, pull up a loop, you will have five loops on the hook. (Yarn over, pull through two loops) twice, you will have three loops on the hook. Yarn over, pull through all three loops.
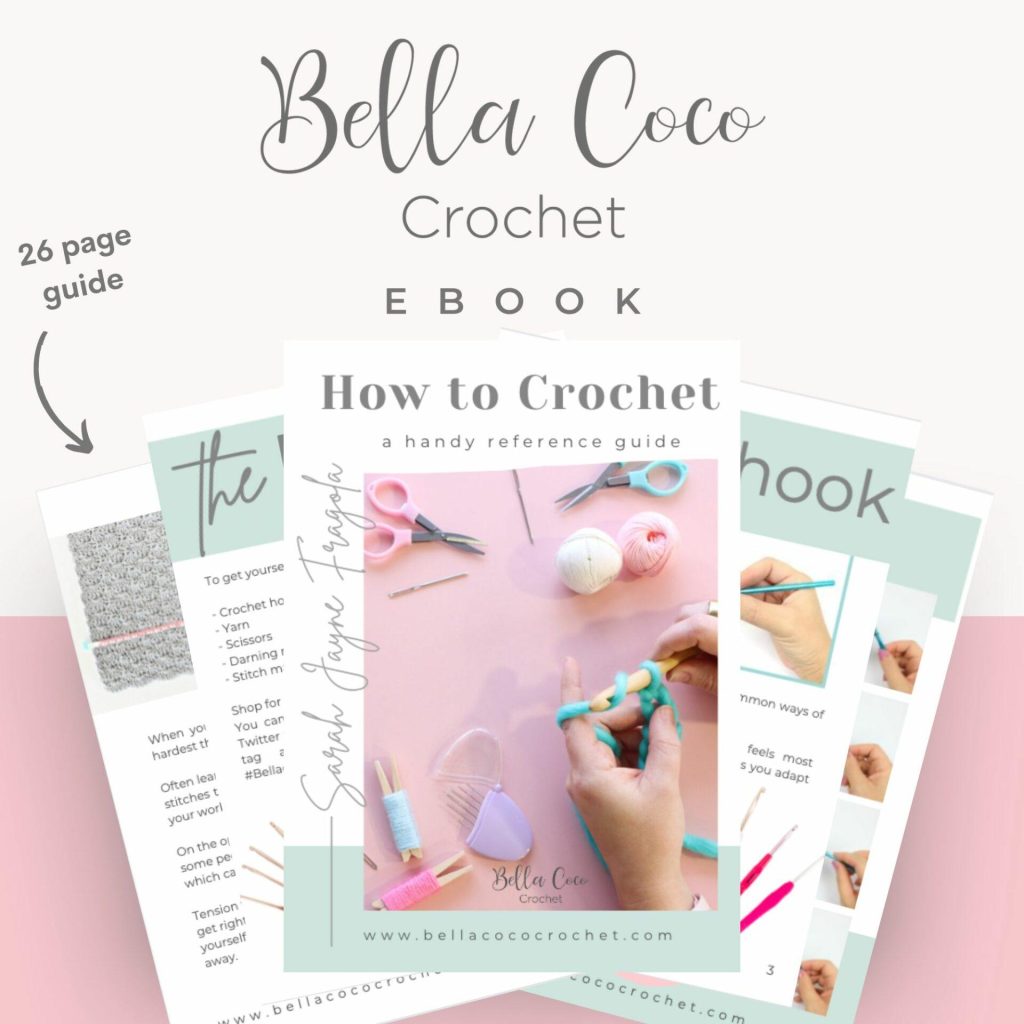
Unsure of the differences between UK and US terms? Need a refresher on how to do your crochet stitches? In my ‘How to crochet: A handy reference guide’ EBook I help you with all of these terms and you can always have them to hand! You will also get exclusive access to free video instructions. You can find my EBook HERE.
Pin For Later
To unlock this FREE crochet pattern all you need to do is enter your email to join our mailing list and the grow app will appear, please enter your email and create a password. Now you’ve created a grow account you’ll be able to access all of the free patterns on the blog and bookmark your favourites so you can have them all in one place for easy access.
If you forget your password, click the “forgot password” link and follow the prompts. Please note that the team are unable to assist with resetting Grow passwords or accessing your Grow account, so please make sure you save your login information in a safe place.
Your grow account is separate from your Bella Coco account which you use to access your purchased patterns.
Free Pattern: The Flora Cardigan
Flora Granny Square Pattern
You are viewing this pattern in UK terms.
- Make 69 (74, 74, 74, 120) (120, 120, 150)
- Using 3.5 (3.5, 4.5, 5, 3.5) (4, 4.5, 5)mm hook.
- With colour A, make magic ring.
Joining Squares – Round 5
- You will now be adding the fifth round to our squares and crocheting them together at the same time using the continuous join as you go (CJAYG) method.
Blocking
- Lay your work on blocking mats and block your work to size using your prefered blocking method.
Seaming
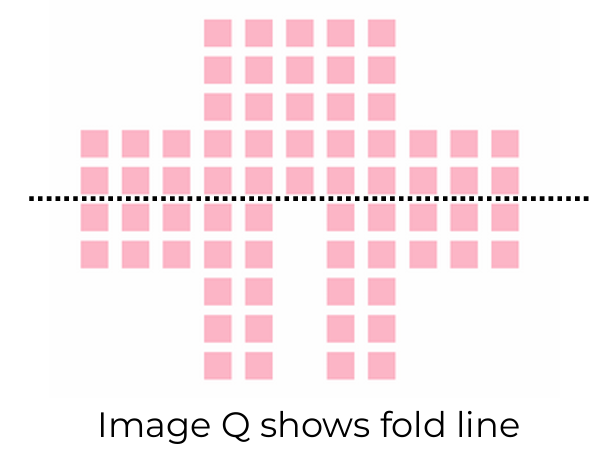
- Fold the work in half, bringing the seams of the arms together (see Image Q for fold line) and wrong side facing outwards.
Video Tutorials
Right-handed
Left-handed
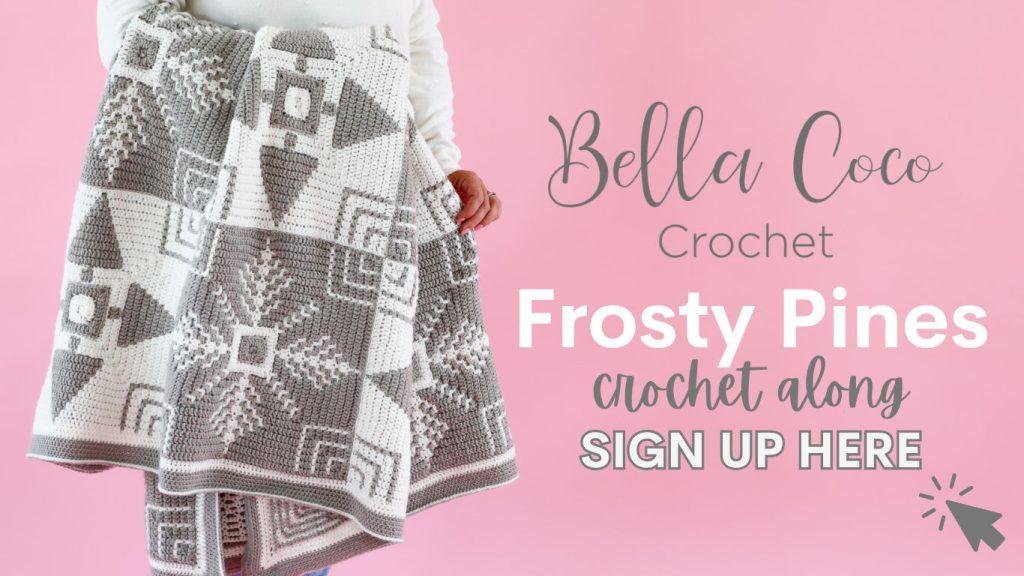
Granny Square Patterns
Explore these lovely granny sqaure patterns avalible on the blog:
Crochet Stitch Library
Discover the ever-expanding stitch library and enhance your crochet skills with free step-by-step patterns and easy-to-follow video tutorials.
I always love to see your makes so if you try any of my patterns or follow my stitch tutorials please tag me @bellacococrochet or use the #bellacococrochet
sarah-jayne
Source link


