


This post contains affiliate links. If you make a purchase through links on our site, I may earn a small commission. Click to see full details of my Privacy Policy.
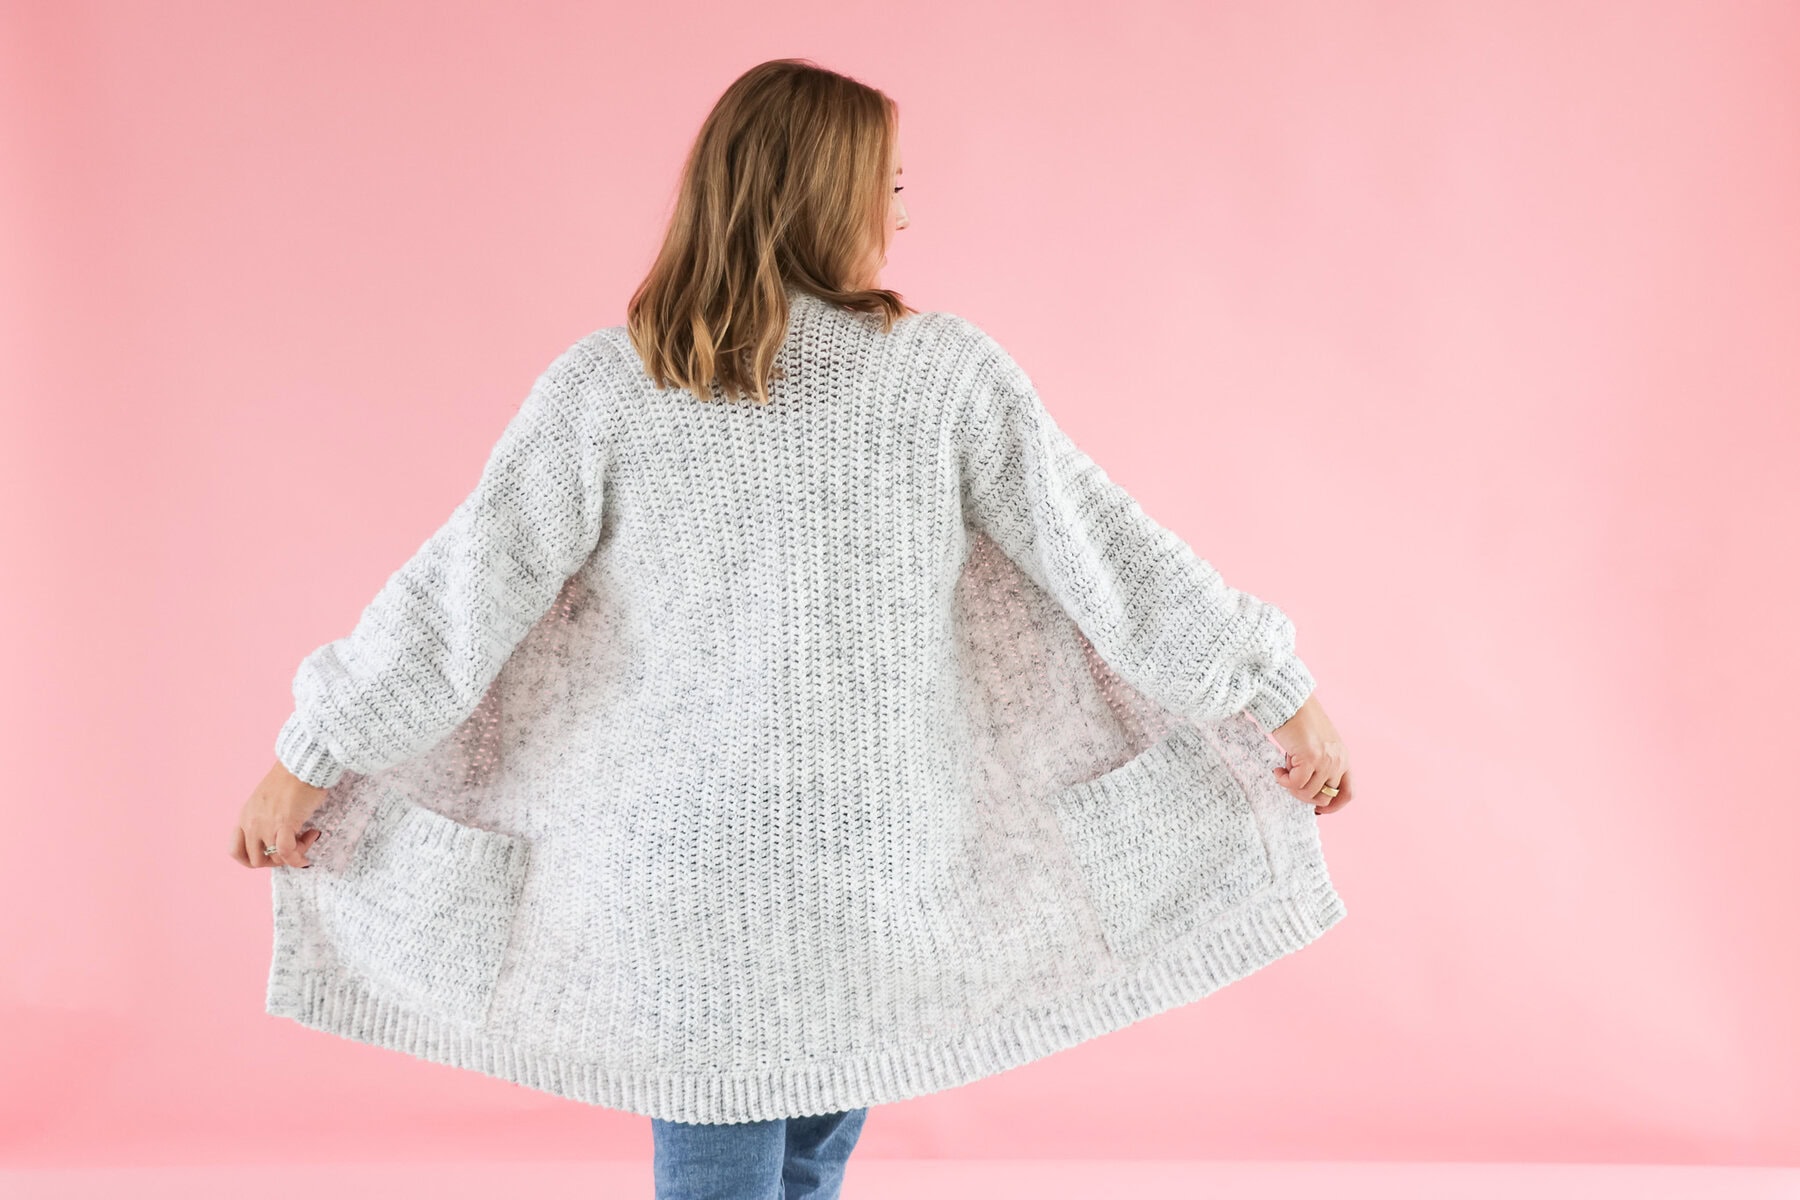
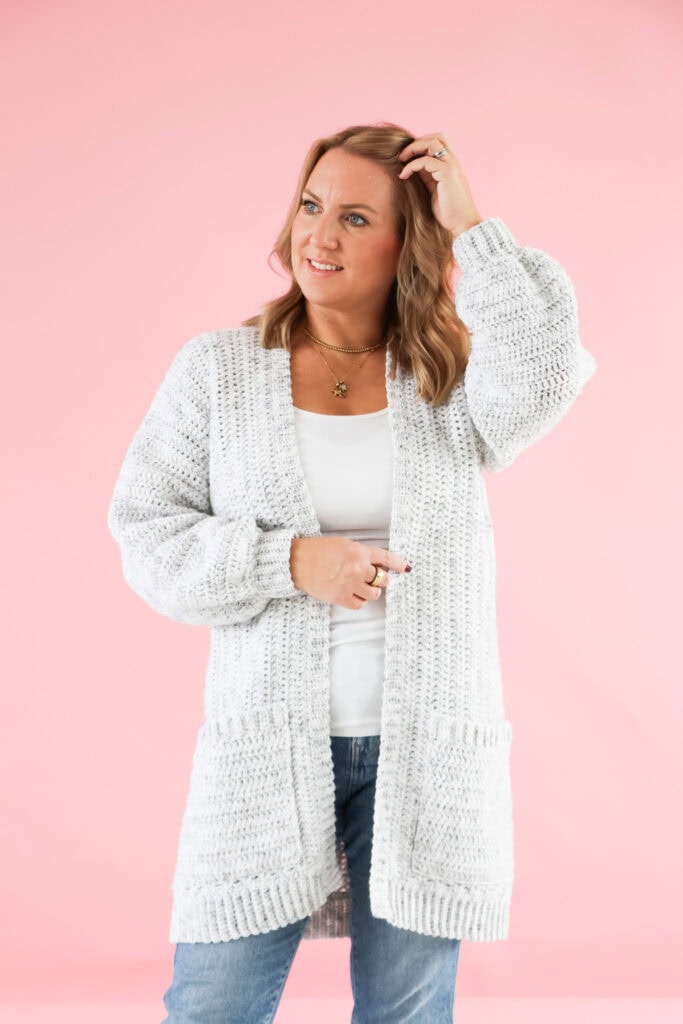
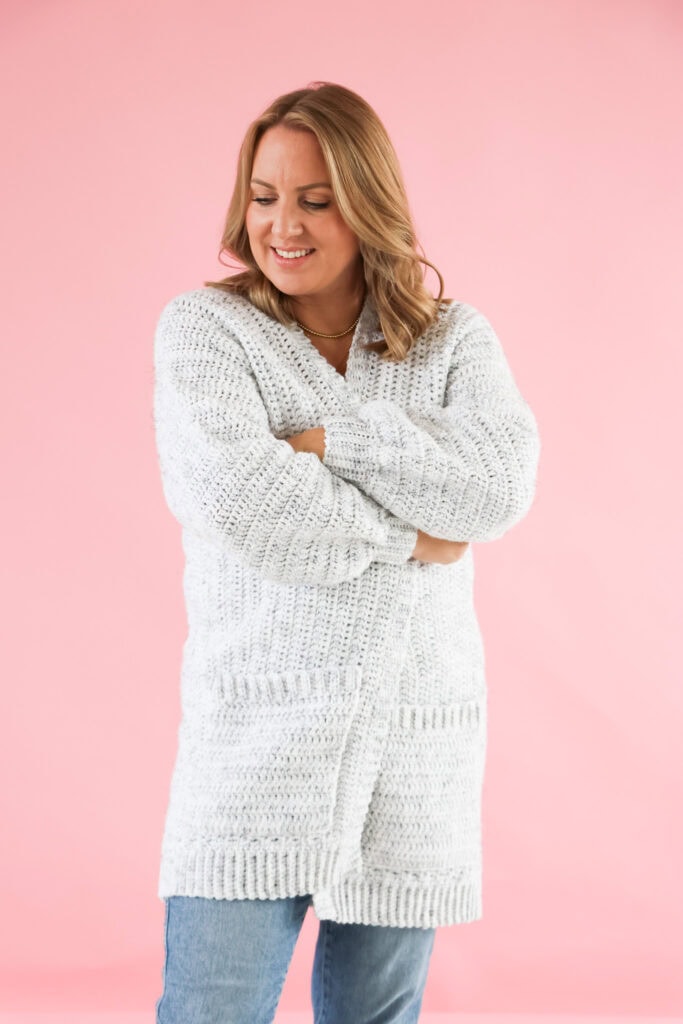
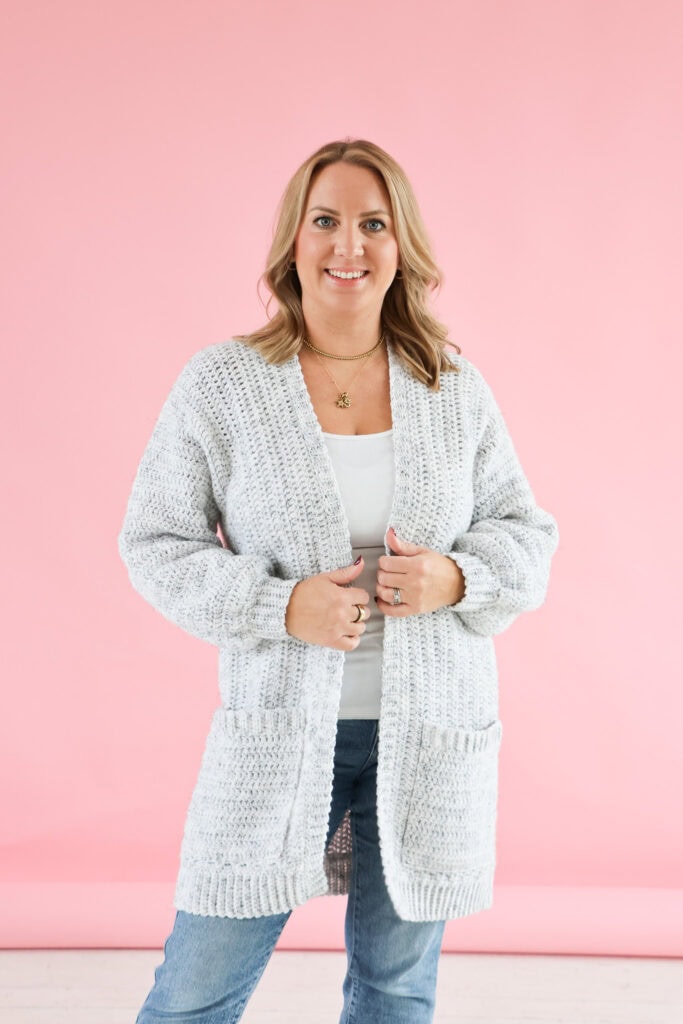
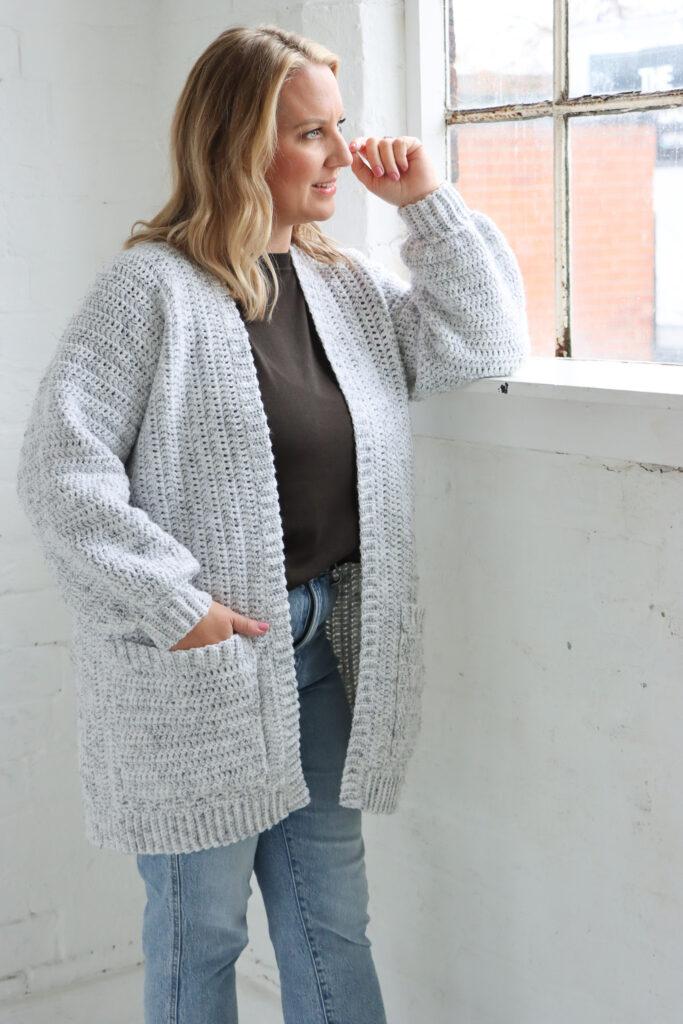
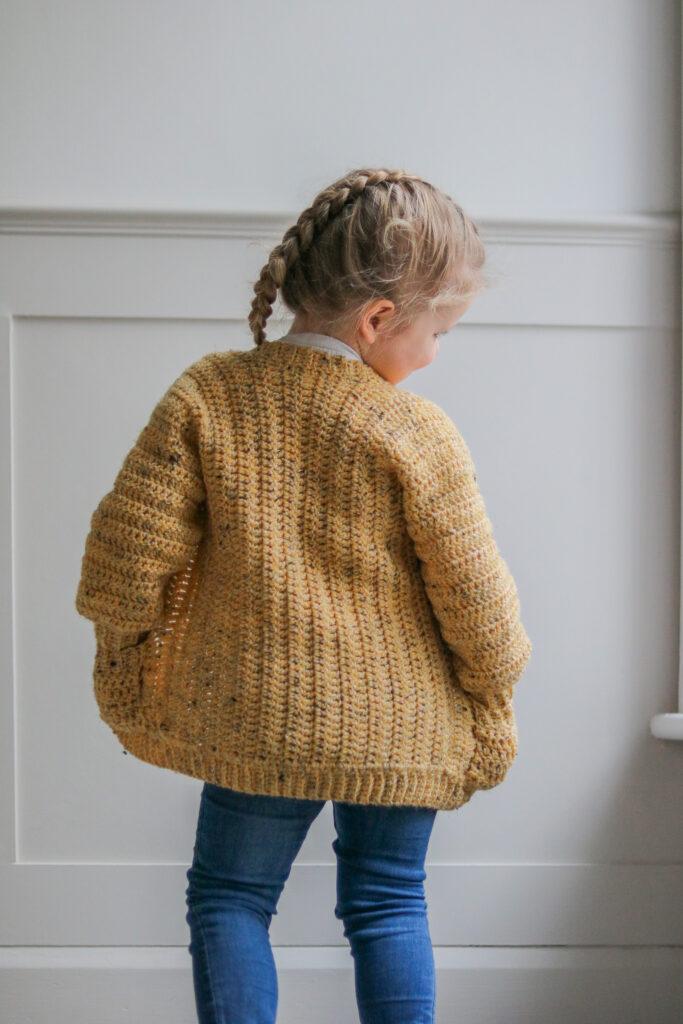
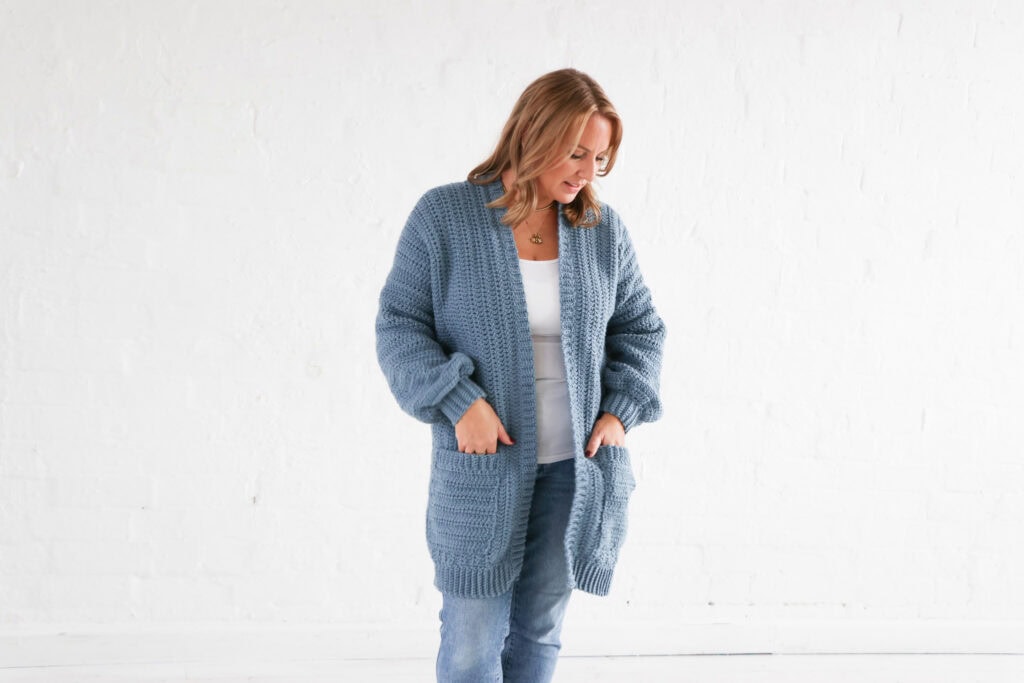
In this blog post, I’ll walk you through the steps to crochet a beginner-friendly cardigan, complete with simple stitches, straightforward construction, helpful tips and available in 9 sizes. Whether you’re crafting your first wearable or just want a relaxing project, this cardigan will become a favourite in your handmade wardrobe. Grab your yarn and hook—it’s time to get started!
Where to Shop for Yarn
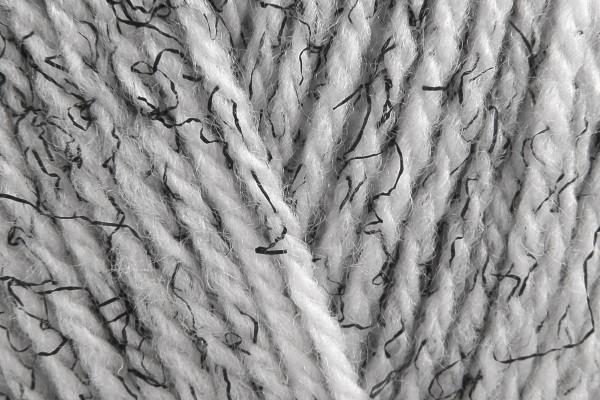
About The Yarn
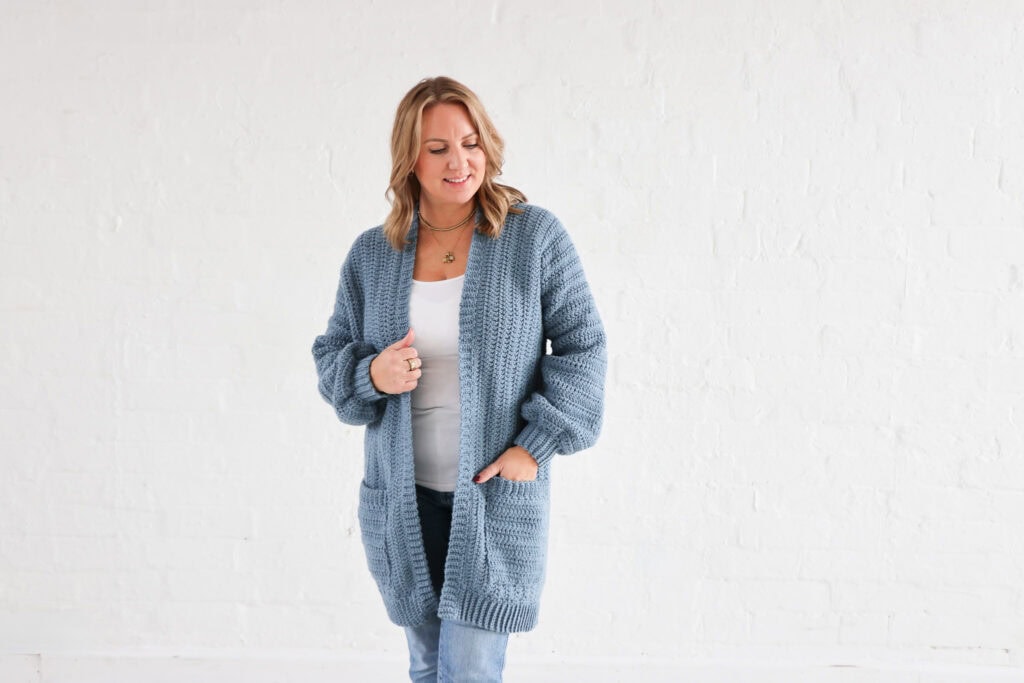
Sirdar Hayfields Bonus Aran Tweed comes in 400g balls, this yarn is perfect for crocheters eager to make garments, especially cardigans and jumpers. I love the subtle flecks of colour that add a beautiful tweed texture to your projects. Machine washable and made from a marvellous mix of wool, acrylic, and viscose, making this yarn warm and durable.
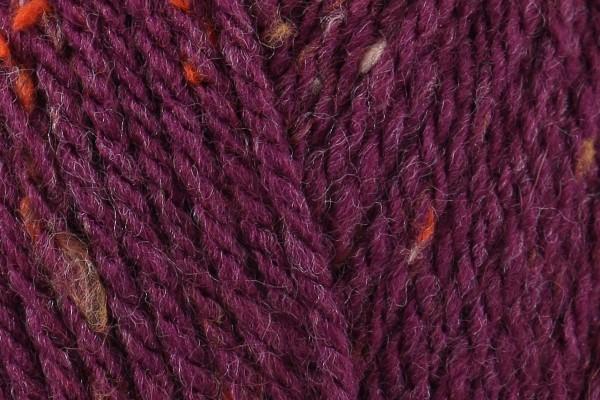
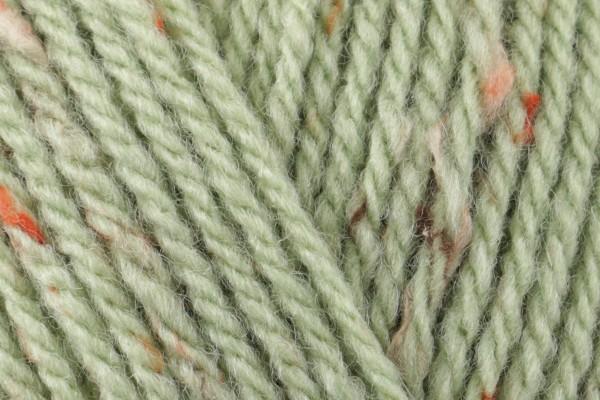
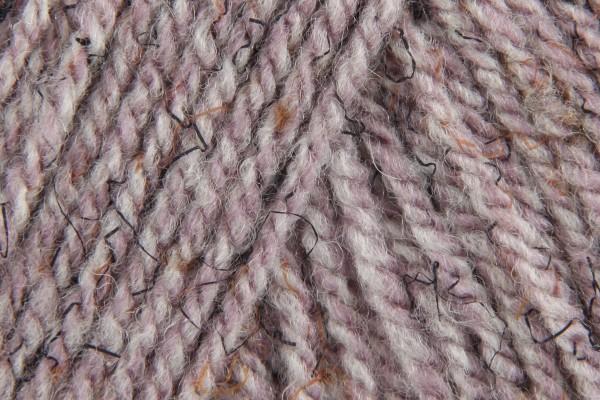
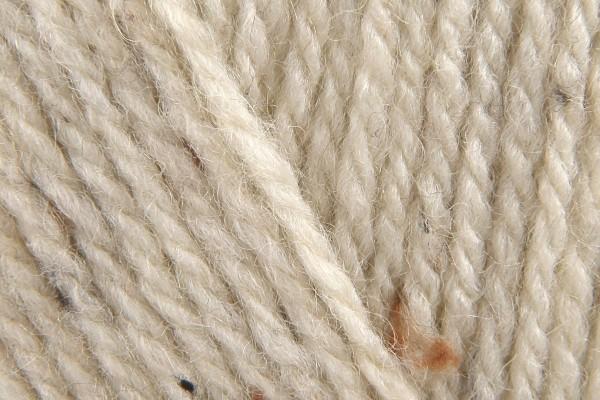
Colour Inspiration
I have used the colour Stormcloud. However, I’ve shared some of my favourites from the colour pallet below:
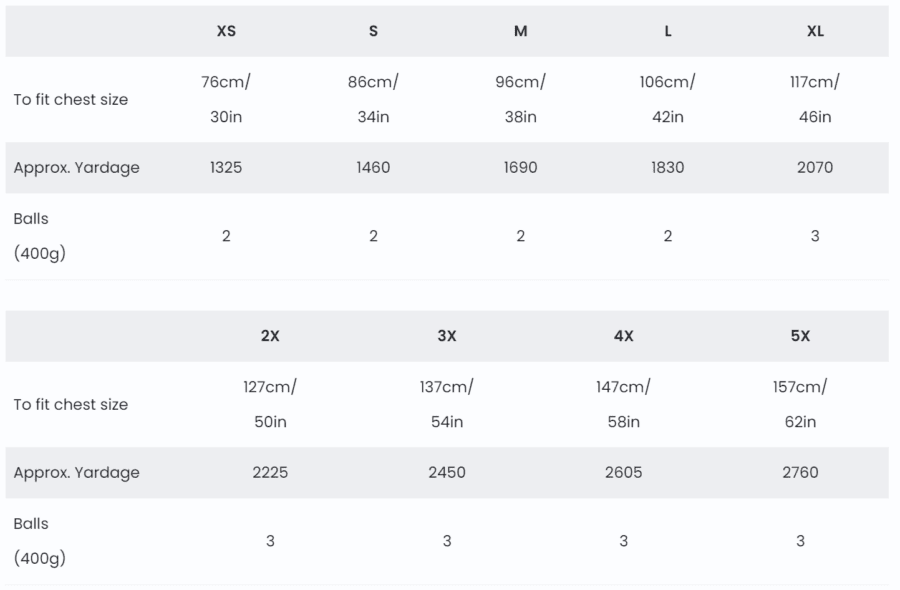
Sizing and Yarn Quantities
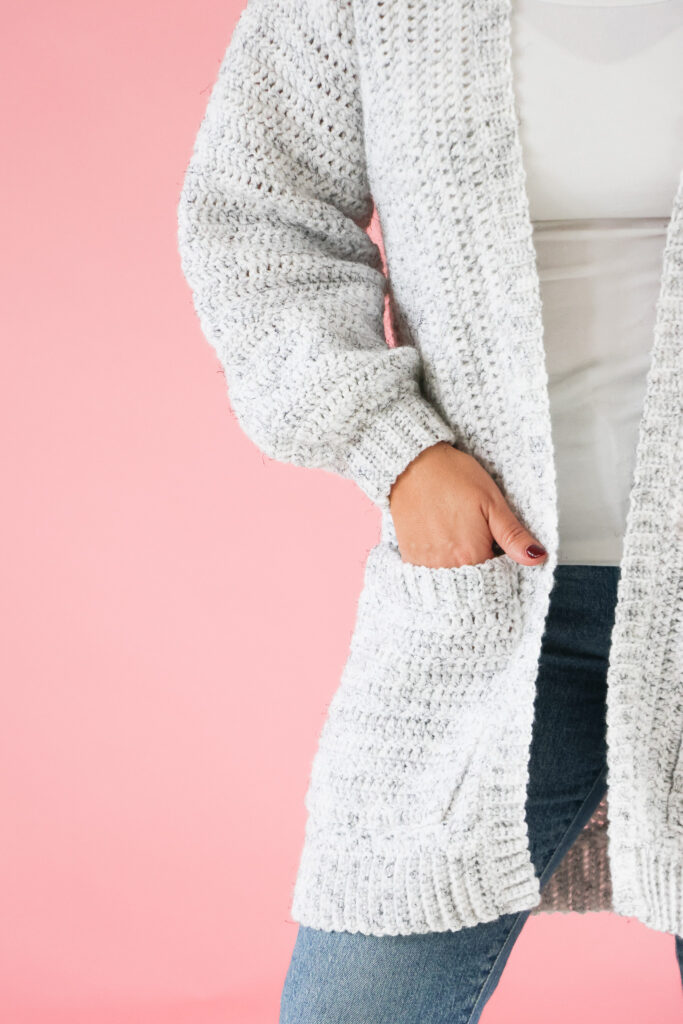
The Nova Cardigan is an oversized fit with up to 15cm (6inch) positive ease.
Measurements after light blocking.
Length (including 5cm (2inch) ribbing) – 30 (30, 32, 32, 34) (34, 35, 35, 35) inches,
76 (76, 81, 81, 86.5) (86.5, 89, 89, 89) cm.
Width – 18 (20, 22, 24, 26) (28, 30, 32, 34) inches, 45.75 (50.75, 55.75, 61, 66) (71, 76, 81, 86.25) cm.
Circumference – 36 (40, 44, 48, 52) (56, 60, 64, 68) inches, 91.5 (101.5, 111.75, 122, 132) (142.25, 152.50, 162.50, 172.75) cm.
Neckline – 3.5 inches – all sizes, 8.75 cm – all sizes.
Armhole Depth – 6.5 (7, 7.5, 8, 8.5) (9, 9.5, 10, 10.5) inches, 16.5 (17.75, 19, 20.25, 21.5) (22.75, 24, 25.5, 26.5) cm.
All measurements are approximate.
Gauge & Size
13 sts and 8 rows measures over 10cm X 10cm (4in X 4in) measured using Treble Crochet.
Gauge Swatch
Save some time and use the pocket as your gauge swatch!
See below for the pocket instructions and choose the size you are making.
Pattern Notes
- Written in UK terms but switchable to US terms below.
- This pattern is made up by creating the main body of the cardigan from side to side. The arms and cuff will be crocheted onto the main body to minimise seaming. You will finish by adding ribbing to the bottom and front opening using the join as you go method.
The number references for each size will be listed as follows: XS (S, M, L, XL) (2X, 3X, 4X, 5X)
Pattern Support
The fastest way to get pattern support is to ask in our dedicated facebook group for Bella Coco Crochet patterns. This is the best place for you to connect with other crocheters.
Please note, if you wish to change and adapt this pattern in any way, this must be done at your own exploration and we cannot offer assistance with this.
Convert Pattern Terms
Here you can quickly switch between UK and US crochet terms. This will make following the pattern easier as all terms will be converted to your preferred version.
Terms & Abbreviations
Stitch(s): st(s)
Slip Stitch(s): ss(s): Insert hook, yarn over, pull through stitch and loop on hook.
Chain(s): ch(s): Yarn over, pull through loop on the hook.
Double Crochet(s): dc(s): Insert hook into stitch, yarn over, pull up a loop, you will have two loops on the hook. Yarn over, pull through remaining two loops.
Back Loop Only: BLO: Working into the back loop only of the stitch.
Special Stitches
Stacked Double Crochet(s): sdc(s): Insert hook into stitch, yarn over, pull up a loop, you will have two loops on the hook. Yarn over, pull through remaining two loops. Insert hook into the post of the stitch which is furthest away from the hook. Yarn over, pull up a loop, you will have two loops on the hook. Yarn over, pull through remaining two loops.
Double Crochet two together: Dc2tog: Insert hook into stitch, yarn over, pull up a loop, you will have two loops on the hook. Insert hook into stitch, yarn over, pull up a loop, you will have three loops on the hook. Yarn over and pull through all three loops
Treble Crochet(s): tr(s): Yarn over, insert into stitch, yarn over, pull up a loop, you will have three loops on the hook. Yarn over, pull through two loops, yarn over, pull through remaining two loops.
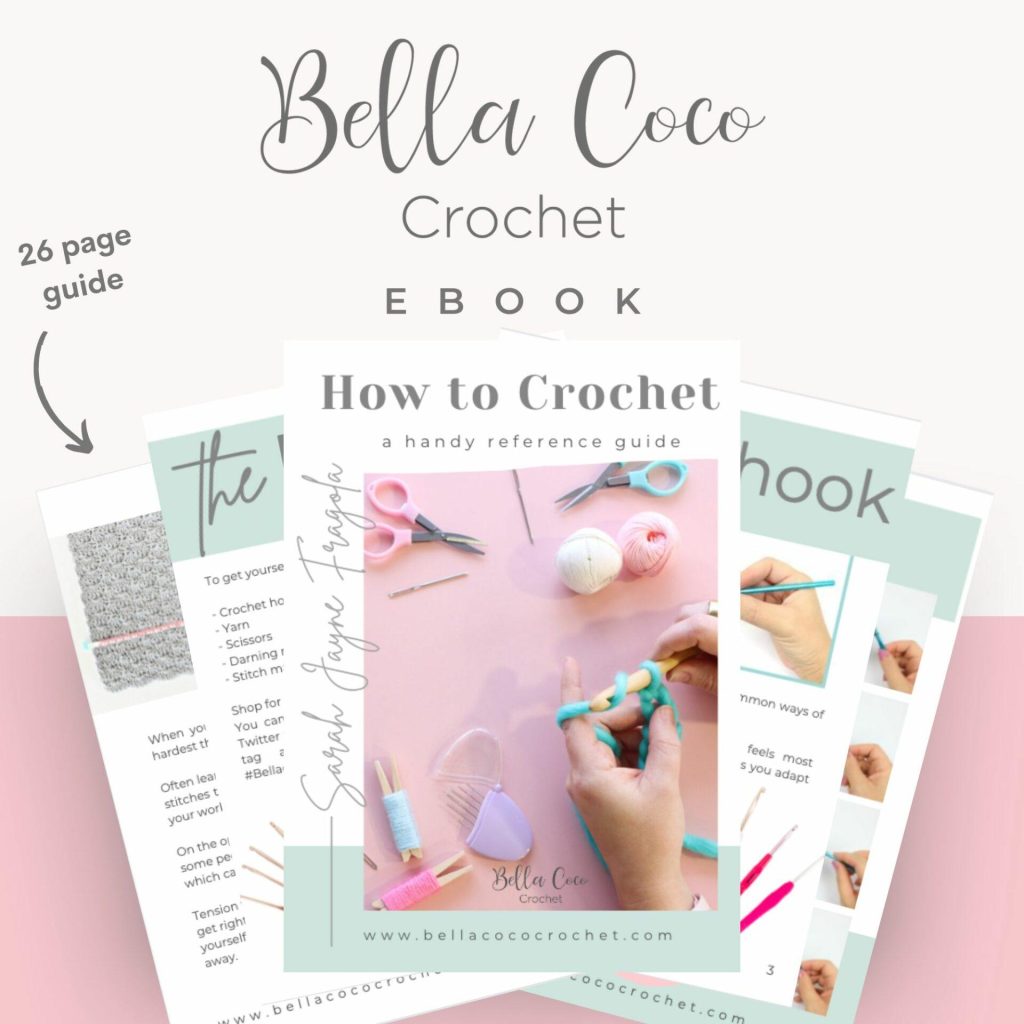
Unsure of the differences between UK and US terms? Need a refresher on how to do your crochet stitches? In my ‘How to crochet: A handy reference guide’ EBook I help you with all of these terms and you can always have them to hand! You will also get exclusive access to free video instructions. You can find my EBook HERE.
Pin For Later
Crochet AD-FREE PDF Patterns
Mini Nova Cardigan
Free Pattern: Crochet Cardigan in Nine Sizes
You are viewing this pattern in UK terms.
Pattern
Main Body (made in one piece): Part one
Ch 183 (183, 197, 197, 209) (209, 217, 217, 217)
Row 1: Working in the back bumps of the ch, tr in third ch from hook (missed chs count as st) and each ch across. Turn.
Rows 2-14 (16, 18, 20, 22) (24, 26, 28, 30): Sdc in first st, tr in each st across. Turn.
To unlock this FREE crochet pattern all you need to do is enter your email to join our mailing list and the grow app will appear, please enter your email and create a password. Now you’ve created a grow account you’ll be able to access all of the free patterns on the blog and bookmark your favourites so you can have them all in one place for easy access.
If you forget your password, click the “forgot password” link and follow the prompts. Please note that the team are unable to assist with resetting Grow passwords or accessing your Grow account, so please make sure you save your login information in a safe place.
Your grow account is separate from your Bella Coco account which you use to access your purchased patterns.
Neckline Split
Main Body: Part two
Do not fasten off your yarn, you will now be making a chain before moving onto the next rows.
Chain 92 (92, 99, 99, 105) (105, 109, 109, 109)
Row 22 (24, 26, 28, 30) (32, 34, 36, 38): Working in the back bumps of the ch, tr in third ch from hook (missed chs count as st) and each ch and st across. Turn.
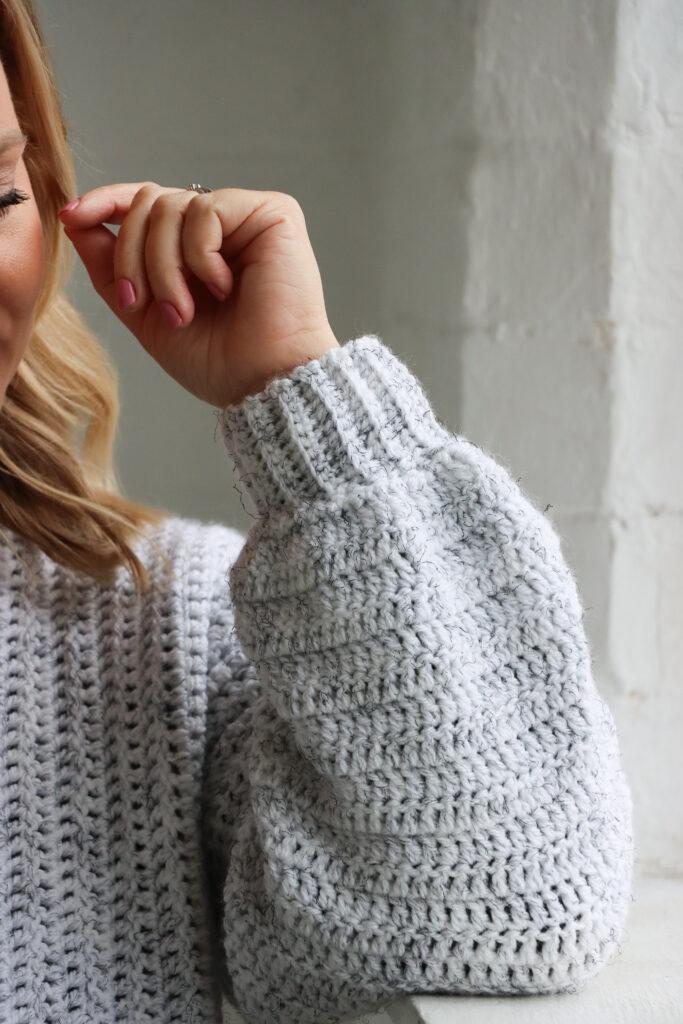
Sleeves
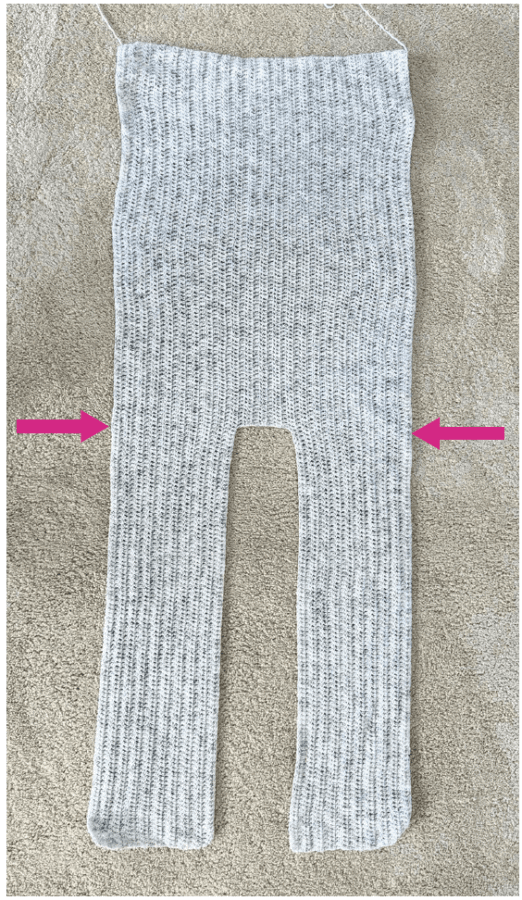
Set up: The sleeves of the cardigan are going to be crocheted straight onto the main body of your cardigan. this means you will be working into the final row of the main body and the underside of the chain from row 1. Locate the centre on each side as shown in Image A, count 25 (26, 27, 28, 29) (30, 31, 32, 33) sts either side of the centre and mark with a stitch marker.
Time to Block
Now is the time to steam block your work. Use blocking pins and mats to shape your work ensuring that each side is the same size.
Seaming
Fold the work in half bringing the seams of the arms together and wrong side facing outwards.
With a strand of yarn and a darning needle, start at the bottom of the main body and whip stitch through both thicknesses. Once the body is seamed, continue along the underside of the arm and cuff.
Fasten off and sew in ends.
Repeat on the other side.
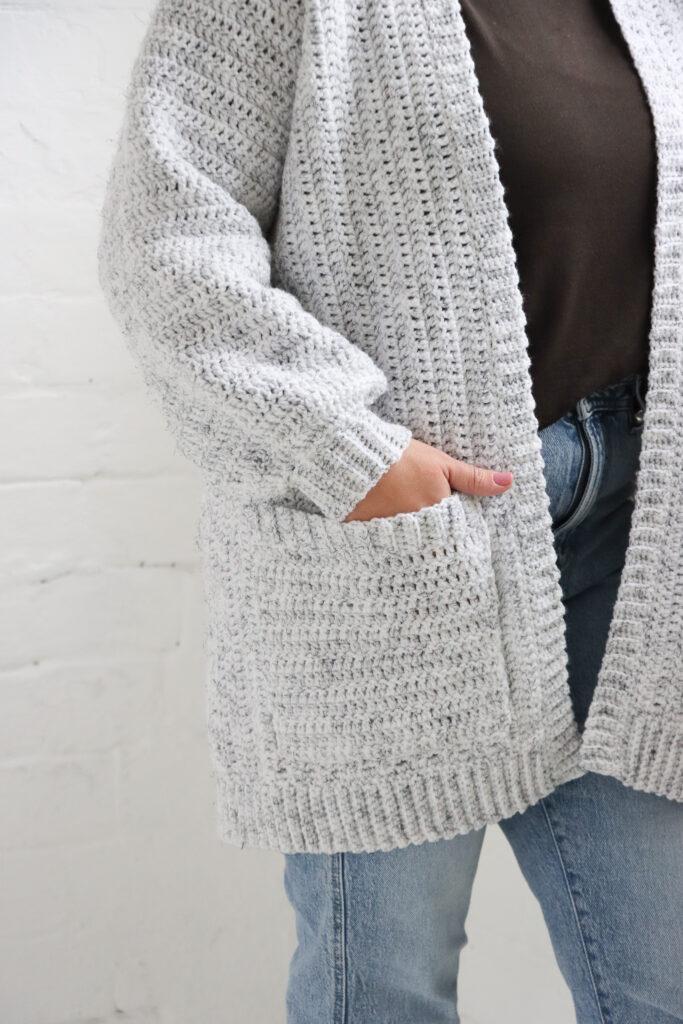
Pockets
With 5mm hook.
Row 1: Ch 24 (24, 24, 24, 27) (27, 27, 27, 27), working in back pump of ch, tr in 3rd ch from hook (missed chs count as st) tr in each st across. Turn.
Row 2-12 (12, 12, 12, 14) (14, 14, 14, 14): Sdc, tr in each st across. Turn.
Pocket Ribbing
Set up row: Ch 1, dc in each st across. Turn.
Change to 4.5mm hook.
Chain 6
Ribbing row 1: Dc in second ch from hook (missed ch does not count as st) and each st across. Ss in next 2 sts from the set up row. Turn. dc, 2 ss>
Row 2: Skip 2 ss, BLOdc in each st across. Turn. dc>
Row 3: Ch 1, dc in first st and next 4 sts. Ss in next 2 sts from the last row of the pocket. Turn. dc, 2 ss>
Repeat row 2 & 3 across.
Fasten off and sew in ends.
Attaching Pockets
Place the pockets at the front bottom of the cardigan, the base of the pocket will sit just above the ribbing and the inner edge of the pocket will be roughly around 1 row in
from the ribbing. Pin the pockets into place ensuring that they are the same on each side.
With a strand of yarn and a darning needle, sew the pocket to the body of the cardigan using whip stitch.
Repeat on other side.
Sew in all ends.
Video Tutorials
Right-handed
Or watch on YouTube
Left-handed
Or watch on YouTube
Pattern F.A.Qs
Q. When marking the armholes, the pattern says to locate the centre but I can’t get the number of stitches above and below the centre to match?
A. When marking the armholes, you need to locate the centre point which will be between two stitches. The easiest way to mark the armholes is to find the centre point, count in one direction the number of stitches required for your armhole in the size you are making, place a marker, then count back in the opposite direction double that number from that marker and then place your second marker. This makes sure you have exactly the same number of stitches either side of the centre point.
Crochet Garments Patterns
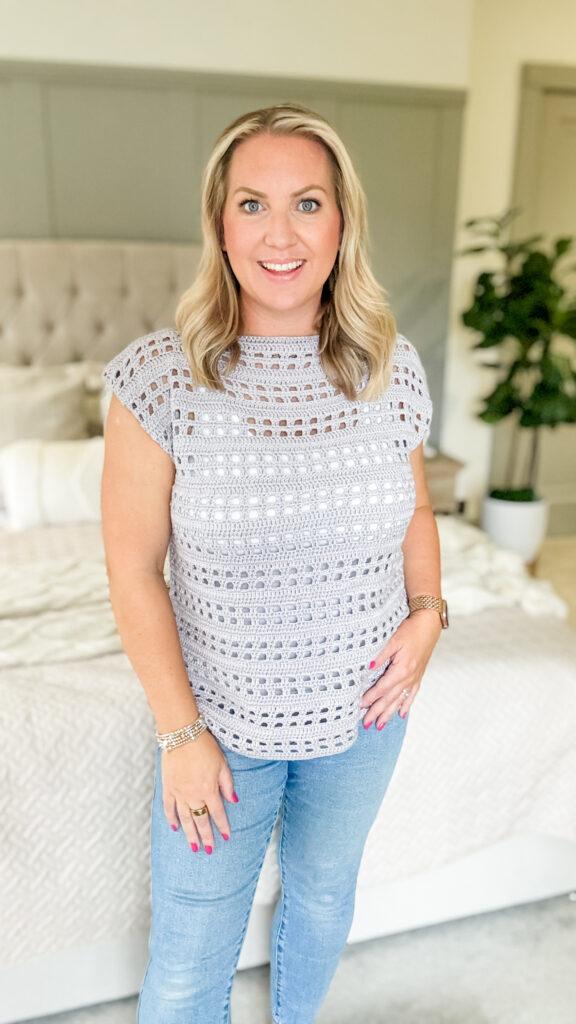
I hope you enjoyed making the Nova cardigan! I think you’ll also enjoy these beginner-friendly crochet wearables on the blog:
I always love to see your makes so if you try any of my patterns or follow my stitch tutorials please tag me @bellacococrochet or use the #bellacococrochet
sarah-jayne
Source link