


This post contains affiliate links. If you make a purchase through links on our site, I may earn a small commission. Click to see full details of my Privacy Policy.
Where To Shop Yarn
About the Yarn
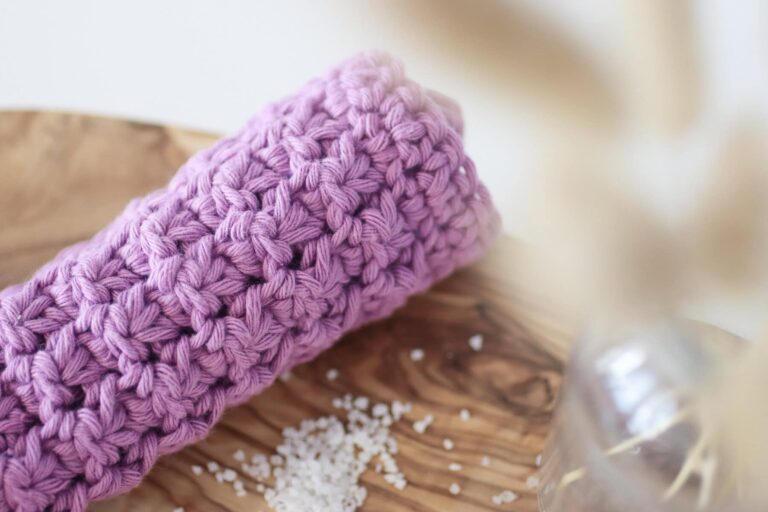
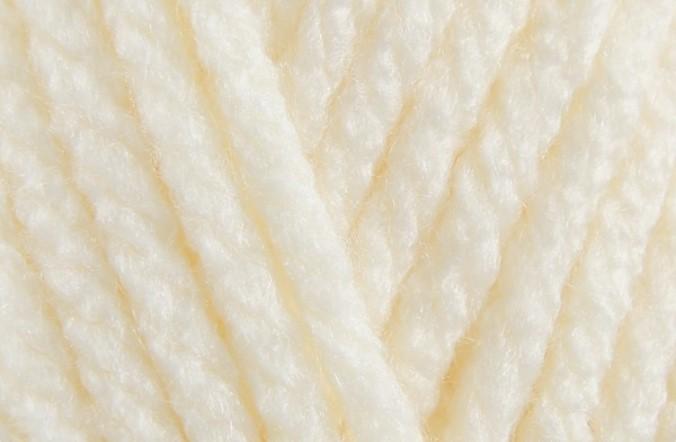
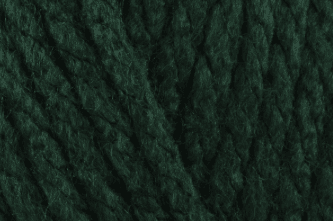
Stylecraft Special XL is a super chunky version of Stylecraft’s best-selling yarn, Special DK. It’s lovely to work with and comes in the most luscious colours! I’ll share some of my favourite colour combinations for this pattern below. Due to its super chunky size, it works up really quickly so it’s perfect for hats, scarves, blankets, garments and of course Christmas stockings!
Yarn Colours
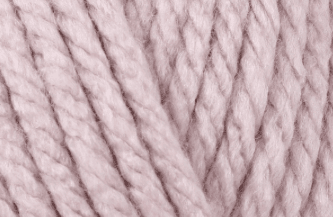
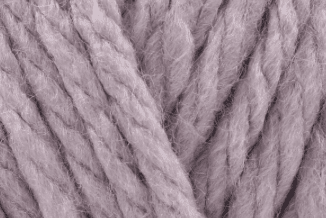
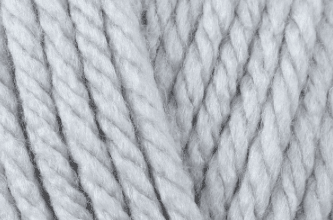
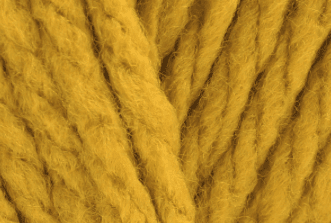
Colours Used
Belle
Minty
Ginger
Candy Cane
Noelle
Nutcracker
Convert Pattern Terms
Here you can quickly switch between UK and US crochet terms. This will make following the pattern easier as all terms will be converted to your preferred version.
Terms & Abbrevations
Stitch(s): st(s)
Back Loop Only: BLO: Working the indicated stitch into the back loop only.
Slip Stitch(s): ss(s): Insert hook, yarn over, pull through stitch and loop on hook.
Chain(s): ch(s): Yarn over, pull through loop on the hook.
Double Crochet(s): dc(s): Insert hook into stitch, yarn over, pull up a loop, you will have two loops on the hook. Yarn over, pull through remaining two loops.
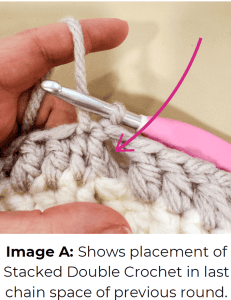
Stacked Double Crochet(s): stdc(s): Insert hook into stitch, yarn over, pull up a loop, you will have two loops on the hook. Yarn over, pull through remaining two loops. Insert hook into the post of the stitch which is furthest away from the hook. yarn over, pull up a loop, you will have two loops on the hook. Yarn over, pull through remaining two loops.
Treble Crochet(s): tr(s): Yarn over, insert into stitch, yarn over, pull up a loop, you will have three loops on the hook. Yarn over, pull through two loops, yarn over, pull through remaining two loops.
Special Stitches
Front Post Treble Crochet(s): FPtr: Yarn over, insert hook around post of stitch from front to back to front, yarn over, pull up a loop, you will have three loops on the hook. Yarn over, pull through two loops, yarn over, pull through remaining two loops.
Treble Crochet two together (tr2tog): Yarn over, insert into chain space, yarn over, pull through, you will have three loops on the hook. Yarn over, pull through two loops. Do not complete the stitch. Yarn over, insert into the next chain space, yarn over, pull through, you will have four loops on the hook. Yarn over, pull through two loops, yarn over pull through all three loops on the hook.
Invisible slip stitch(s): Inv ss(s): Insert hook from back to front and pull through stitch and loop on hook.
Unsure of the differences between UK and US terms? Need a refresher on how to do your crochet stitches? In my ‘How to crochet: A handy reference guide’ EBook I help you with all of these terms and you can always have them to hand! You will also get exclusive access to free video instructions. You can find my EBook HERE.
Pattern Notes
- Written in UK terms But switchable to US terms above
- Skill Level: Beginner.
- Video tutorials are available for additional support.
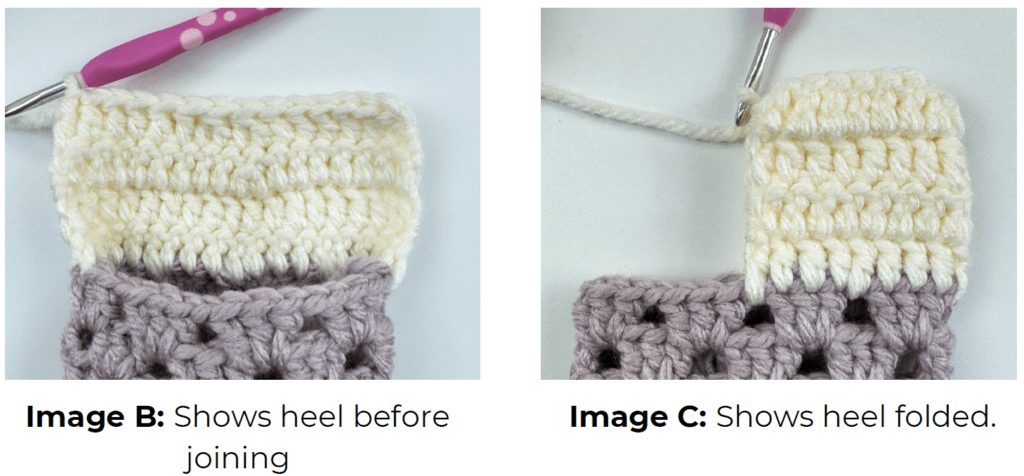
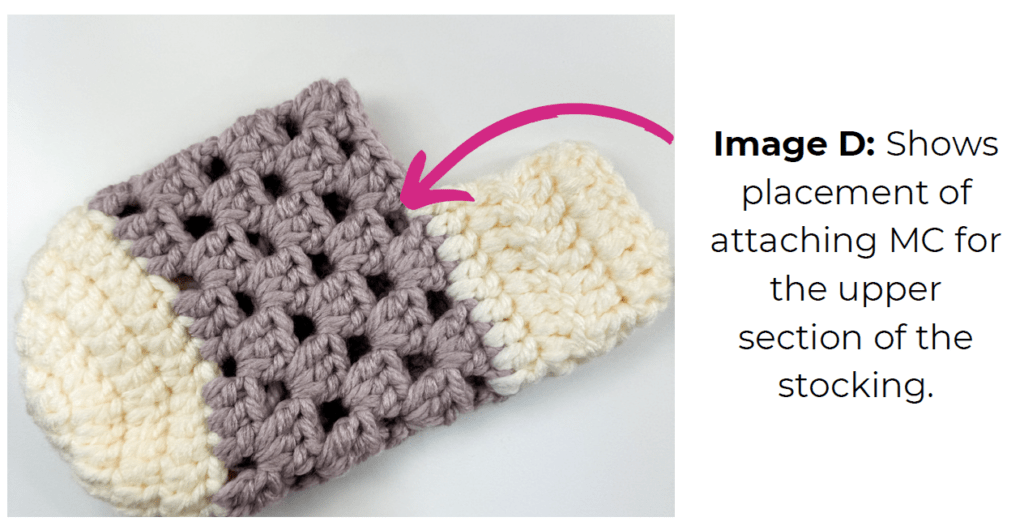
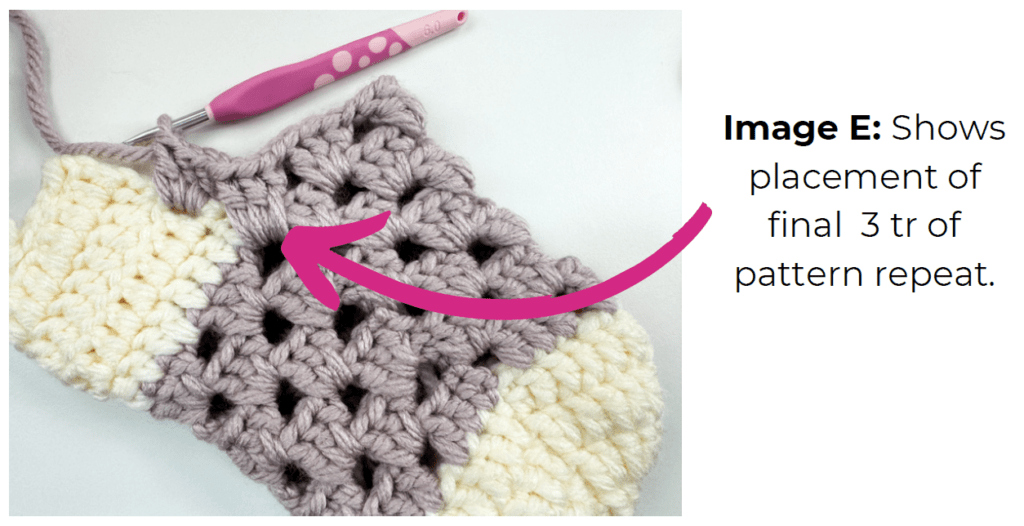
- You will be making the stocking from the bottom up. If you wish to use just one colour, work an invisible slip stitch when pattern instructs to change colours.
Gauge & Size
- Measures 9.5cm (3.75inch) after round 2.
- Completed Size: Height: 48cm (19 inch) excluding hanger. Width: 19cm (7.5 inch)
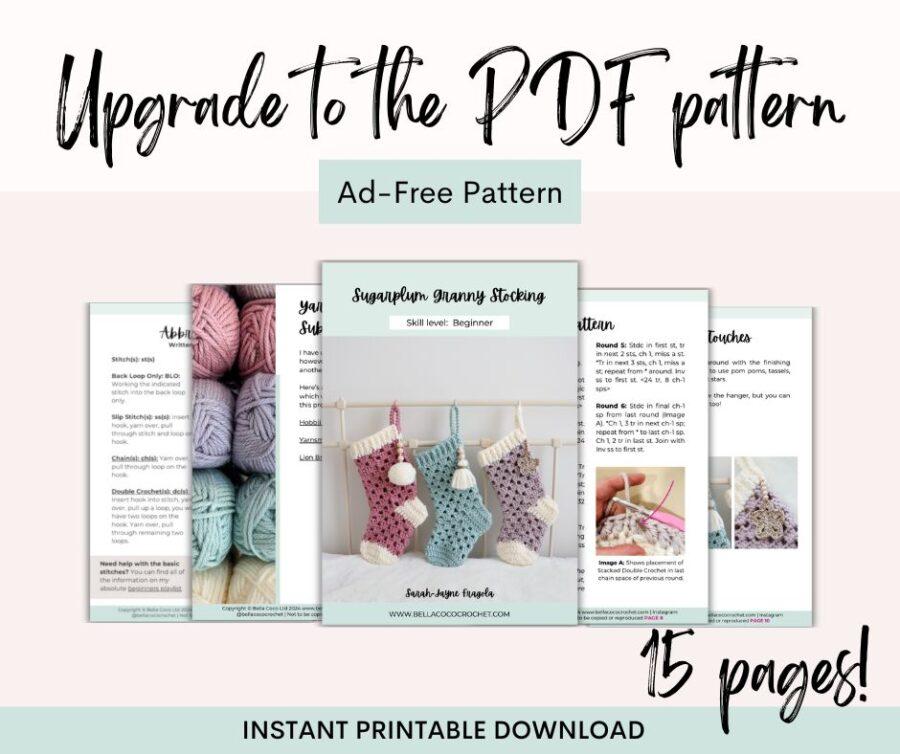
PDF Pattern
Pattern Support
The fastest way to get pattern support is to ask in our dedicated facebook group for Bella Coco Crochet patterns. This is the best place for you to connect with other crocheters.
Please note, if you wish to change and adapt this pattern in any way, this must be done at your own exploration and we cannot offer assistance with this.
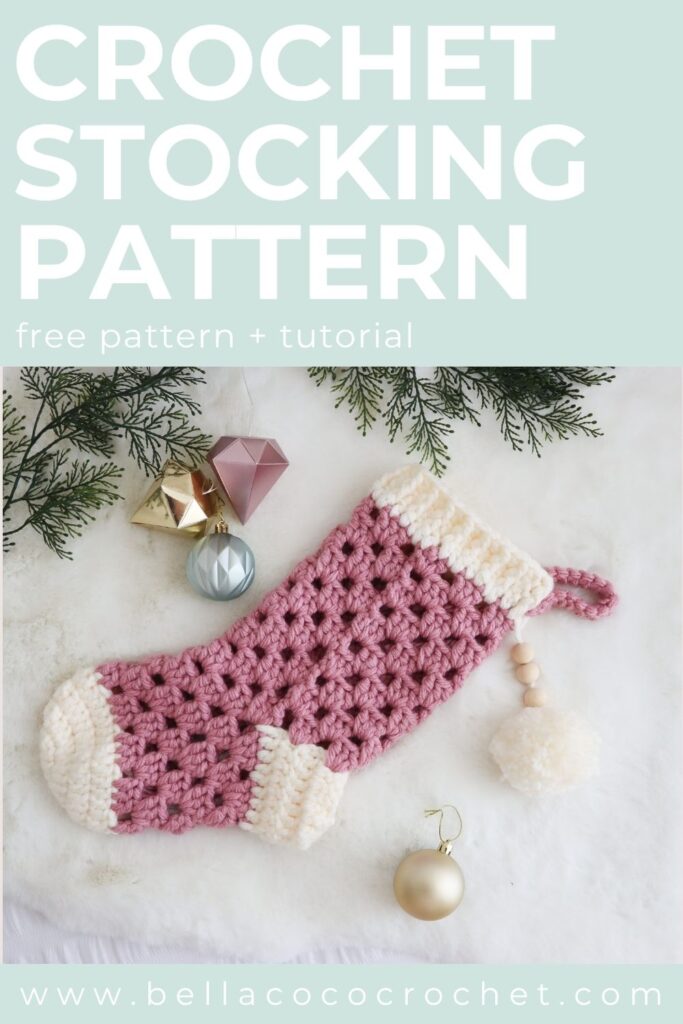
Pin For Later
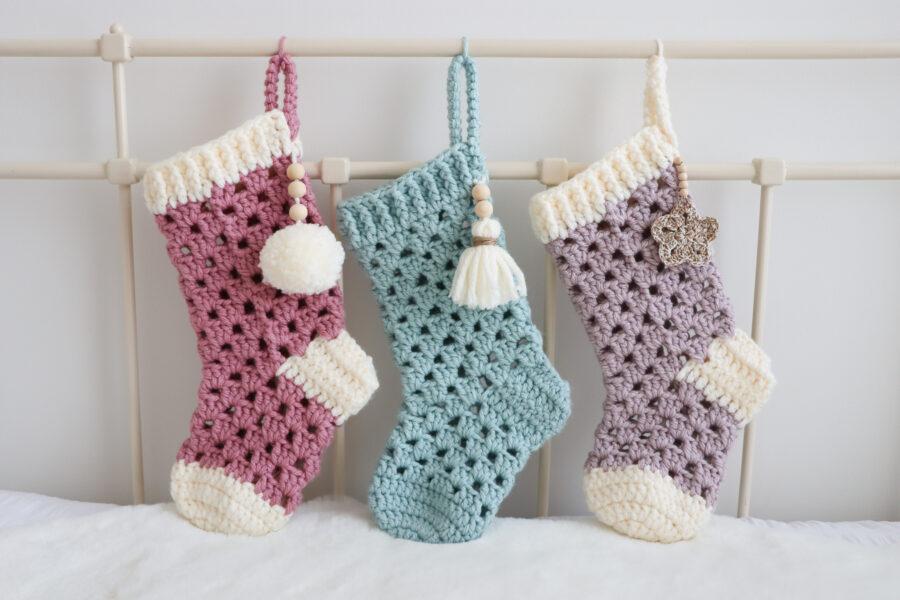
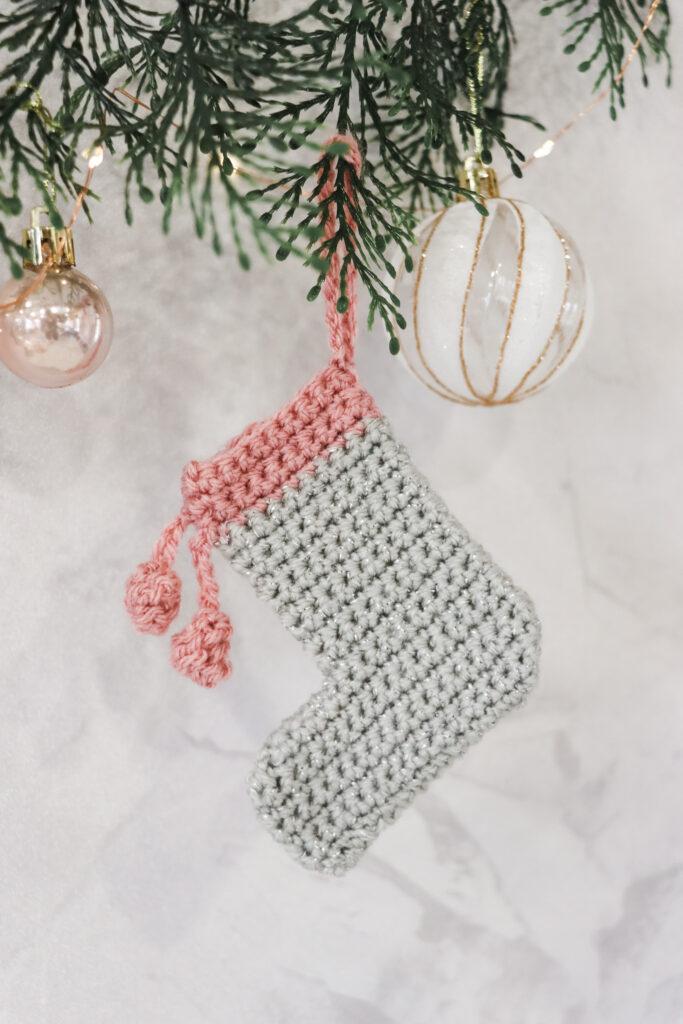
Free Pattern: Crochet Stocking
How to Make a Pom Pom
Video Tutorials
Right-handed
Or watch on YouTube
Left-handed
Or watch on YouTube
Crochet Stocking Patterns
Have you seen these crochet stocking patterns? I have an adorable mini crochet stocking pattern or if you’re looking for a challenge, I have a hexagon crochet stocking pattern for you to try:
Christmas Crochet Patterns
I always love to see your makes so if you try any of my patterns or follow my stitch tutorials please tag me @bellacococrochet or use the #bellacococrochet
sarah-jayne
Source link