This post contains affiliate links. If you make a purchase through links on our site, I may earn a small commission. Click to see full details of my Privacy Policy.
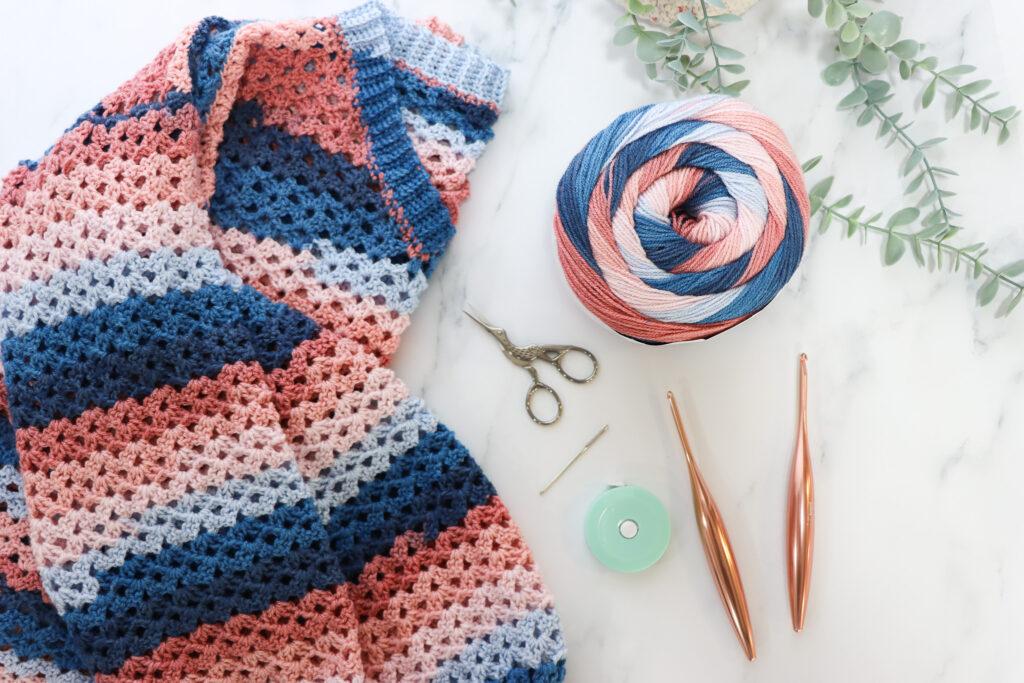
About the Yarn
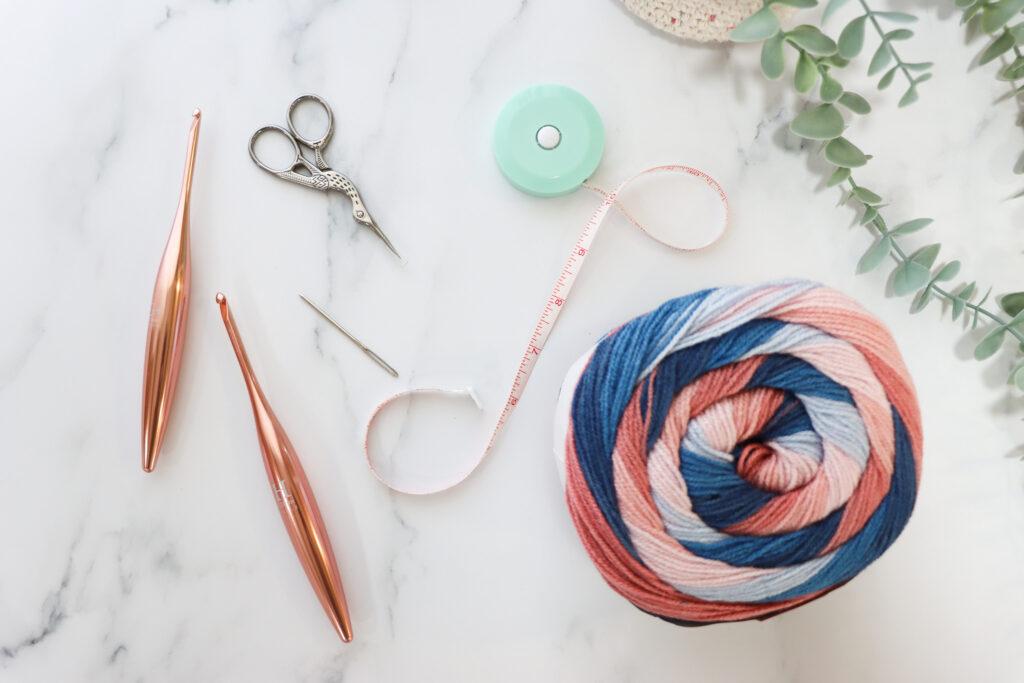
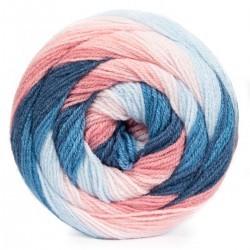
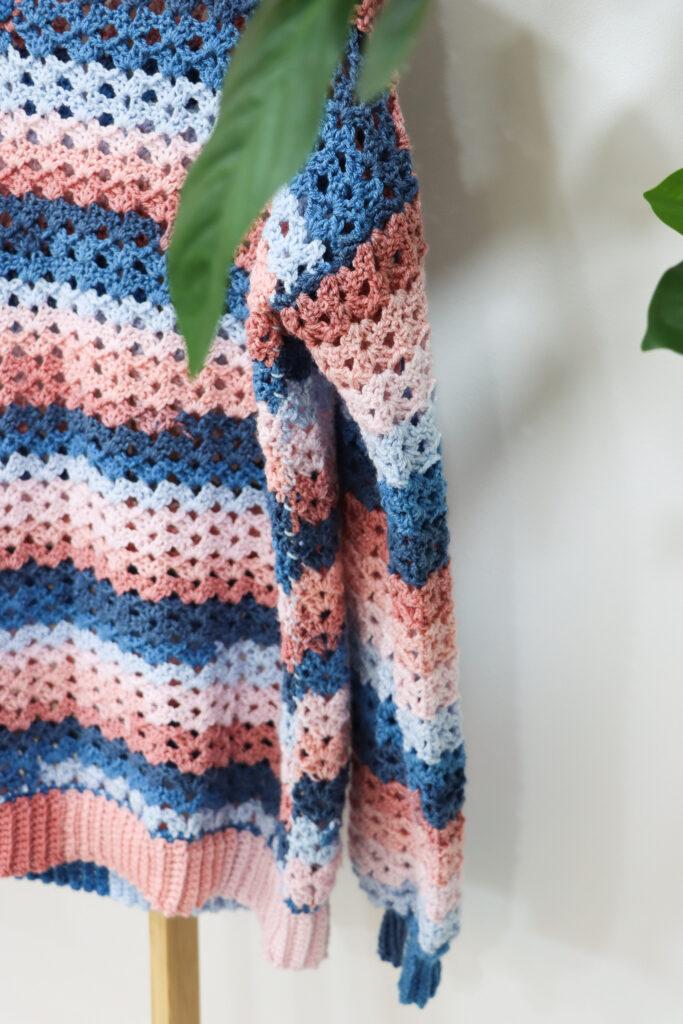
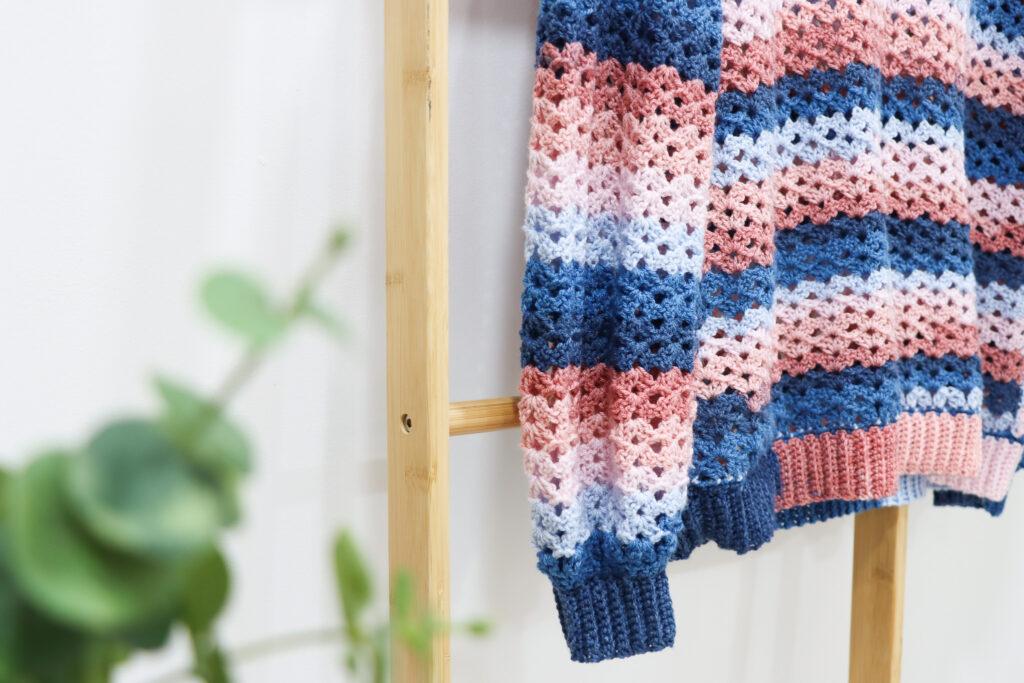
Hobbii Horizon is a 100% premium acrylic yarn. The yarn is spun from anti-pilling acrylic fibers, which makes the yarn less likely to pill which makes this yarn durable and great for crochet wearables such as sweaters PLUS its machine washable.
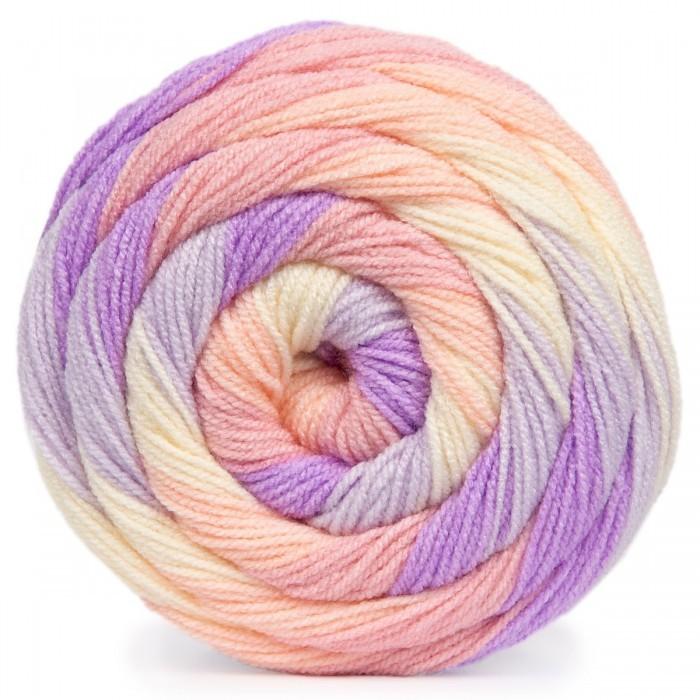
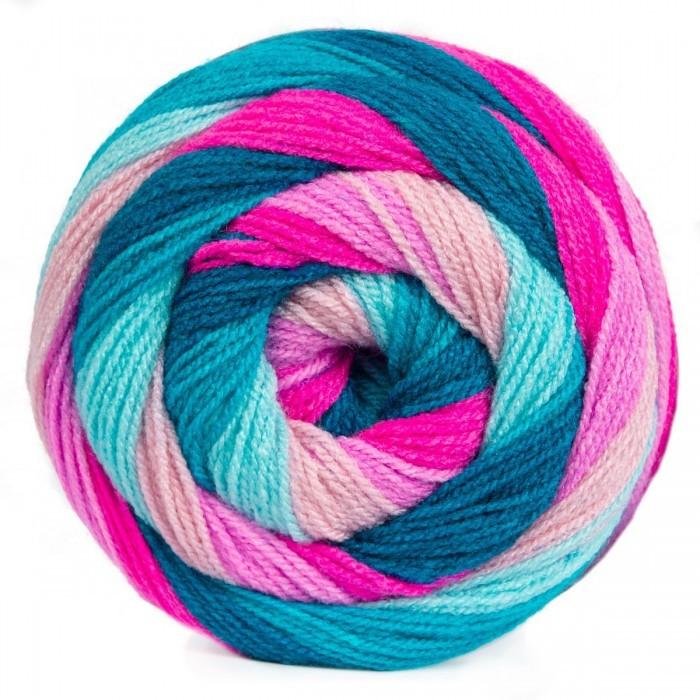
The long colour changes result in mainly bright, vibrant, and joyful stripes, as well as a few pastel options. I’ll share some of my favourite colours below.
Colour Inspiration
011519
Sizing and Yarn Quantities
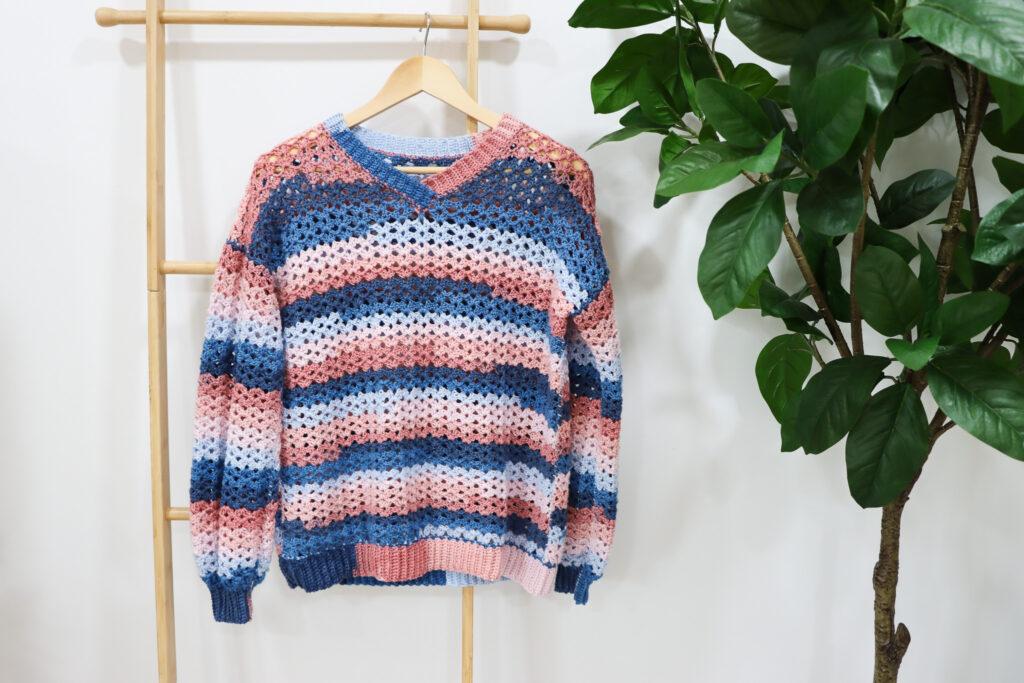
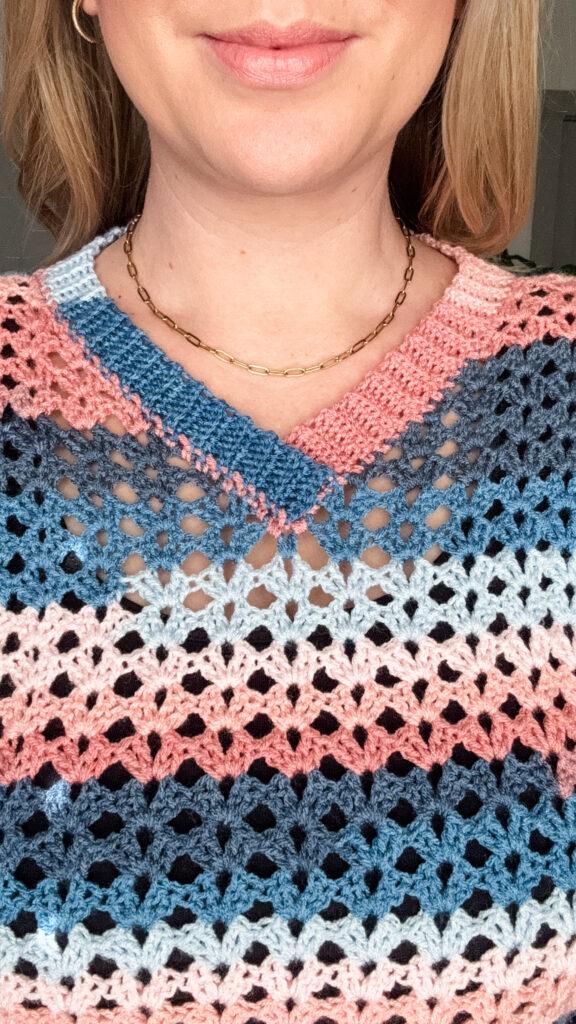
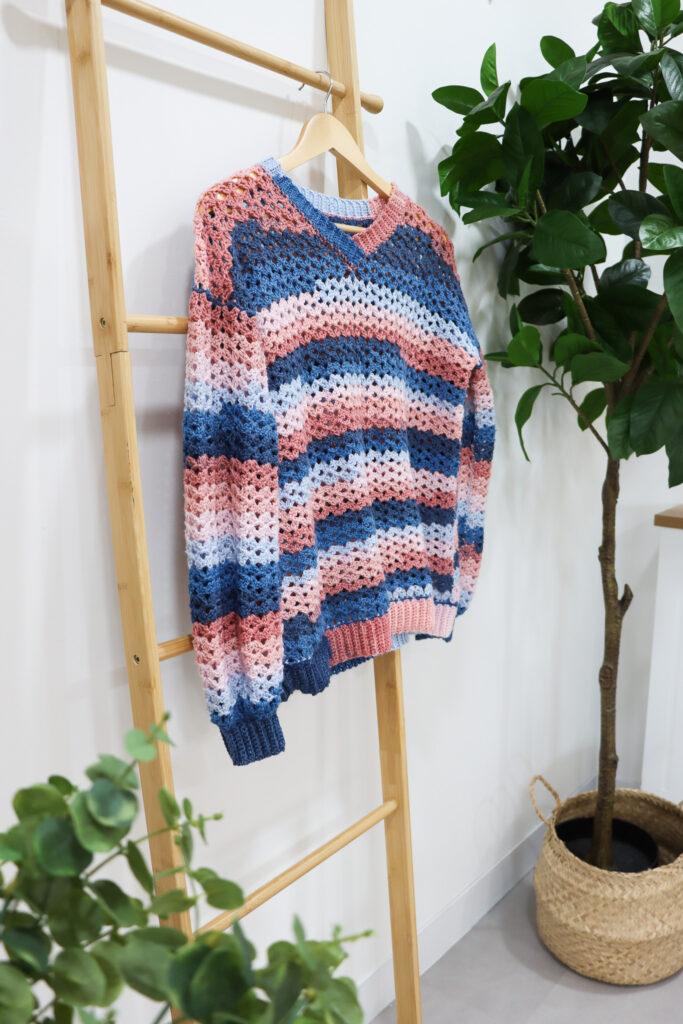
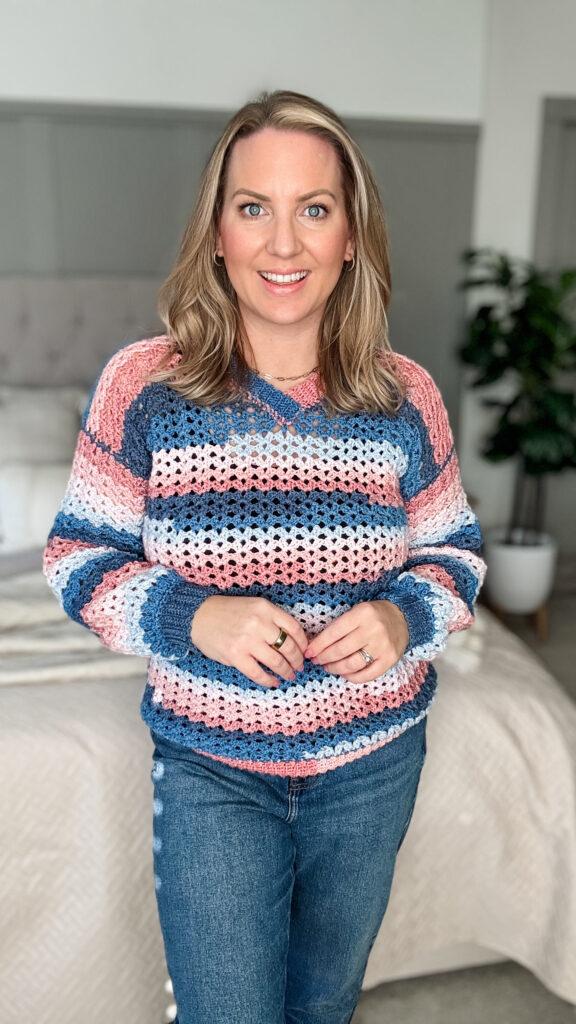
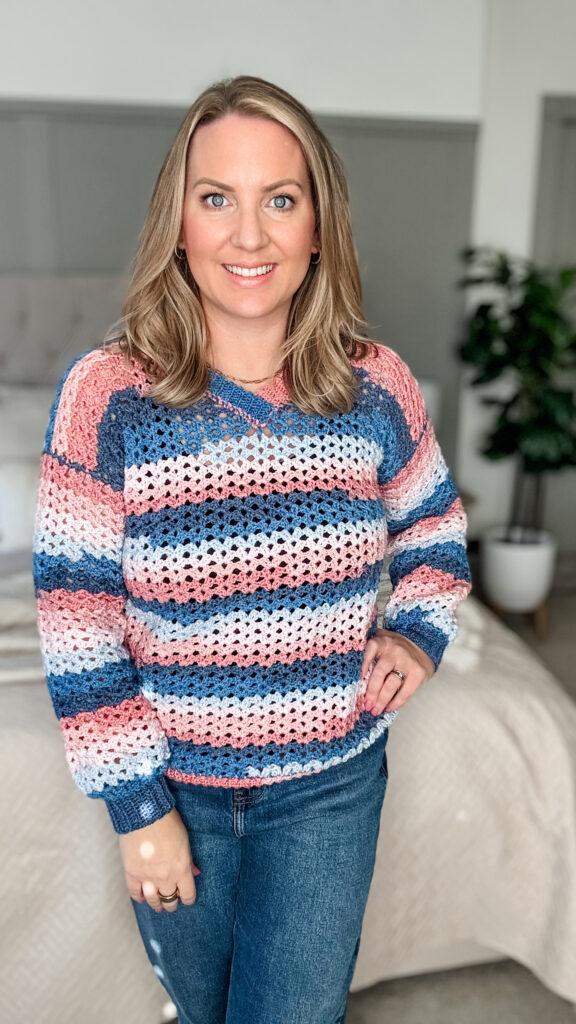
The Skylar Sweater is a classic fit with up to 5-10cm (2-4inch) positive ease.
XS
S
M
L
XL
To fit chest size
76cm/ 30in
86cm/ 34in
96cm/ 38in
106cm/ 42in
117cm/ 46in
Approx. Yardage
1100
1195
1310
1405
1560
Balls (200g)
2
2
3
3
3
2X
3X
4X
5X
To fit chest size
127cm/ 50in
137cm/ 54in
147cm/ 58in
157cm/ 62in
Approx. Yardage
1665
1830
1945
2120
Balls
3
4
4
4
All measurements are approximate.
Measurements
Measurements are approximate and after a light blocking
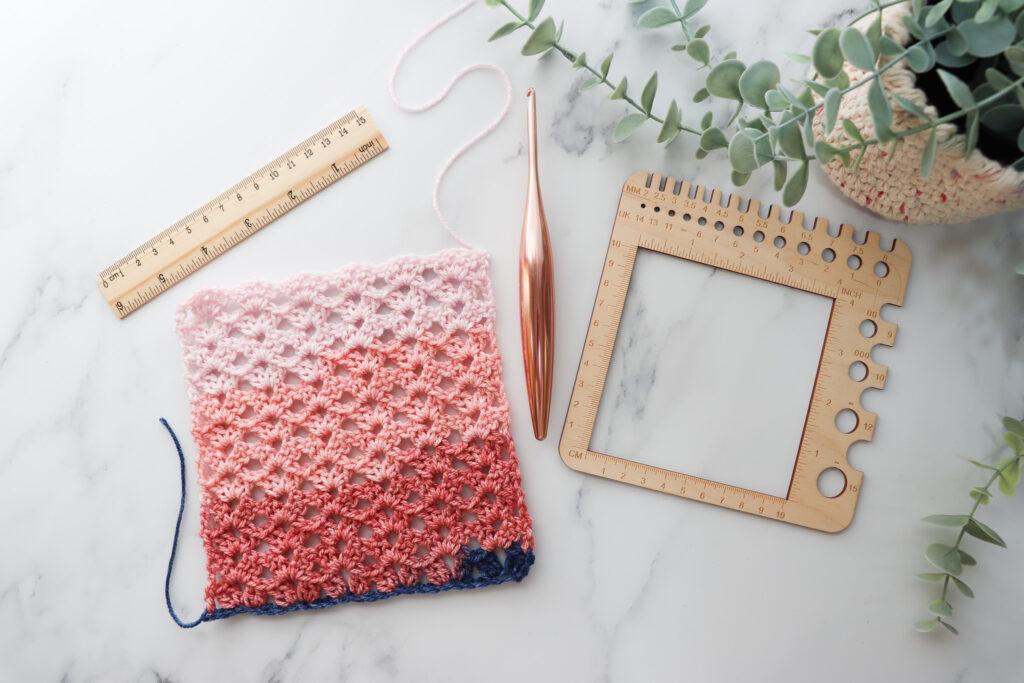
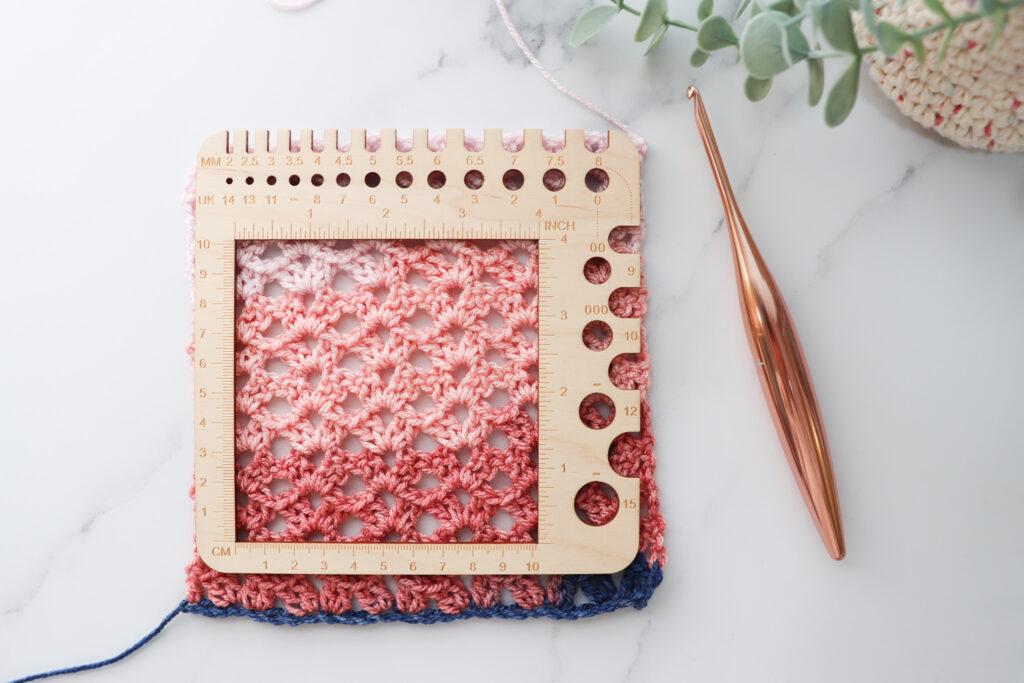
16 sts X 7 rows per 10cm X 10cm (4in X 4in) measured over main stitch pattern. See gauge swatch information below.
Gauge Swatch
Chain 28, follow instructions for back panel for 11 rows.
When counting your stitches, you will be counting the treble crochets and the initial chain 3 only. The chain 2 stitches between sets of treble crochets are not included in the stitch count.
Pattern Notes
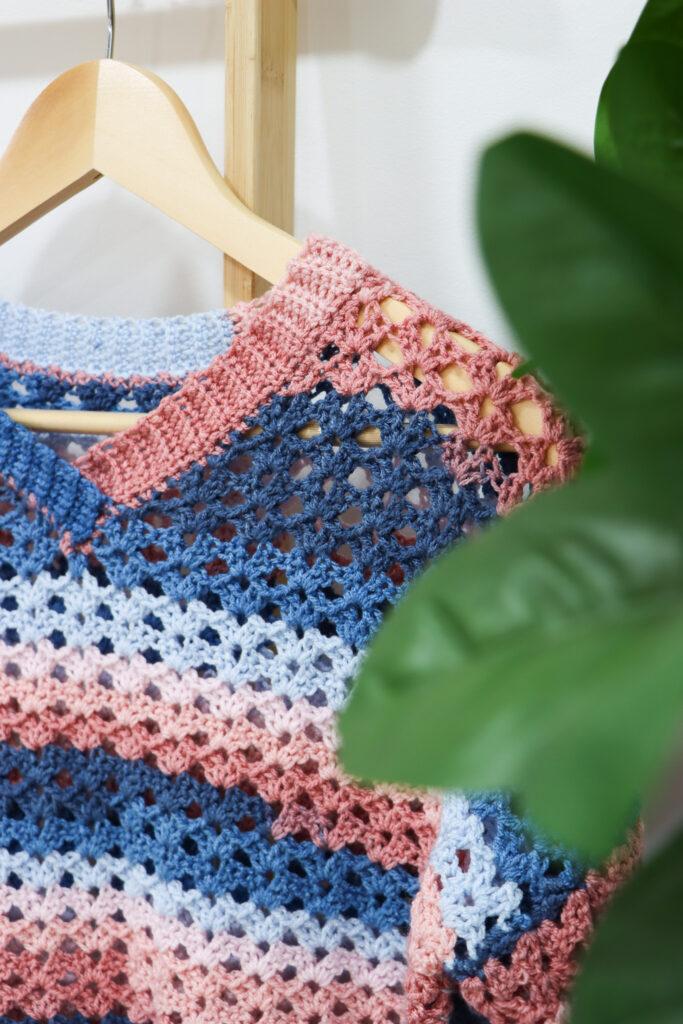
This pattern is written in UK terms but switchable to US terms below. Skill Level: Advanced Beginner This pattern is made up by creating a solid back panel and a front panel with a v neck. The sleeve and cuff will be crocheted onto the main body to minimise seaming. You will finish by adding ribbing to the bottom and neckline using the join as you go method.
The number references for each size will be listed as follows: XS (S, M, L, XL) (2X, 3X, 4X, 5X)
Pattern Support
The fastest way to get pattern support is to ask in our dedicated facebook groupfor Bella Coco Crochet patterns. This is the best place for you to connect with other crocheters.
Please note, if you wish to change and adapt this pattern in any way, this must be done at your own exploration and we cannot offer assistance with this.
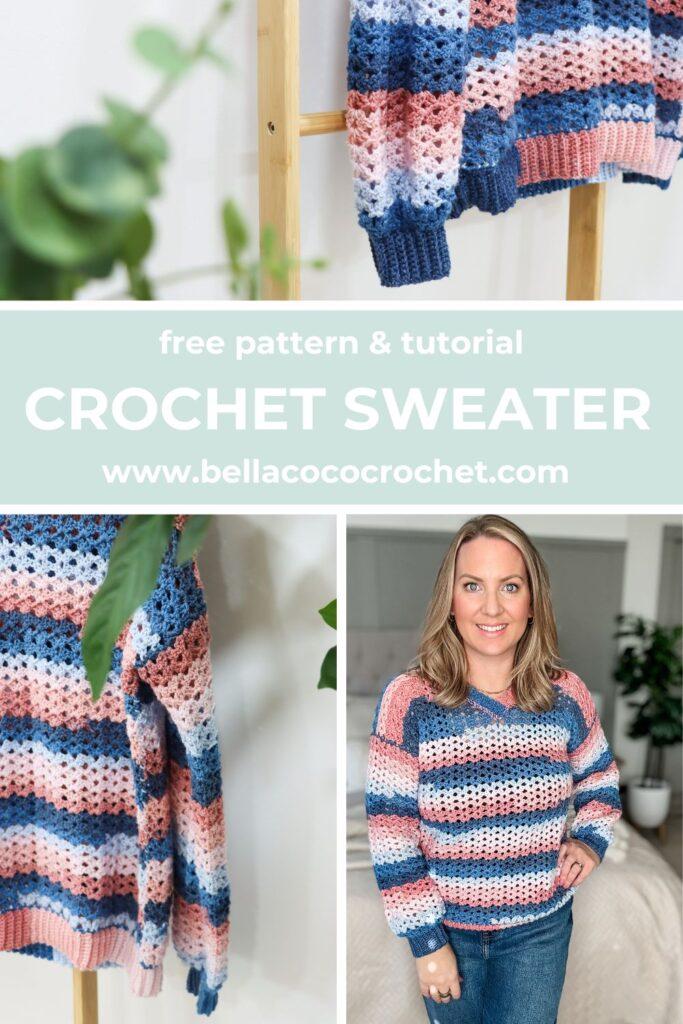
Pin For Later
Convert Pattern Terms
Here you can quickly switch between UK and US crochet terms. This will make following the pattern easier as all terms will be converted to your preferred version.
Terms & Abbreviations
Stitch(s): st(s)
Space(s): sp(s)
Slip Stitch(s): ss(s): Insert hook, yarn over, pull through stitch and loop on hook. Chain(s): ch(s):Yarn over, pull through loop on the hook.
Double Crochet(s): dc(s):Insert hook into stitch, yarn over, pull up a loop, you will have two loops on the hook. Yarn over, pull through remaining two loops. Treble Crochet(s): tr(s):Yarn over, insert into stitch, yarn over, pull up a loop, you will have three loops on the hook. Yarn over, pull through two loops, yarn over, pull through remaining two loops.
Back Loop Only: BLO: Working into the back loop only of the stitch.
Standing Double Crochet(s): stdc(s): With slip knot on hook, insert hook into first st, yarn over, pull up a loop, you will have two loops on the hook. Yarn over, pull through remaining two loops.
How to Crochet – A Handy Reference Guide eBook
Unsure of the differences between UK and US terms? Need a refresher on how to do your crochet stitches? In my ‘How to crochet: A handy reference guide’ EBook I help you with all of these terms and you can always have them to hand! You will also get exclusive access to free video instructions. You can find my EBook HERE.
Crochet AD-FREE PDF Patterns
How to Access the Free Pattern
To unlock this FREE crochet pattern all you need to do is enter your email and the grow app will appear, please enter your email and create a password. Now you’ve created a grow account you’ll be able to access all of the free patterns on the blog and bookmark your favourites so you can have them all in one place for easy access.
If you forget your password, click the “forgot password” link and follow the prompts. Please note that the team are unable to assist with resetting Grow passwords or accessing your Grow account, so please make sure you save your login information in a safe place.
Your grow account is separate from your Bella Coco account which you use to access your purchased patterns.
Free Pattern: Crochet Sweater in Nine Sizes
You are viewing this pattern in UK terms.
You will begin with the back panel to check for the length.
Note: Stitch counts exclude chs between sets of treble crochets.
Row 1: 2 tr in fourth ch from the hook (missed ch counts as tr), ch 2, 2 tr in next ch, skip 2 chs. *2 tr in next ch, ch 2, 2 tr in next ch, skip 2 chs; repeat from * across. Tr in last ch. Row 2: Ch 3 (counts as tr), [2 tr, ch 2, 2 tr] in each ch-sp across, tr into top of ch-3. Turn.
Row 1-2: Repeat instruction for row 1-2 of back panel.
If you have adapted your row count, add or remove rows when working the following section.
Row 3-29 (30, 30, 31, 31) (32, 32, 33, 33): Repeat row 2. Do not fasten off.
Split for Neckline
You are viewing this pattern in UK terms.
Row 1: Ch 3, *(2 tr, ch 2, 2 tr) in next ch-2 sp, rep from * six (seven, eight, nine) (ten, eleven, twelve, thirteen, fourteen) more times. Tr in next ch-2 sp. Leave rest of sts unworked. Turn.
Row 2: Ch 3, *(2 tr, ch 2, 2 tr) in next ch-2 sp, rep from * to last ch-2 sp. Tr in top of ch-3. Turn.
Row 3: Ch 3, *(2 tr, ch 2, 2 tr) in next ch-2 sp, rep from * until you have one ch-2 sp remaining. 2 tr in last ch-2 sp. Turn.
Row 4: Ch 3, *(2 tr, ch 2, 2 tr) in next ch-2 sp, rep from * to last ch-2 sp. Tr in top of ch-3. Turn.
XS, S, M, L only
Row 5-8: Rep row 3 & 4.
Row 9: Rep row 3.
Row 10: Ch 3, * (2 tr, ch 1, 2 tr) in next ch-2 sp, rep from * to last ch-2 sp. Tr in top of ch-3. Fasten off leaving a long tail end for sewing.
XL & 2X only
Row 5-10: Rep row 3 & 4.
Row 11: Rep row 3.
Row 12): Ch 3, *(2 tr, ch 1, 2 tr) in next ch-2 sp, rep from * to last ch-2 sp. Tr in top of ch-3. Fasten off leaving a long tail end for sewing.
3X & 4X only
Row 5-12: Rep row 3 & 4.
Row 13: Ch 3, *(2 tr, ch 1, 2 tr) in next ch-2 sp, rep from * until you have one ch-2 sp remaining. 2 tr in last ch-2 sp. Fasten off leaving a long tail end for sewing.
5X only
Row 5-14: Rep row 3 & 4
Row 15: Ch 3, *(2 tr, ch 1, 2 tr) in next ch-2 sp, rep from until you have one ch-2 sp remaining. 2 tr in last ch-2 sp. Fasten off leaving a long tail end for sewing.
All Sizes
Reattach yarn to the first unworked st of row 29 (30, 30, 31, 31) (32, 32, 33, 33). Repeat instructions from ‘split for neckline’.
Seaming
Lay front and back panel together. Using long tail ends, sew shoulder seams together using whip stitch. Sew in ends.
Sleeves
You are viewing this pattern in UK terms.
XS & S only
Set up row: With right side facing. Count 12 rows from centre seam. Work a (stdc, dc) in first row end, then 3 dc in each row end to seam. Skip seam. Continue to work 3 dc in each row end for 11 rows. 2 dc in the 12th row Turn.
M & L only
Set up row: With right side facing. Count 13 rows from centre seam. stdc in first row end, then 3 dc in each row end to seam. Dc in seam. Continue to work 3 dc in each row end for 12 rows. Dc in the 13th row. Turn.
XL & 2X only
Set up row: With right side facing. Count 14 rows from centre seam. stdc in first row end, then 3 dc in each row end to seam. Skip seam. Continue to work 3 dc in each row end for 13 rows. Dc in the 14th row. Turn.
3X & 4X only
Set up row: With right side facing. Count 14 rows from centre seam. Work (stdc, 2 dc) in first row end, then 3 dc in each row end to seam. Dc in seam. Continue to work 3 dc in each row end for 14 rows. Turn.
5X only
Set up row: With right side facing. Count 15 rows from centre seam. Work (stdc, dc) in first row end, then 3 dc in each row end to seam. Dc in seam. Continue to work 3 dc in each row end for 15 rows. Turn.
All Sizes
Row 1: Ch 3 (counts as tr), skip 3 sts, *2 tr in next st, ch 2, 2 tr in next st, skip 3 sts; repeat from * until you have 1 st remaining. Tr in last st. Turn.
If you wish to adapt your sleeve length, you can do so by adding or removing rows from the following instructions. Please be mindful that you will be adding a cuff after working the main sleeve.
Row 2-31: Ch 3 (counts as tr), [2 tr, ch 2, 2 tr] in each ch-sp across, tr into top of ch-3. Turn.
Cuff Ribbing
Cuff ribbing can be adapted by adding or removing stitches from your initial chain.
Set up row 1: Ch 1, dc in first st, *skip 2 sts, dc in ch-2 sp, skip 2 sts, dc in sp between last skipped st and next st; repeat from * across working the final dc in top of ch-3. Turn.
Set up row 2: Ch 1, dc in each st across. Turn.
Change to 4.5mm hook.
Chain 11
Row 1: Dc in second ch from hook (missed ch does not count as st) and each st across. Ss in next 2 sts from set up row 2 of the sleeve. Turn. dc, 2 ss>
Row 2: Skip 2 ss, BLOdc in each st across. Turn. dc>
Row 3: Ch 1 (does not count as a st), BLOdc in first st and next 9 sts. Ss in next 2 sts from set up row 2 of the sleeve. Turn. dc, 2 ss>
Repeat row 2 & 3 across.
Fasten off.
Rotate work and repeat arm instructions for second arm.
Time to Block
Now is the time to steam block your work. Use blocking pins and mats to shape your work ensuring that each side is the same size. Use measurements above as a guide.
Seaming
Fold the work in half bringing the seams of the arms together and wrong side facing outwards.
With a strand of yarn and a darning needle, start at the bottom of the main body and whip stitch through both thicknesses. Once the body is seamed, continue along the underside of the arm and cuff.
Fasten off and sew in ends.
Repeat on the other side.
Turn right side out.
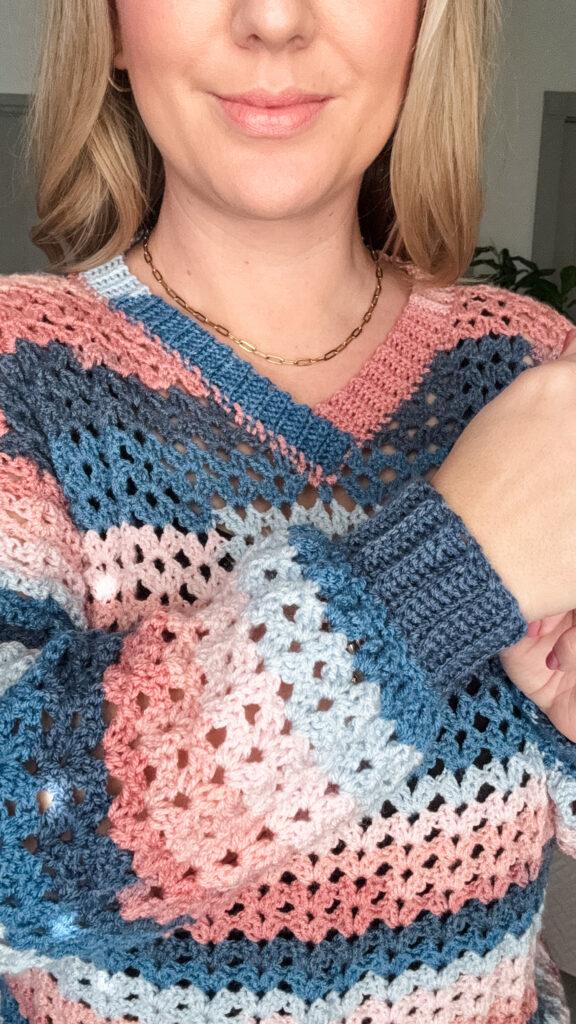
V-Neck Ribbing
You are viewing this pattern in UK terms.
With 5mm hook, attach at bottom centre of the V leaving a long tail end for sewing later.
Set up row: 2 dc in first sp. *dc in next sp, dc in top of next 2 sts, dc in sp, 2 dc around post of next st; repeat from * to seam. Note: You will have 1 sp remaining for sizes XS, S, M, L, XL & 2X)
XS, S, M, L, XL & 2X only
2 Dc in next sp before seam. Skip seam, (dc in next 2 sts, skip ch-1, dc in next 2 sts) to next seam. Skip seam, 2 dc in next sp, *2 dc around post of next st, dc in sp, dc in top of next 2 sts, dc in sp; rep from * until you reach bottom of V and have 1 sp remaining. 2 dc in last sp. Do not join. Turn.
3X, 4X, 5X only
Skip seam, (dc in next 2 sts, skip ch-1, dc in next 2 sts) to next seam. Skip seam, *2 dc around post of next st, dc in sp, dc in top of next 2 sts, dc in sp; rep from ** until you reach bottom of V and have 1 sp remaining. 2 dc in last sp. Do not join. Turn.
All Sizes
Change to 4.5mm hook
Ch 7
Row 1:Dc in second ch from hook (missed ch does not count as st) and each st across. Ss in next 2 sts from set up row 2 of the sleeve. Turn. dc, 2 ss>
Row 2: Skip 2 ss, BLOdc in each st across. Turn. dc>
Row 3: Ch 1 (does not count as a st), BLOdc in first st and next 9 sts. Ss in next 2 sts from set up row 2 of the sleeve. Turn. dc, 2 ss>
Repeat row 2 & 3 across. Fasten off leaving a long tail ends for sewing.
You can decide which end looks better at the front of the v-neck.
Lay short ends on top of each other and secure down using whip stitch.
Bottom Ribbing
With 5mm hook and starting into the first space after the seam. You will be working in the underside of the ch.
Set up round: Work a stdc into the first sp, dc in same sp. *Dc in next 2 sts, 2 dc in next ch-sp; rep from * across to next seam**. Skip seam, 2 dc in next ch-sp, repeat from * to ** once more. Join with ss to first st. Row 1-3: See cuff ribbing rows 1-3.
Repeat row 2 & 3 around.
Chain 1, ss through BLO of each stitch of final row and corresponding st on the underside of beg chain to join. Fasten off.
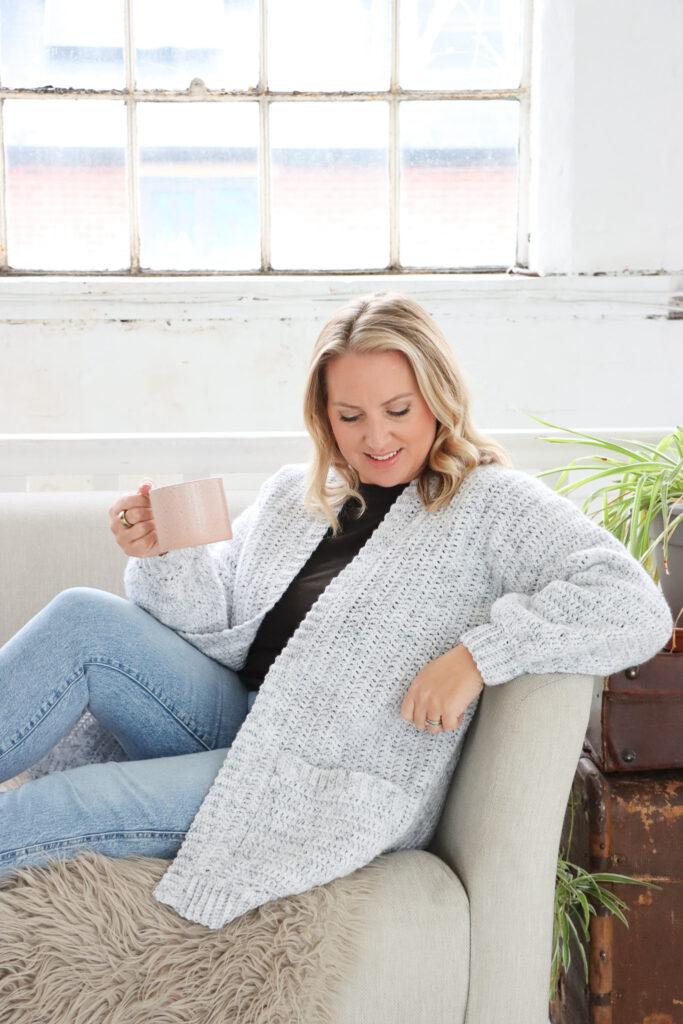
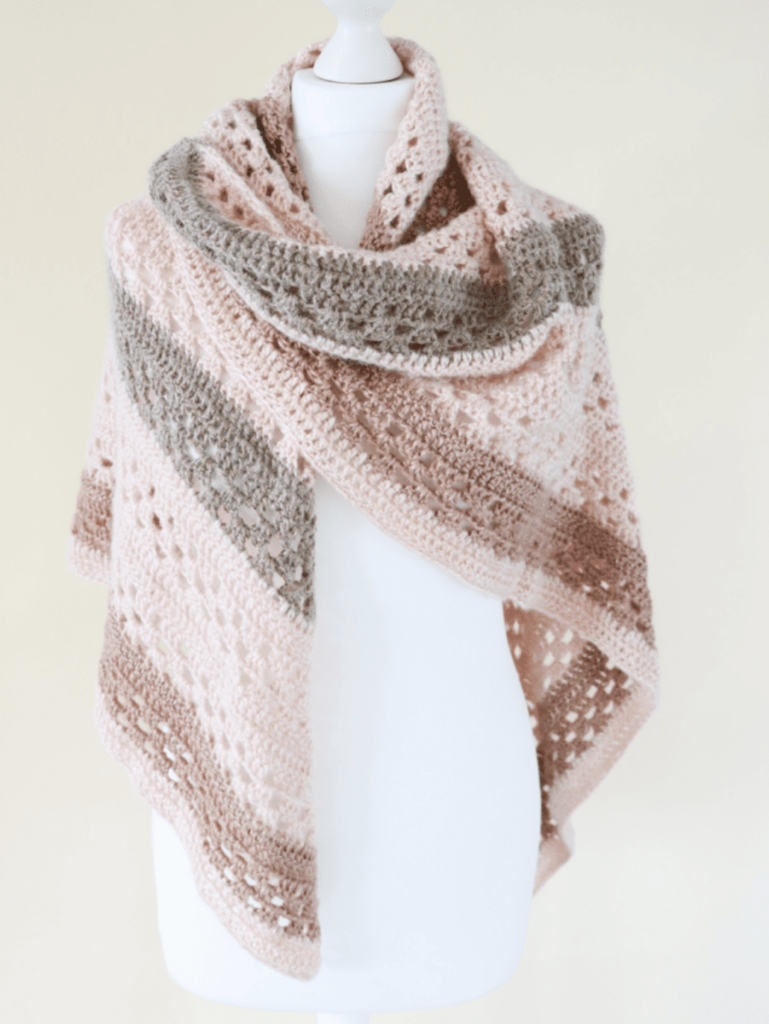
Have you seen these crochet wearables? Here are a few of my versatile favourites:
Nova CardiganPonchoFlorrie TeeRomany Shawl
I always love to see your makes so if you try any of my patterns or follow my stitch tutorials please tag me @bellacococrochet or use the #bellacococrochet